27 - When You Want the Prototype to Look Pretty … (Part 4: Game Board)
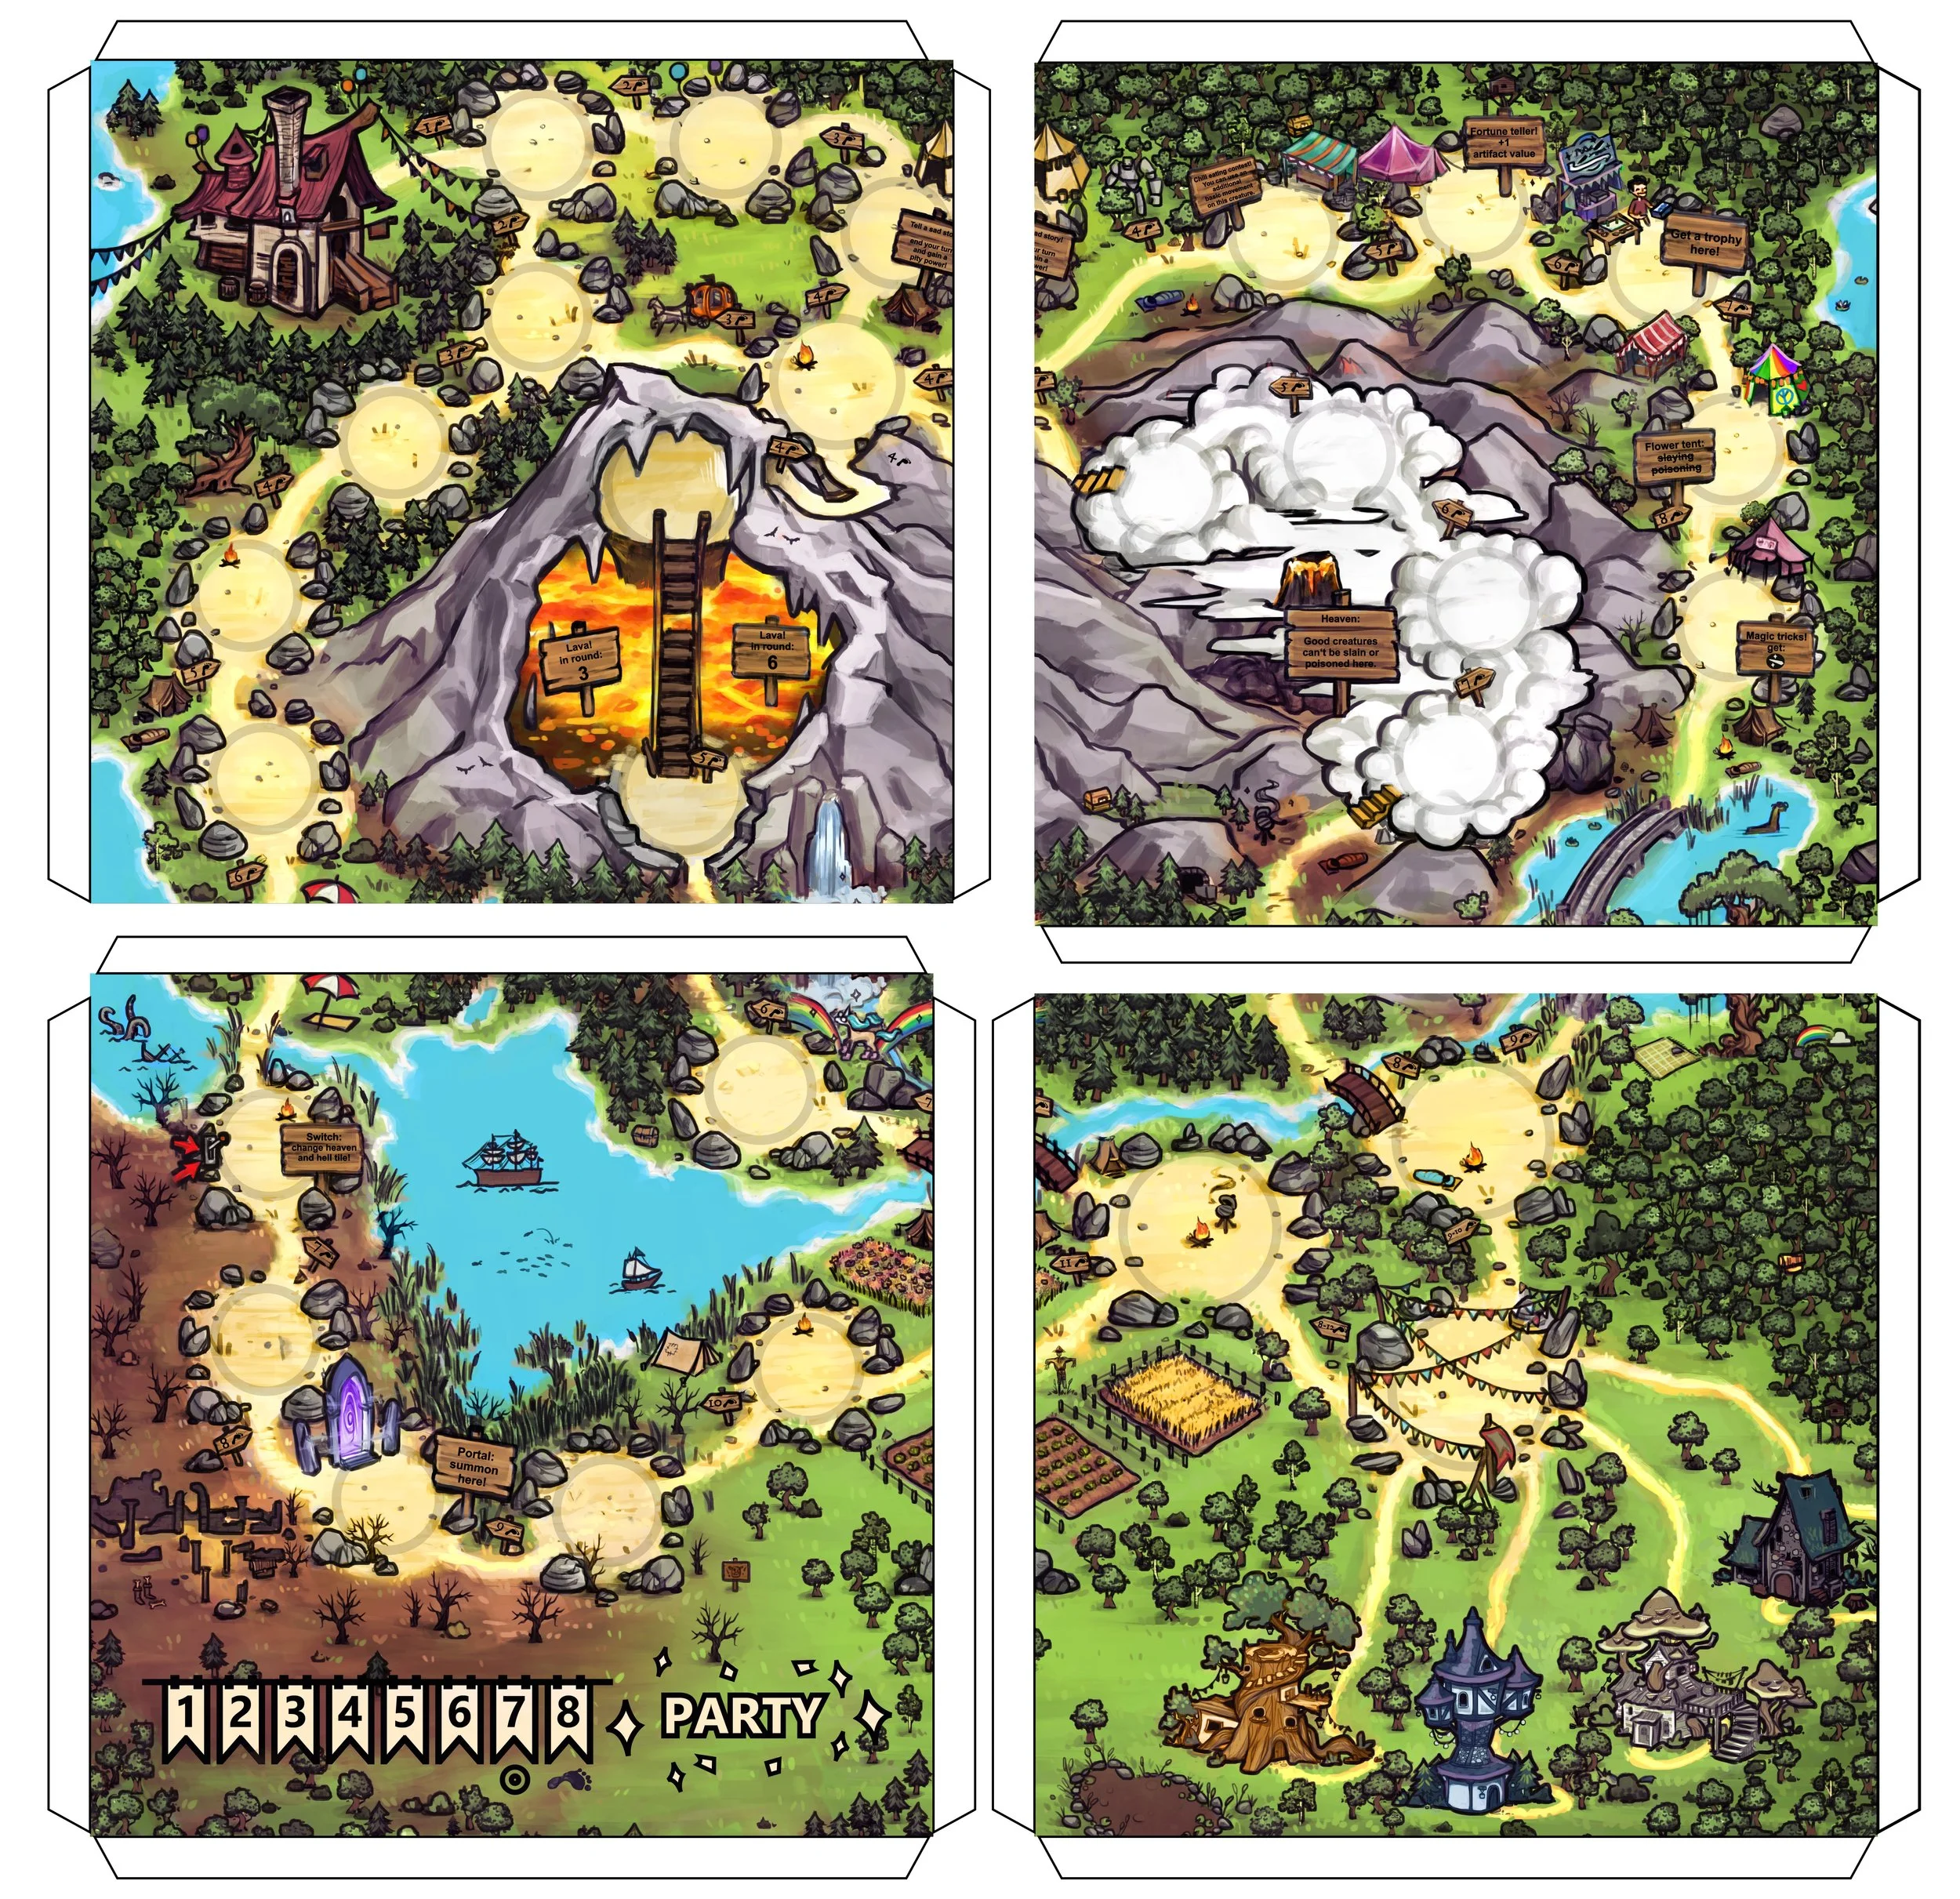
There are certainly several ways to print and mount a game board. For some reason, I wanted to make mine in four parts so that every edge would be overlapped and therefore more stable.
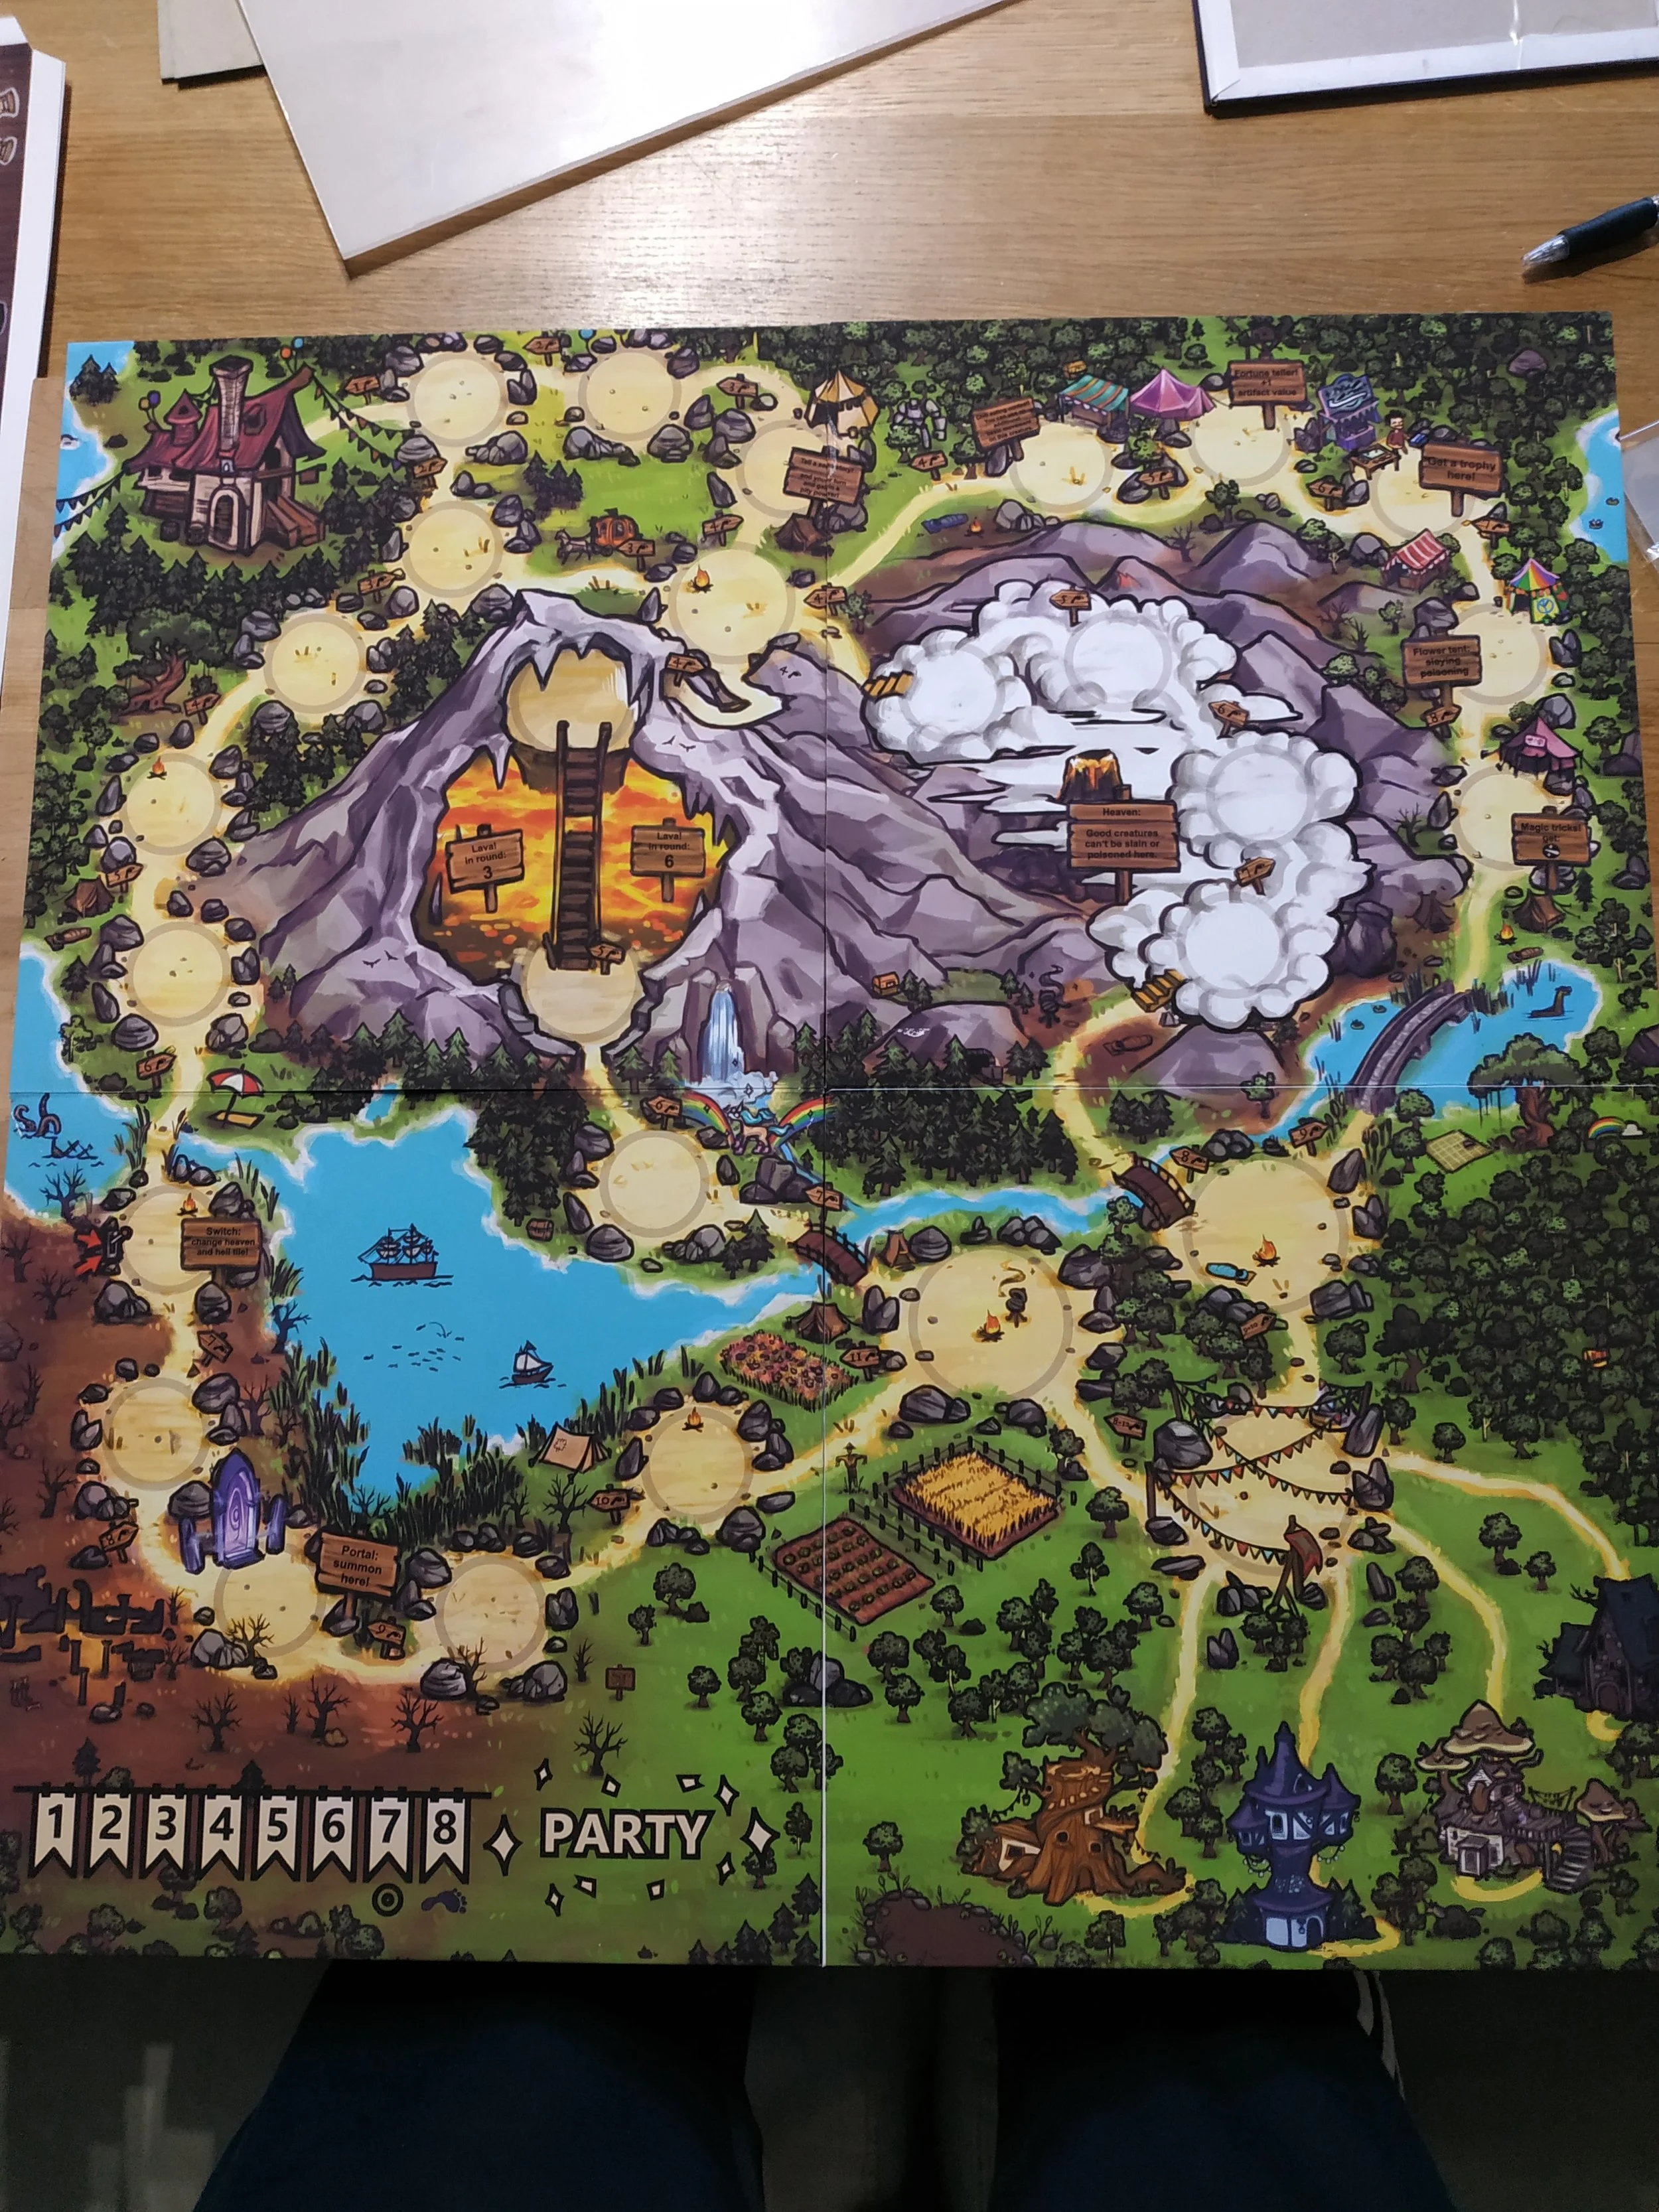
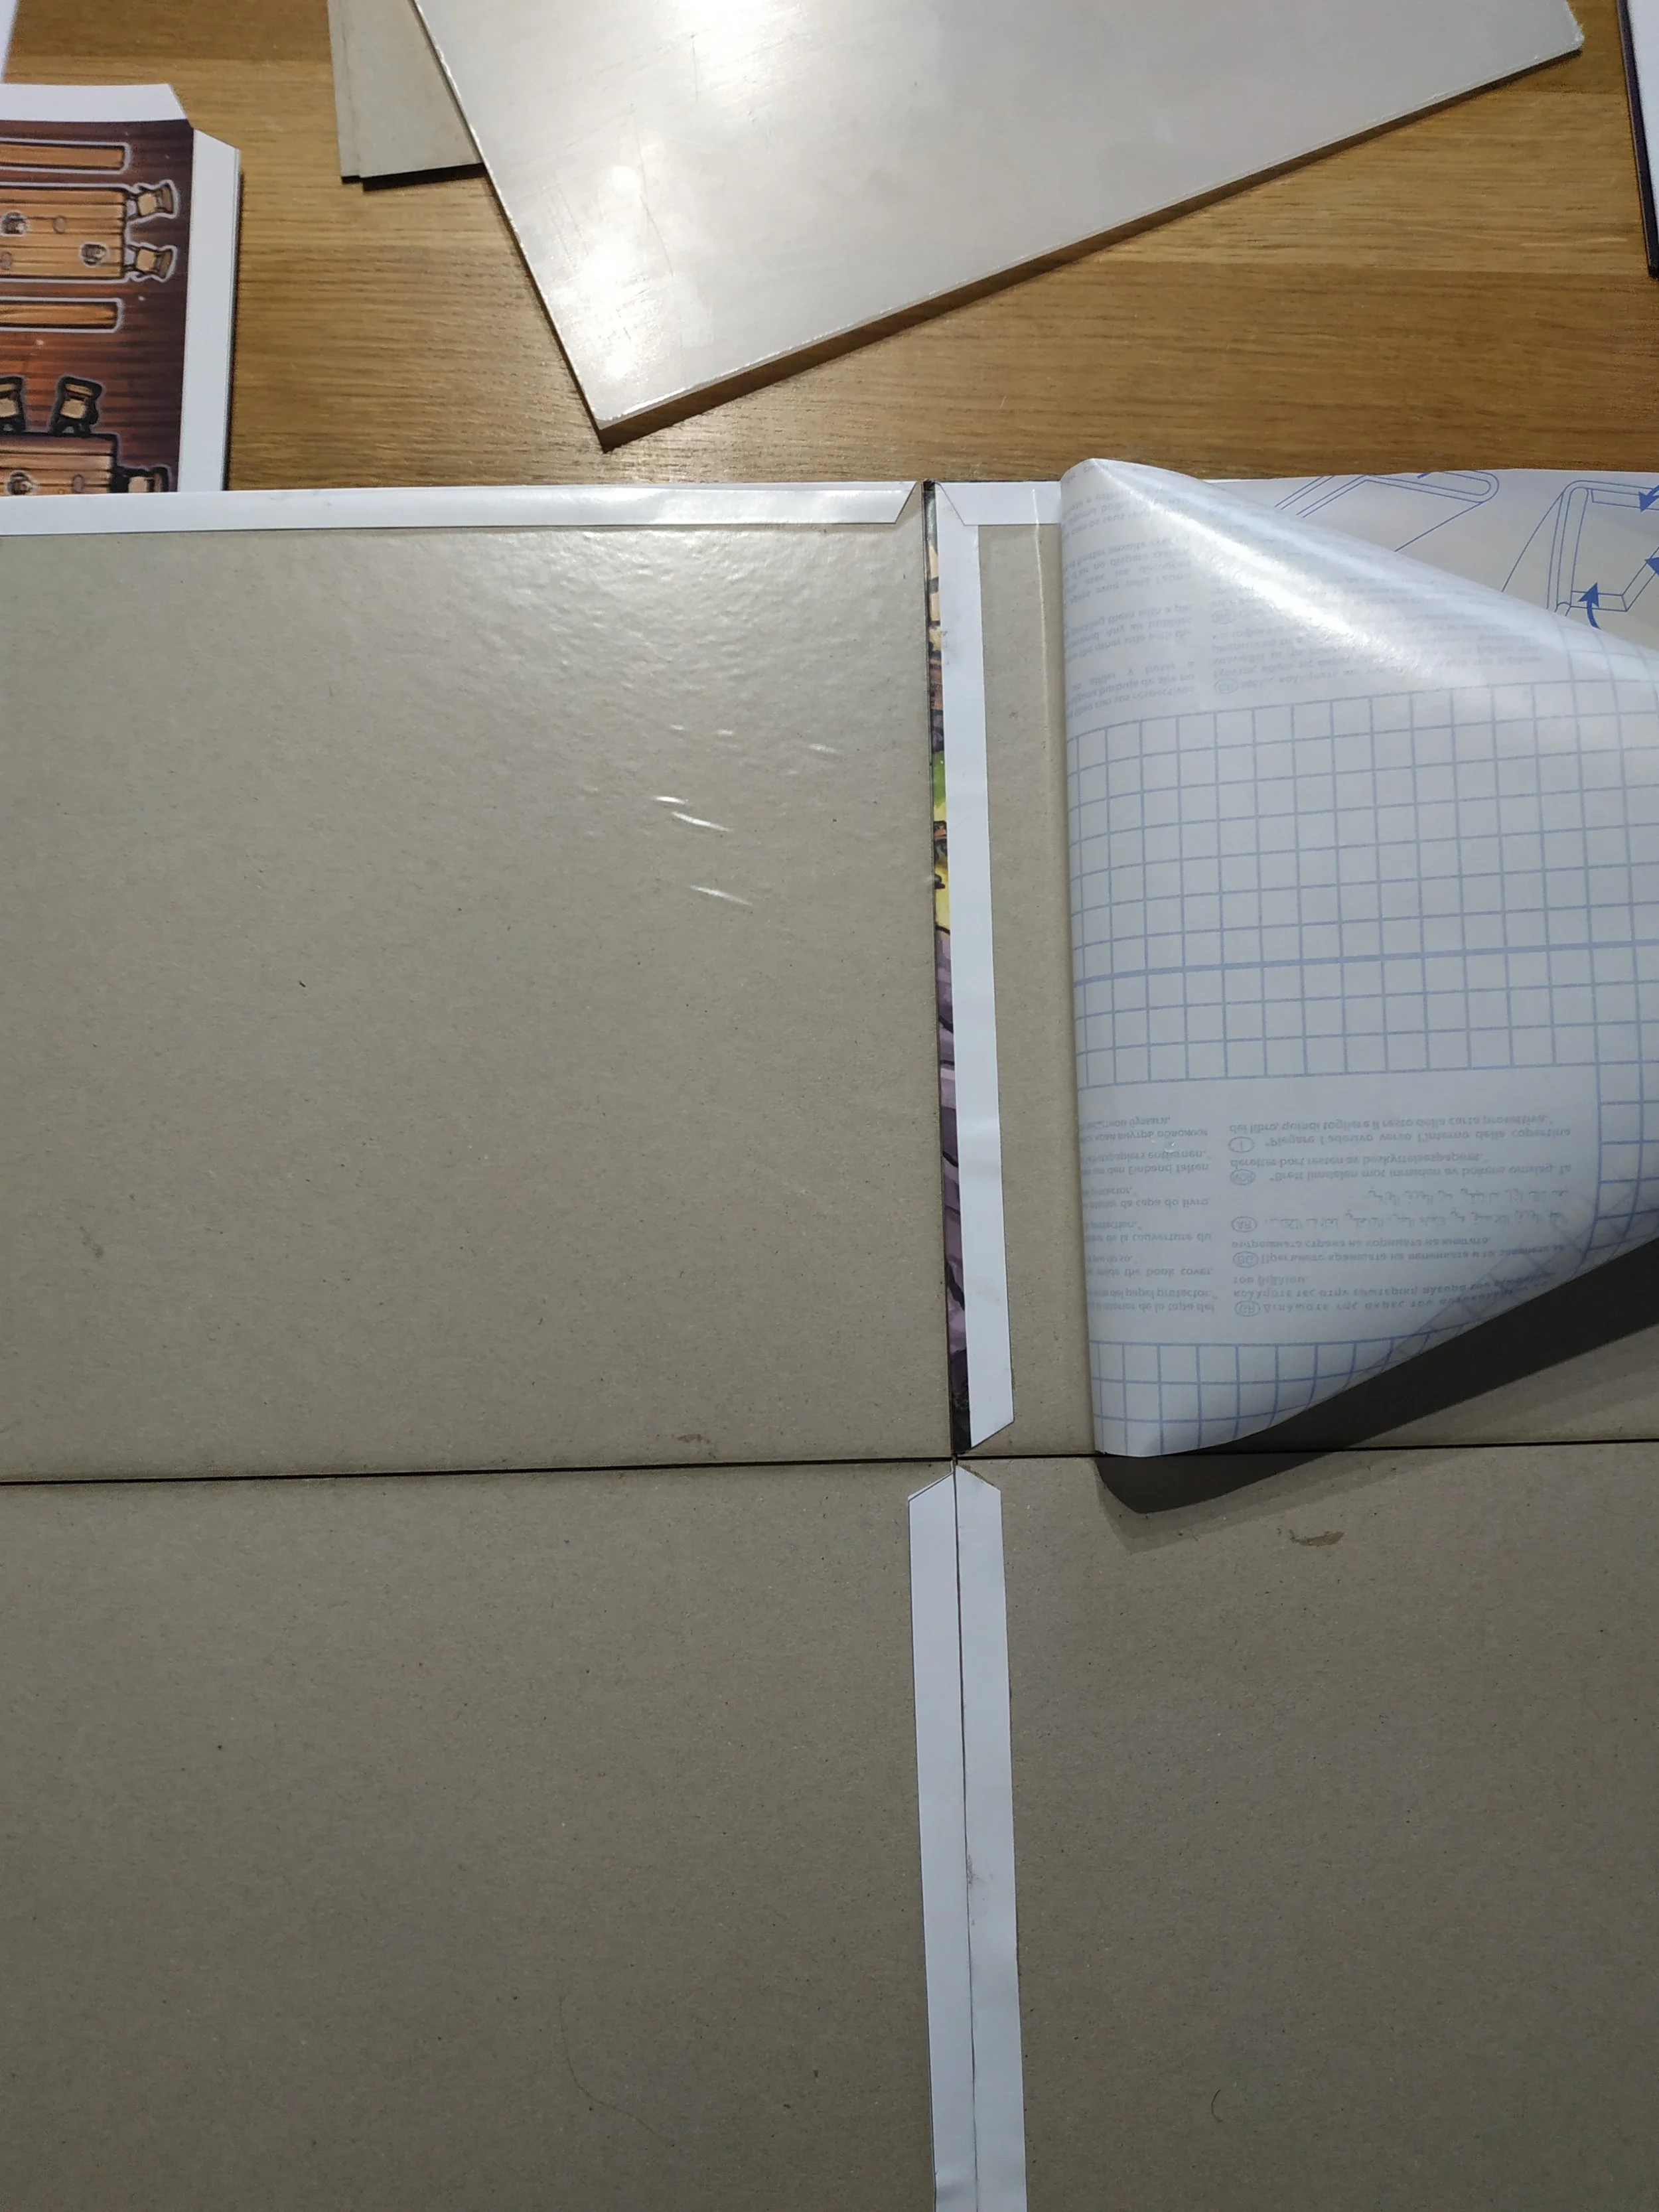
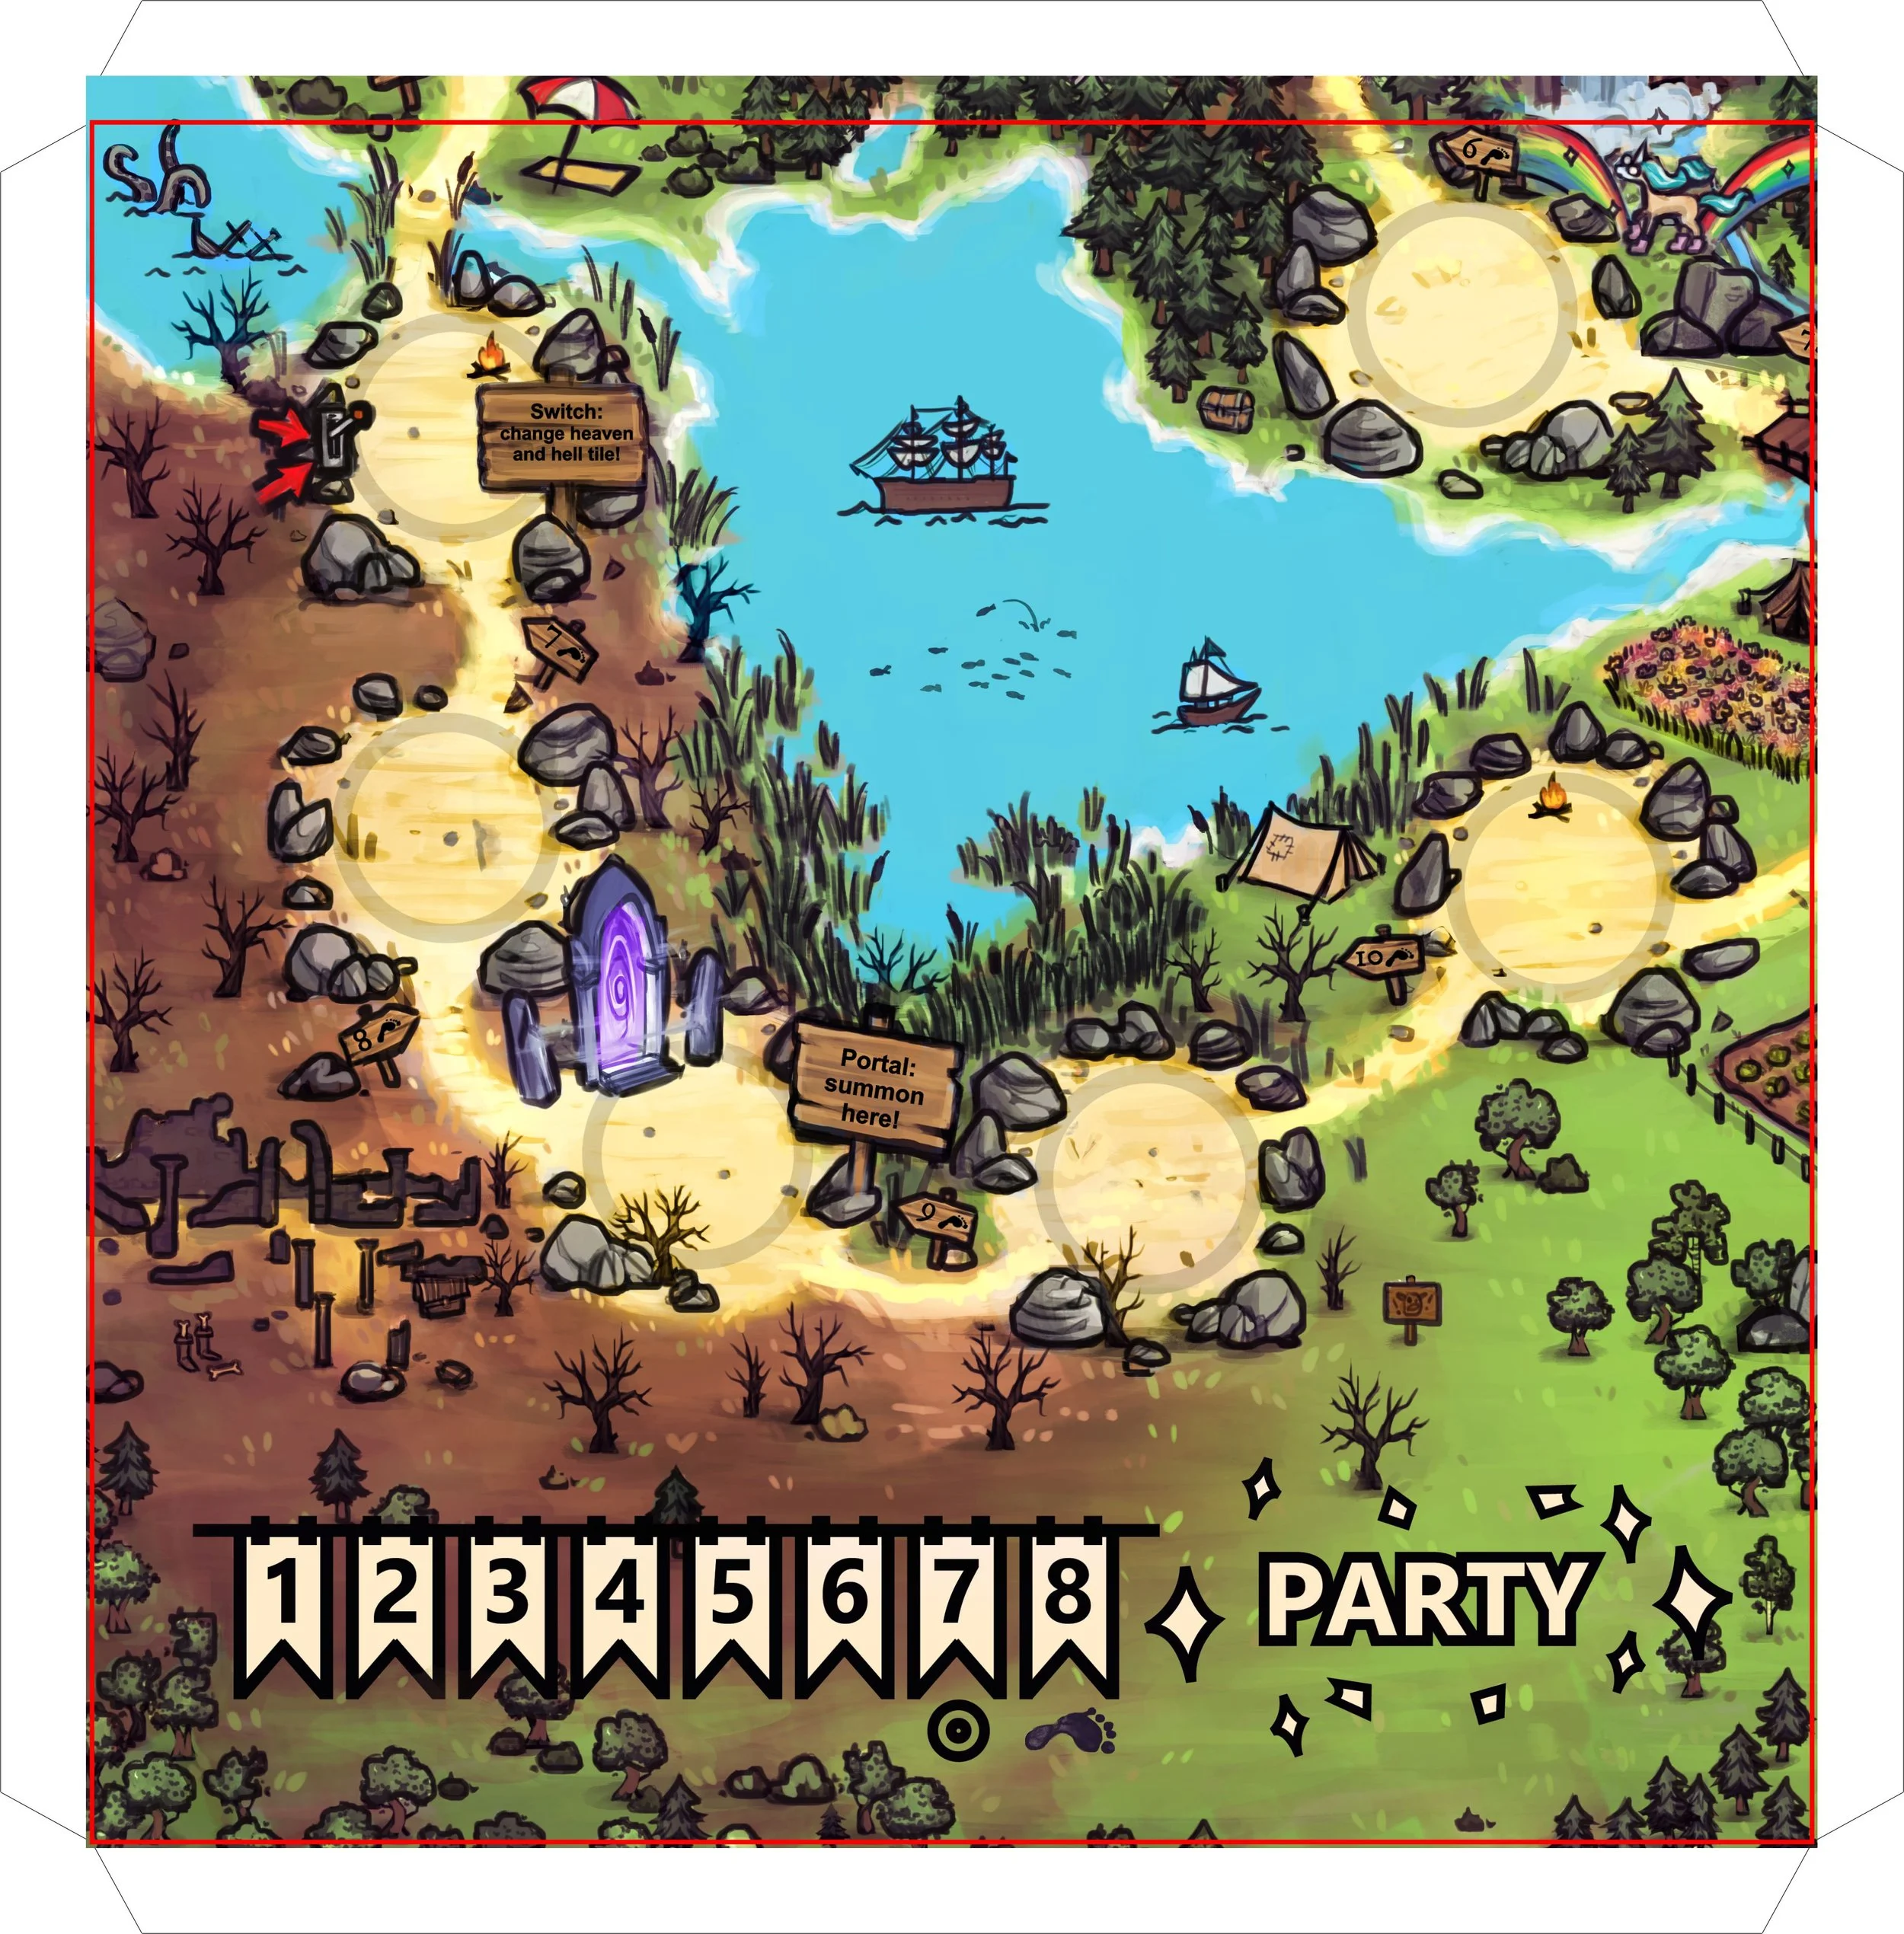
If you do it the way I did, you really need to think carefully about where and in which direction the board will fold. On the edges where the board sections connect, I extended the flap to create more gluing surface. When dividing the artwork, I also had to make sure the images lined up cleanly at the edges. The artwork should always extend slightly beyond the cut line (I used 1–2 mm). If you don’t manage to glue the artwork on perfectly, you’ll end up with white edges — and that doesn’t look very nice. As far as I know, preparing files for actual production is much easier.
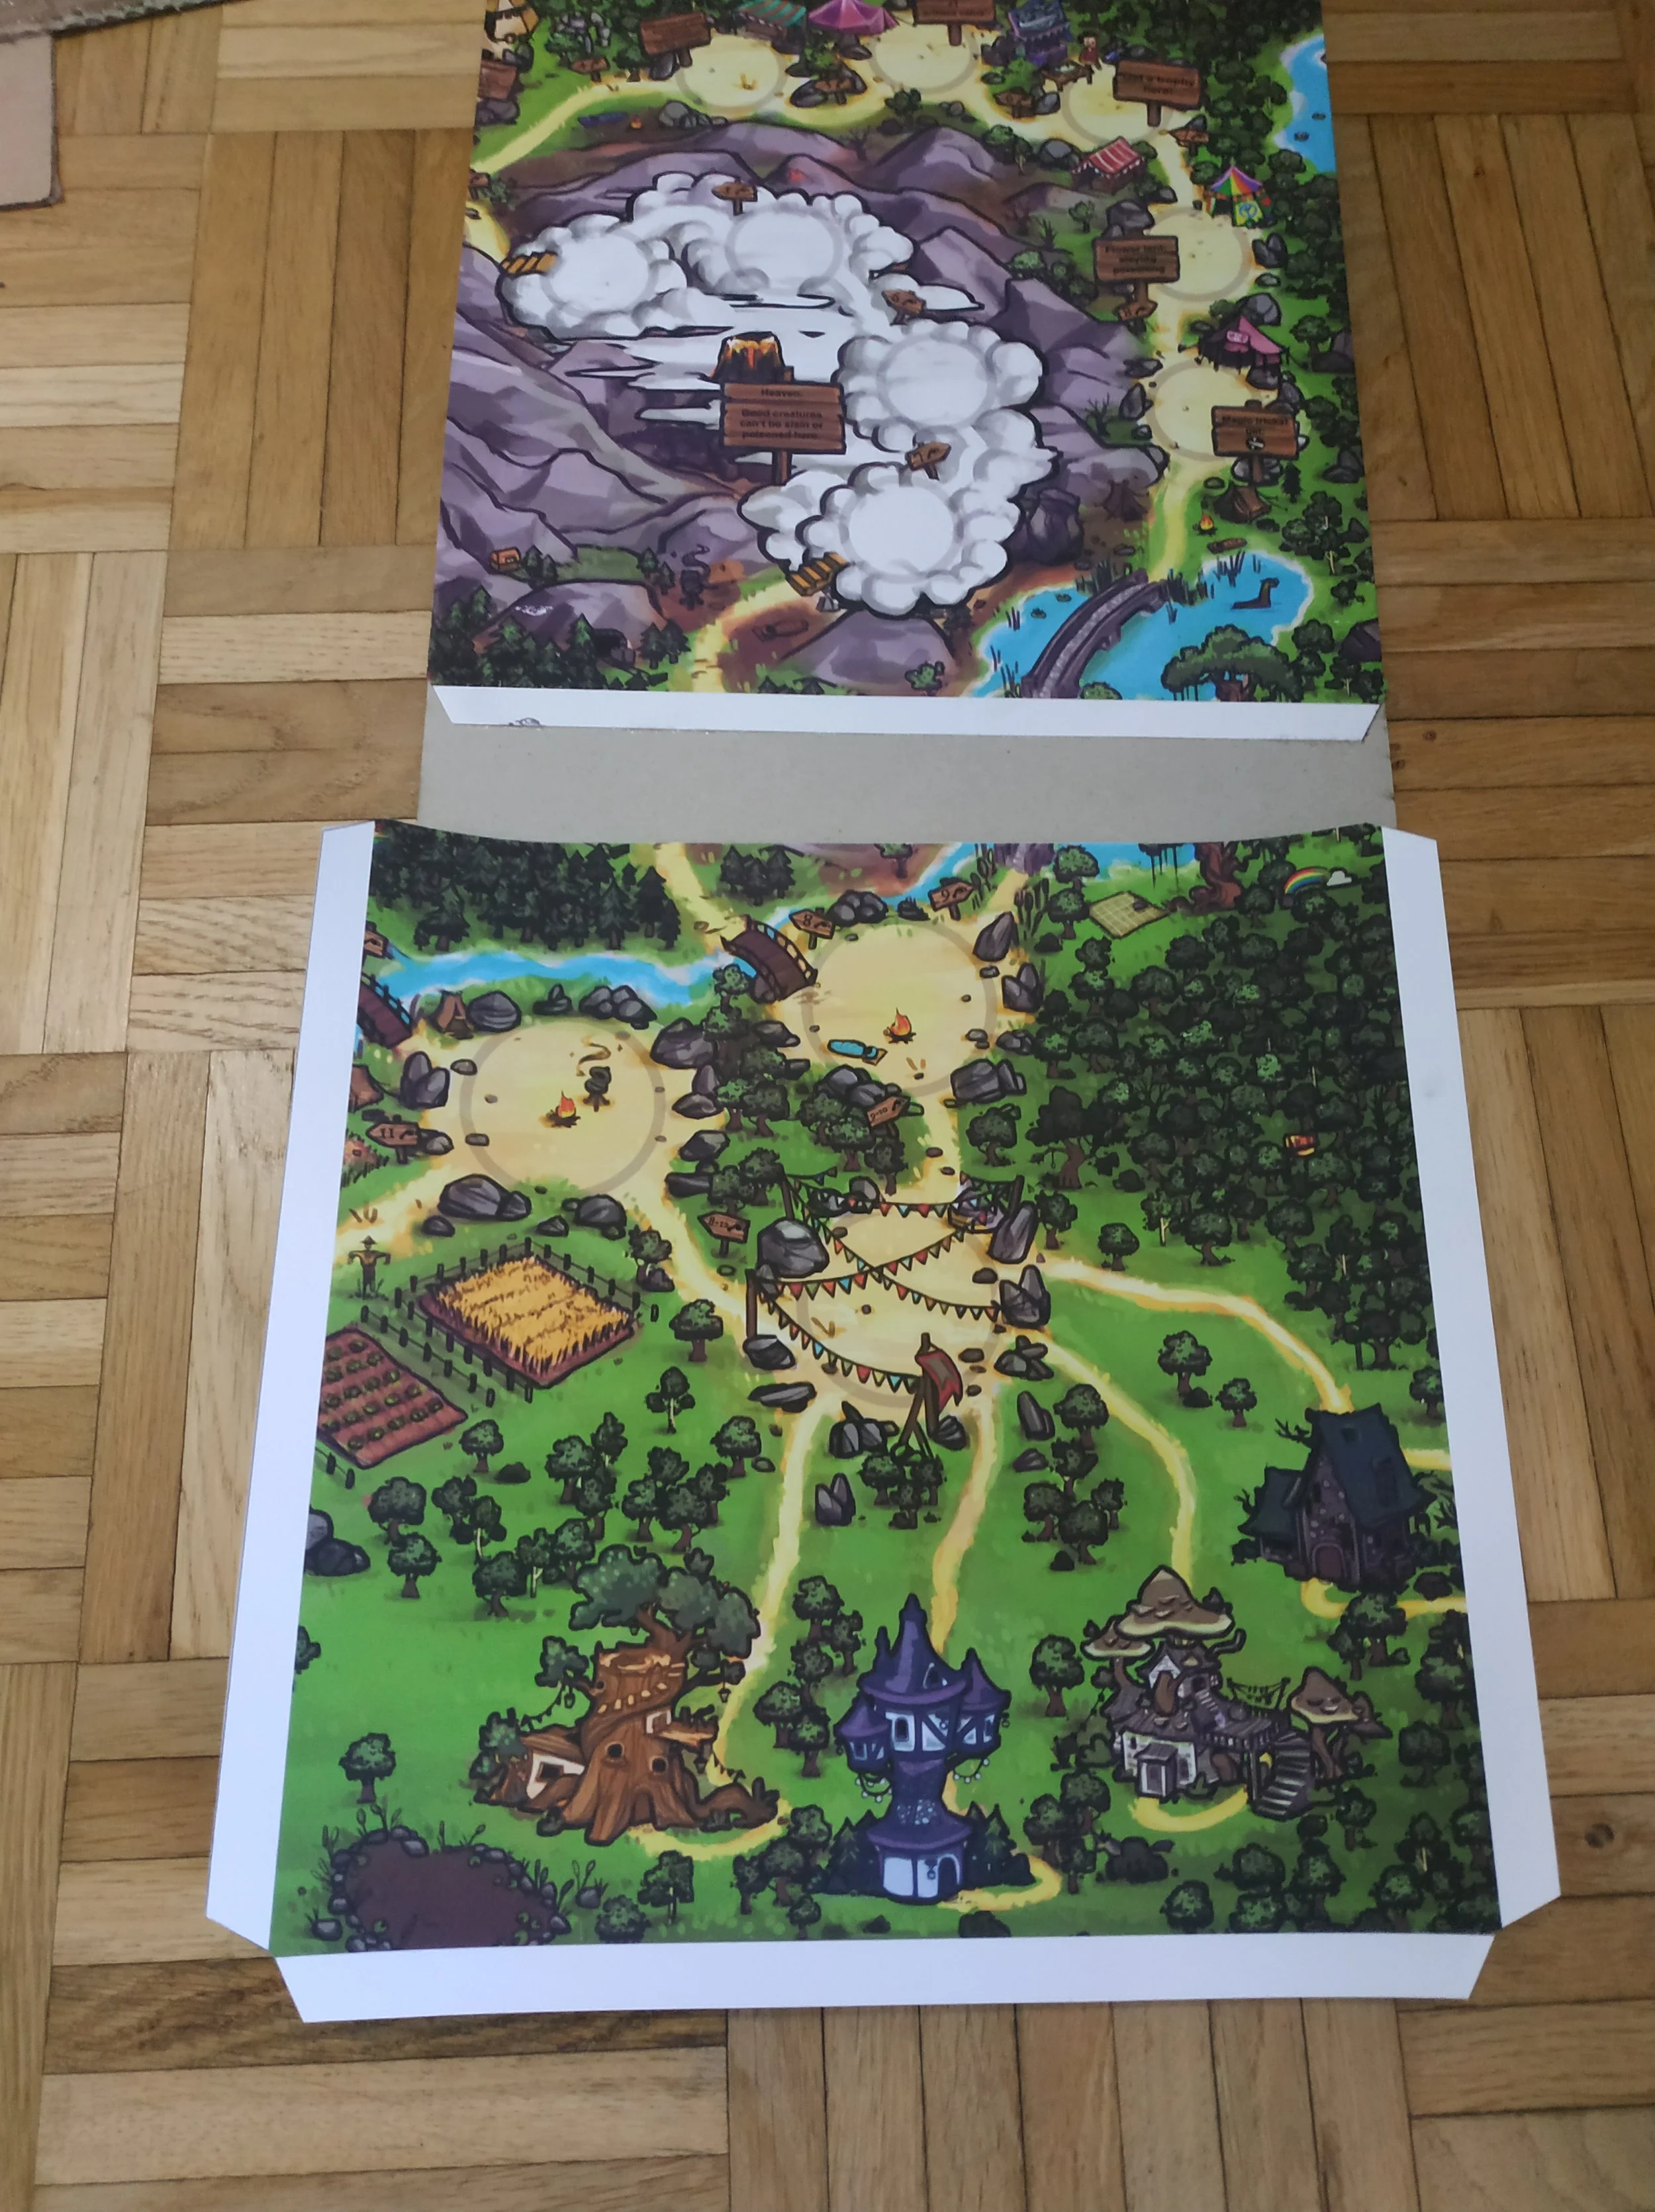
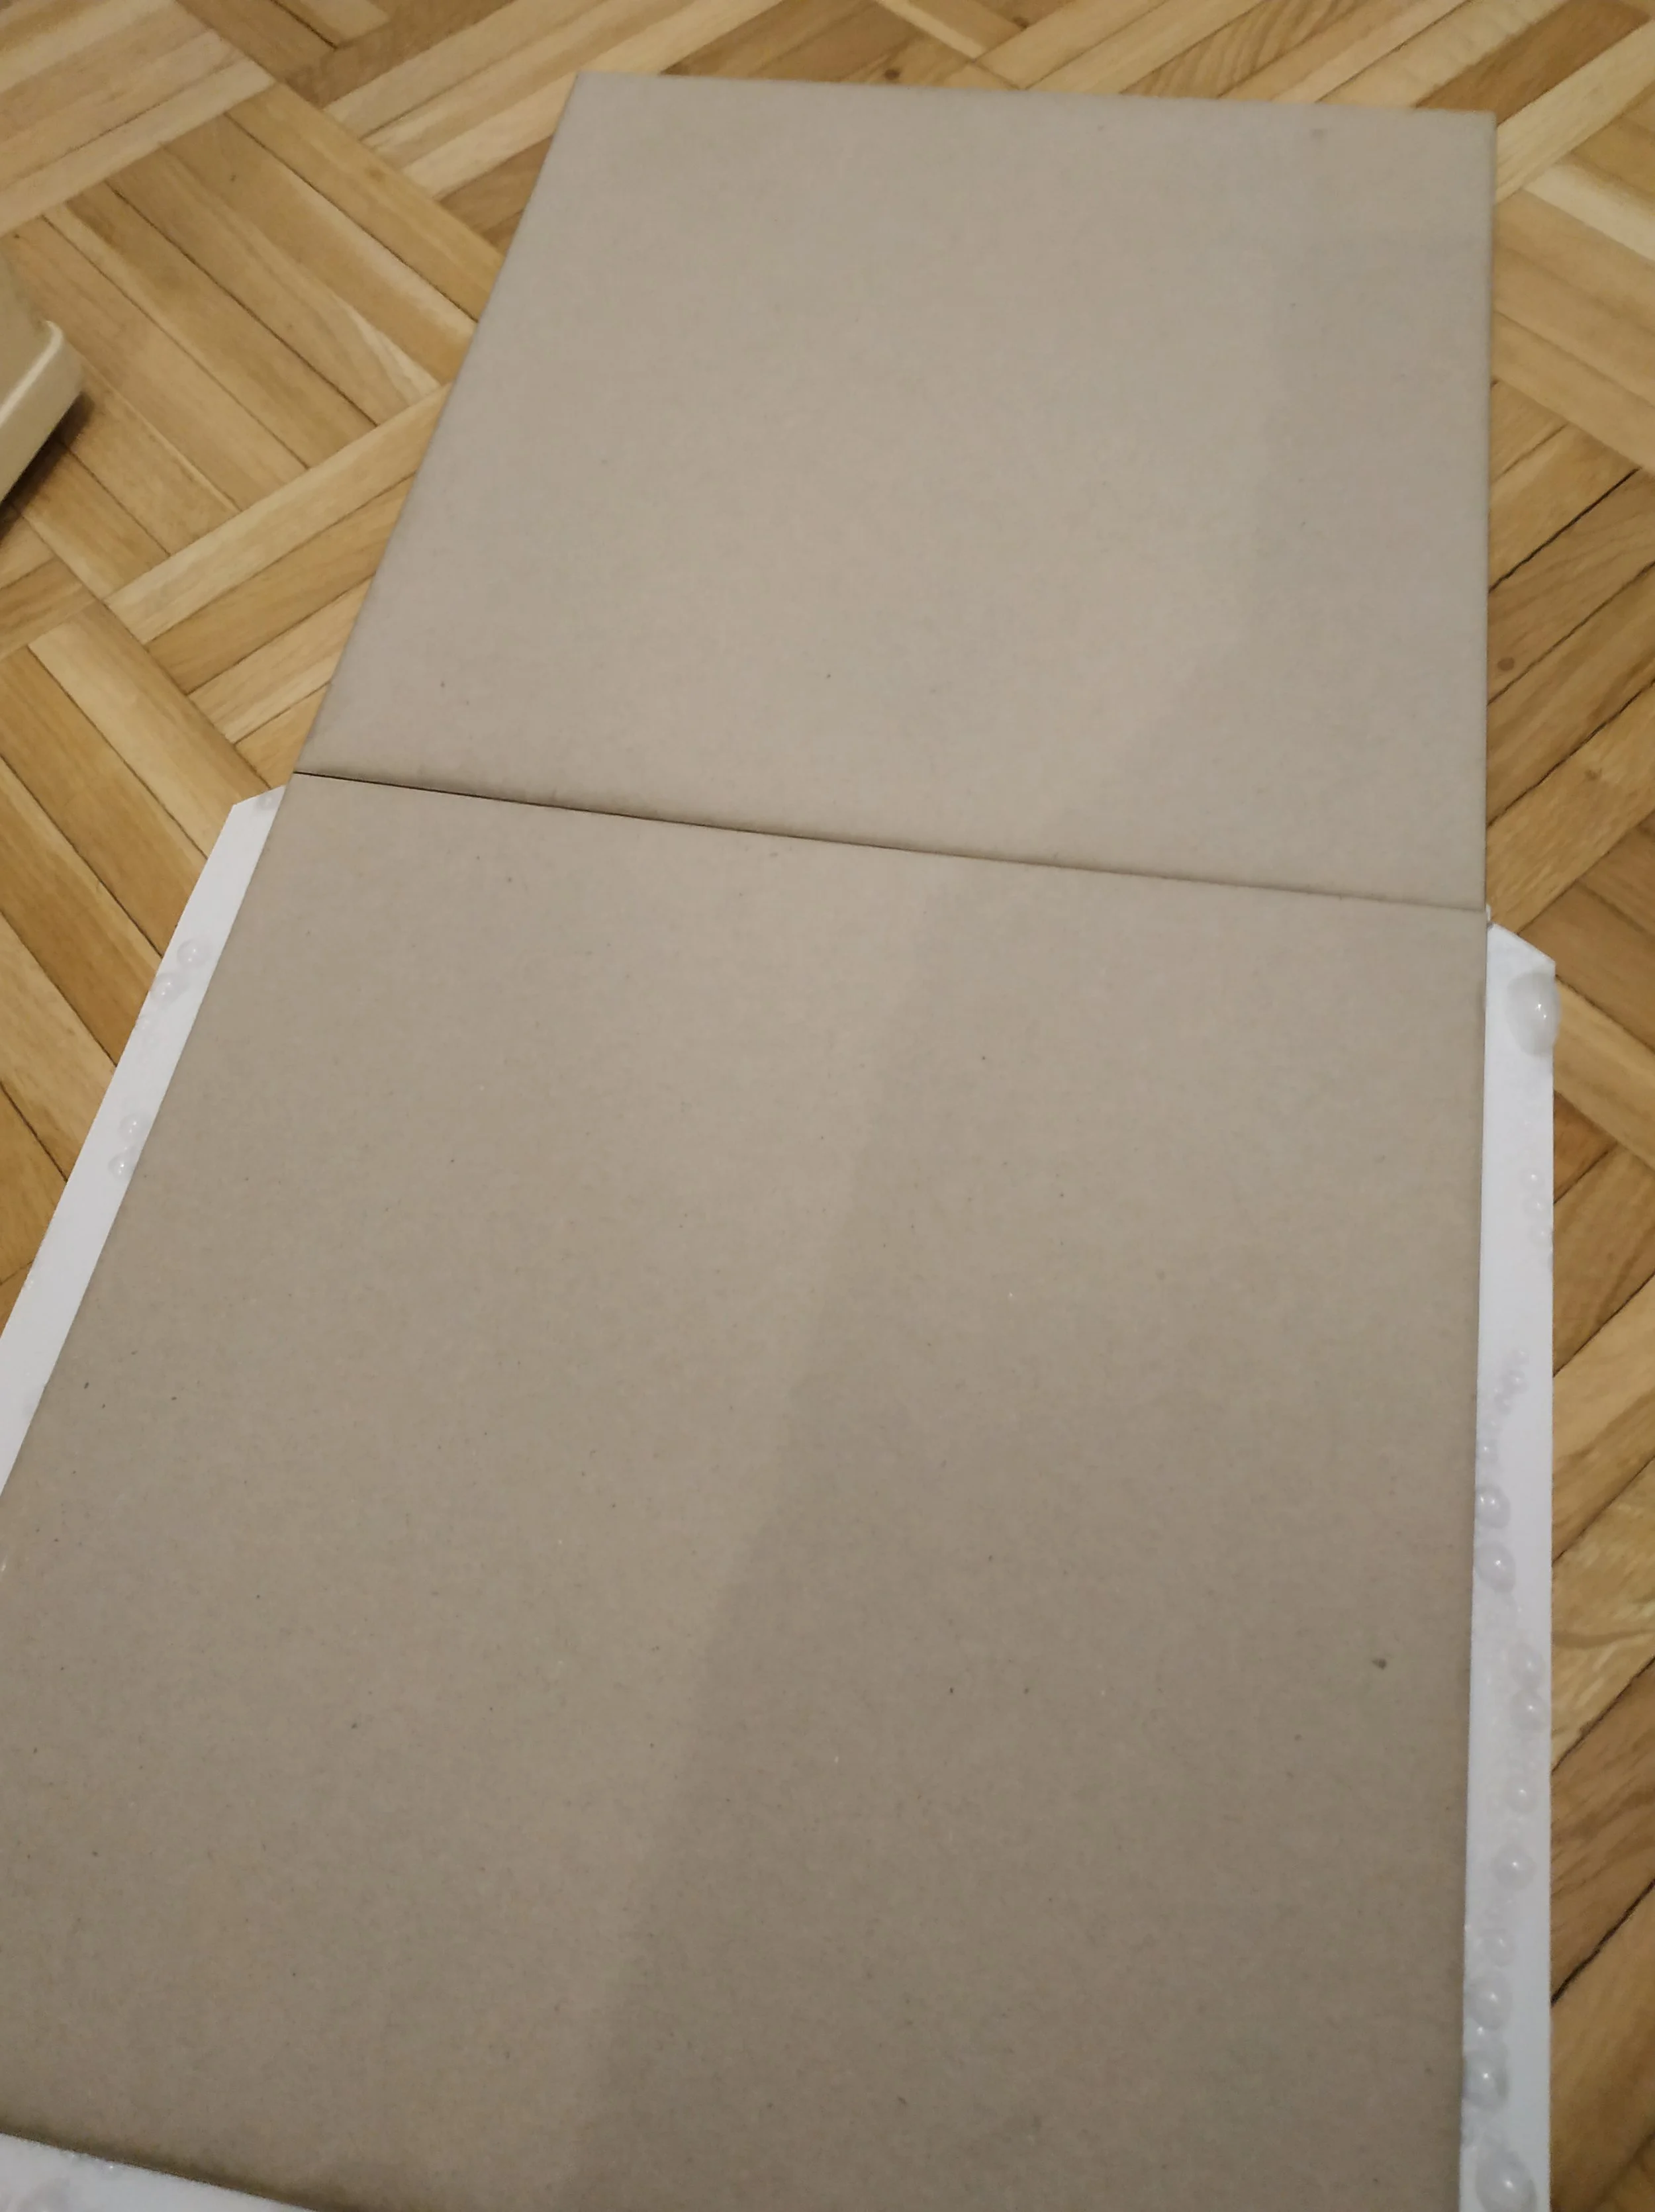
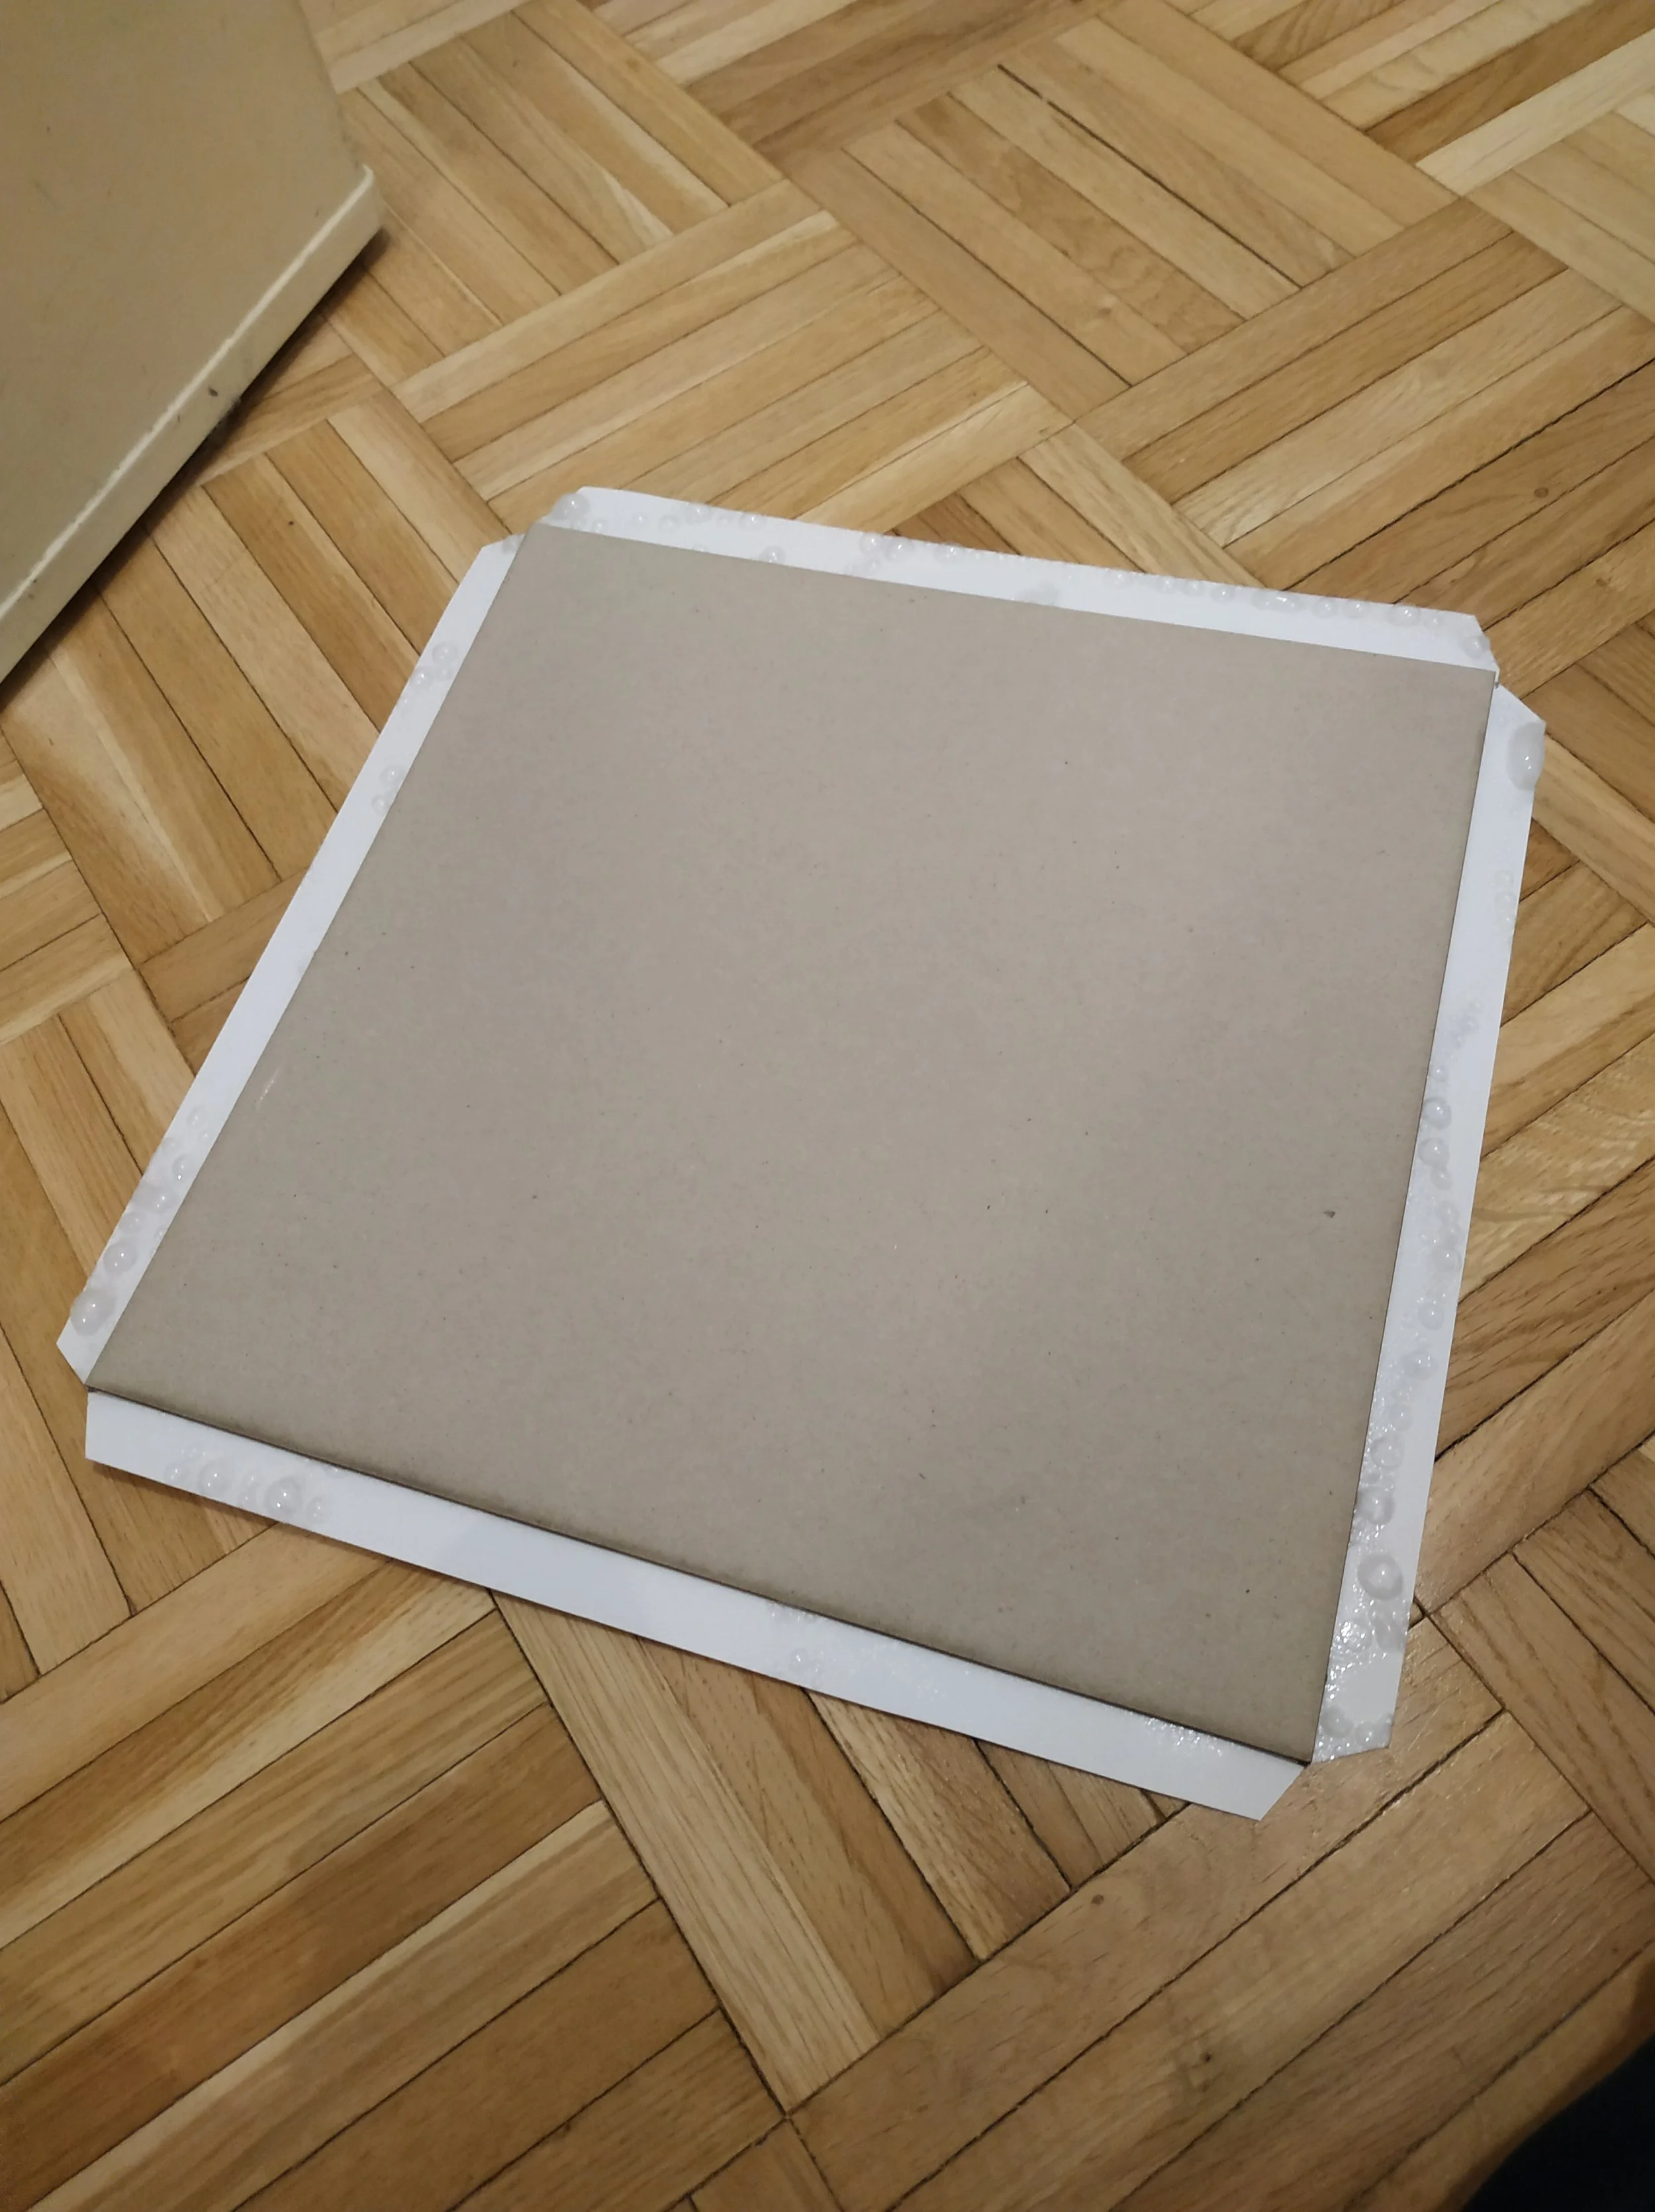
I sprayed the back of the prints with spray adhesive again and carefully glued the first cardboard piece in place. Then I aligned the next piece along the correct edge, glued it down, and let it dry. After that, I glued the next print over it. For later prototypes, I switched to bookbinding glue, and both the process and the results were much better.
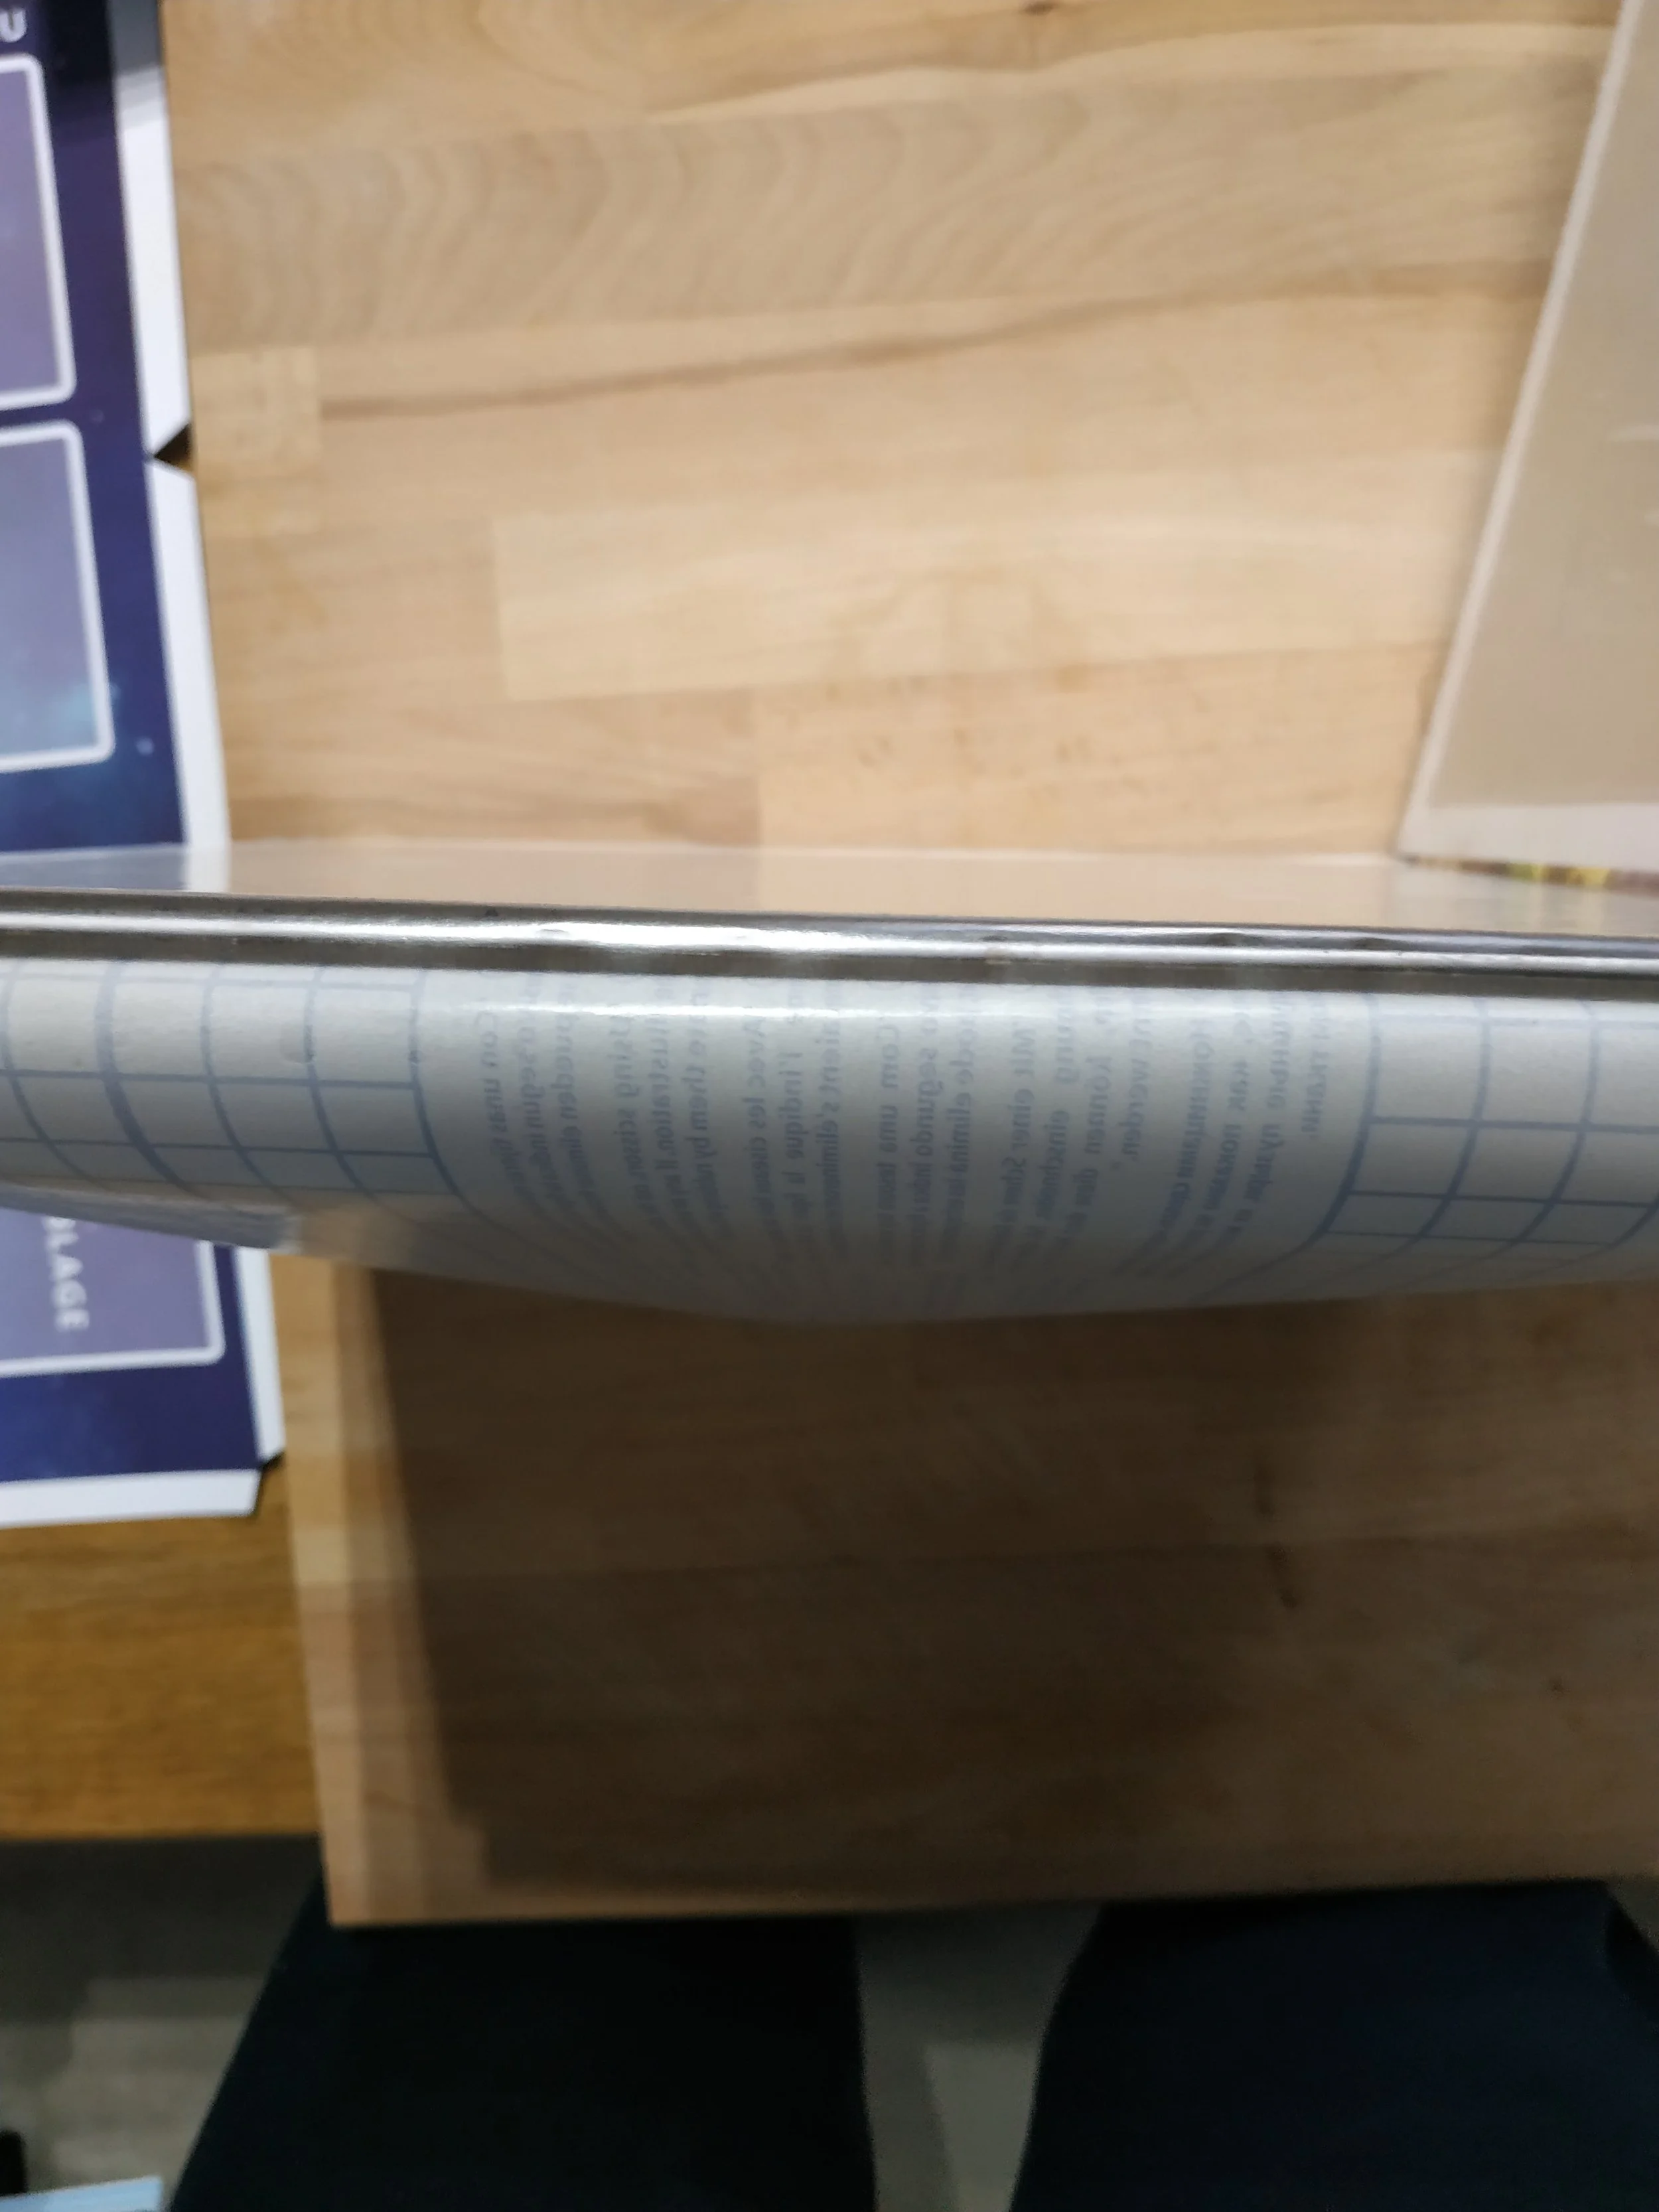
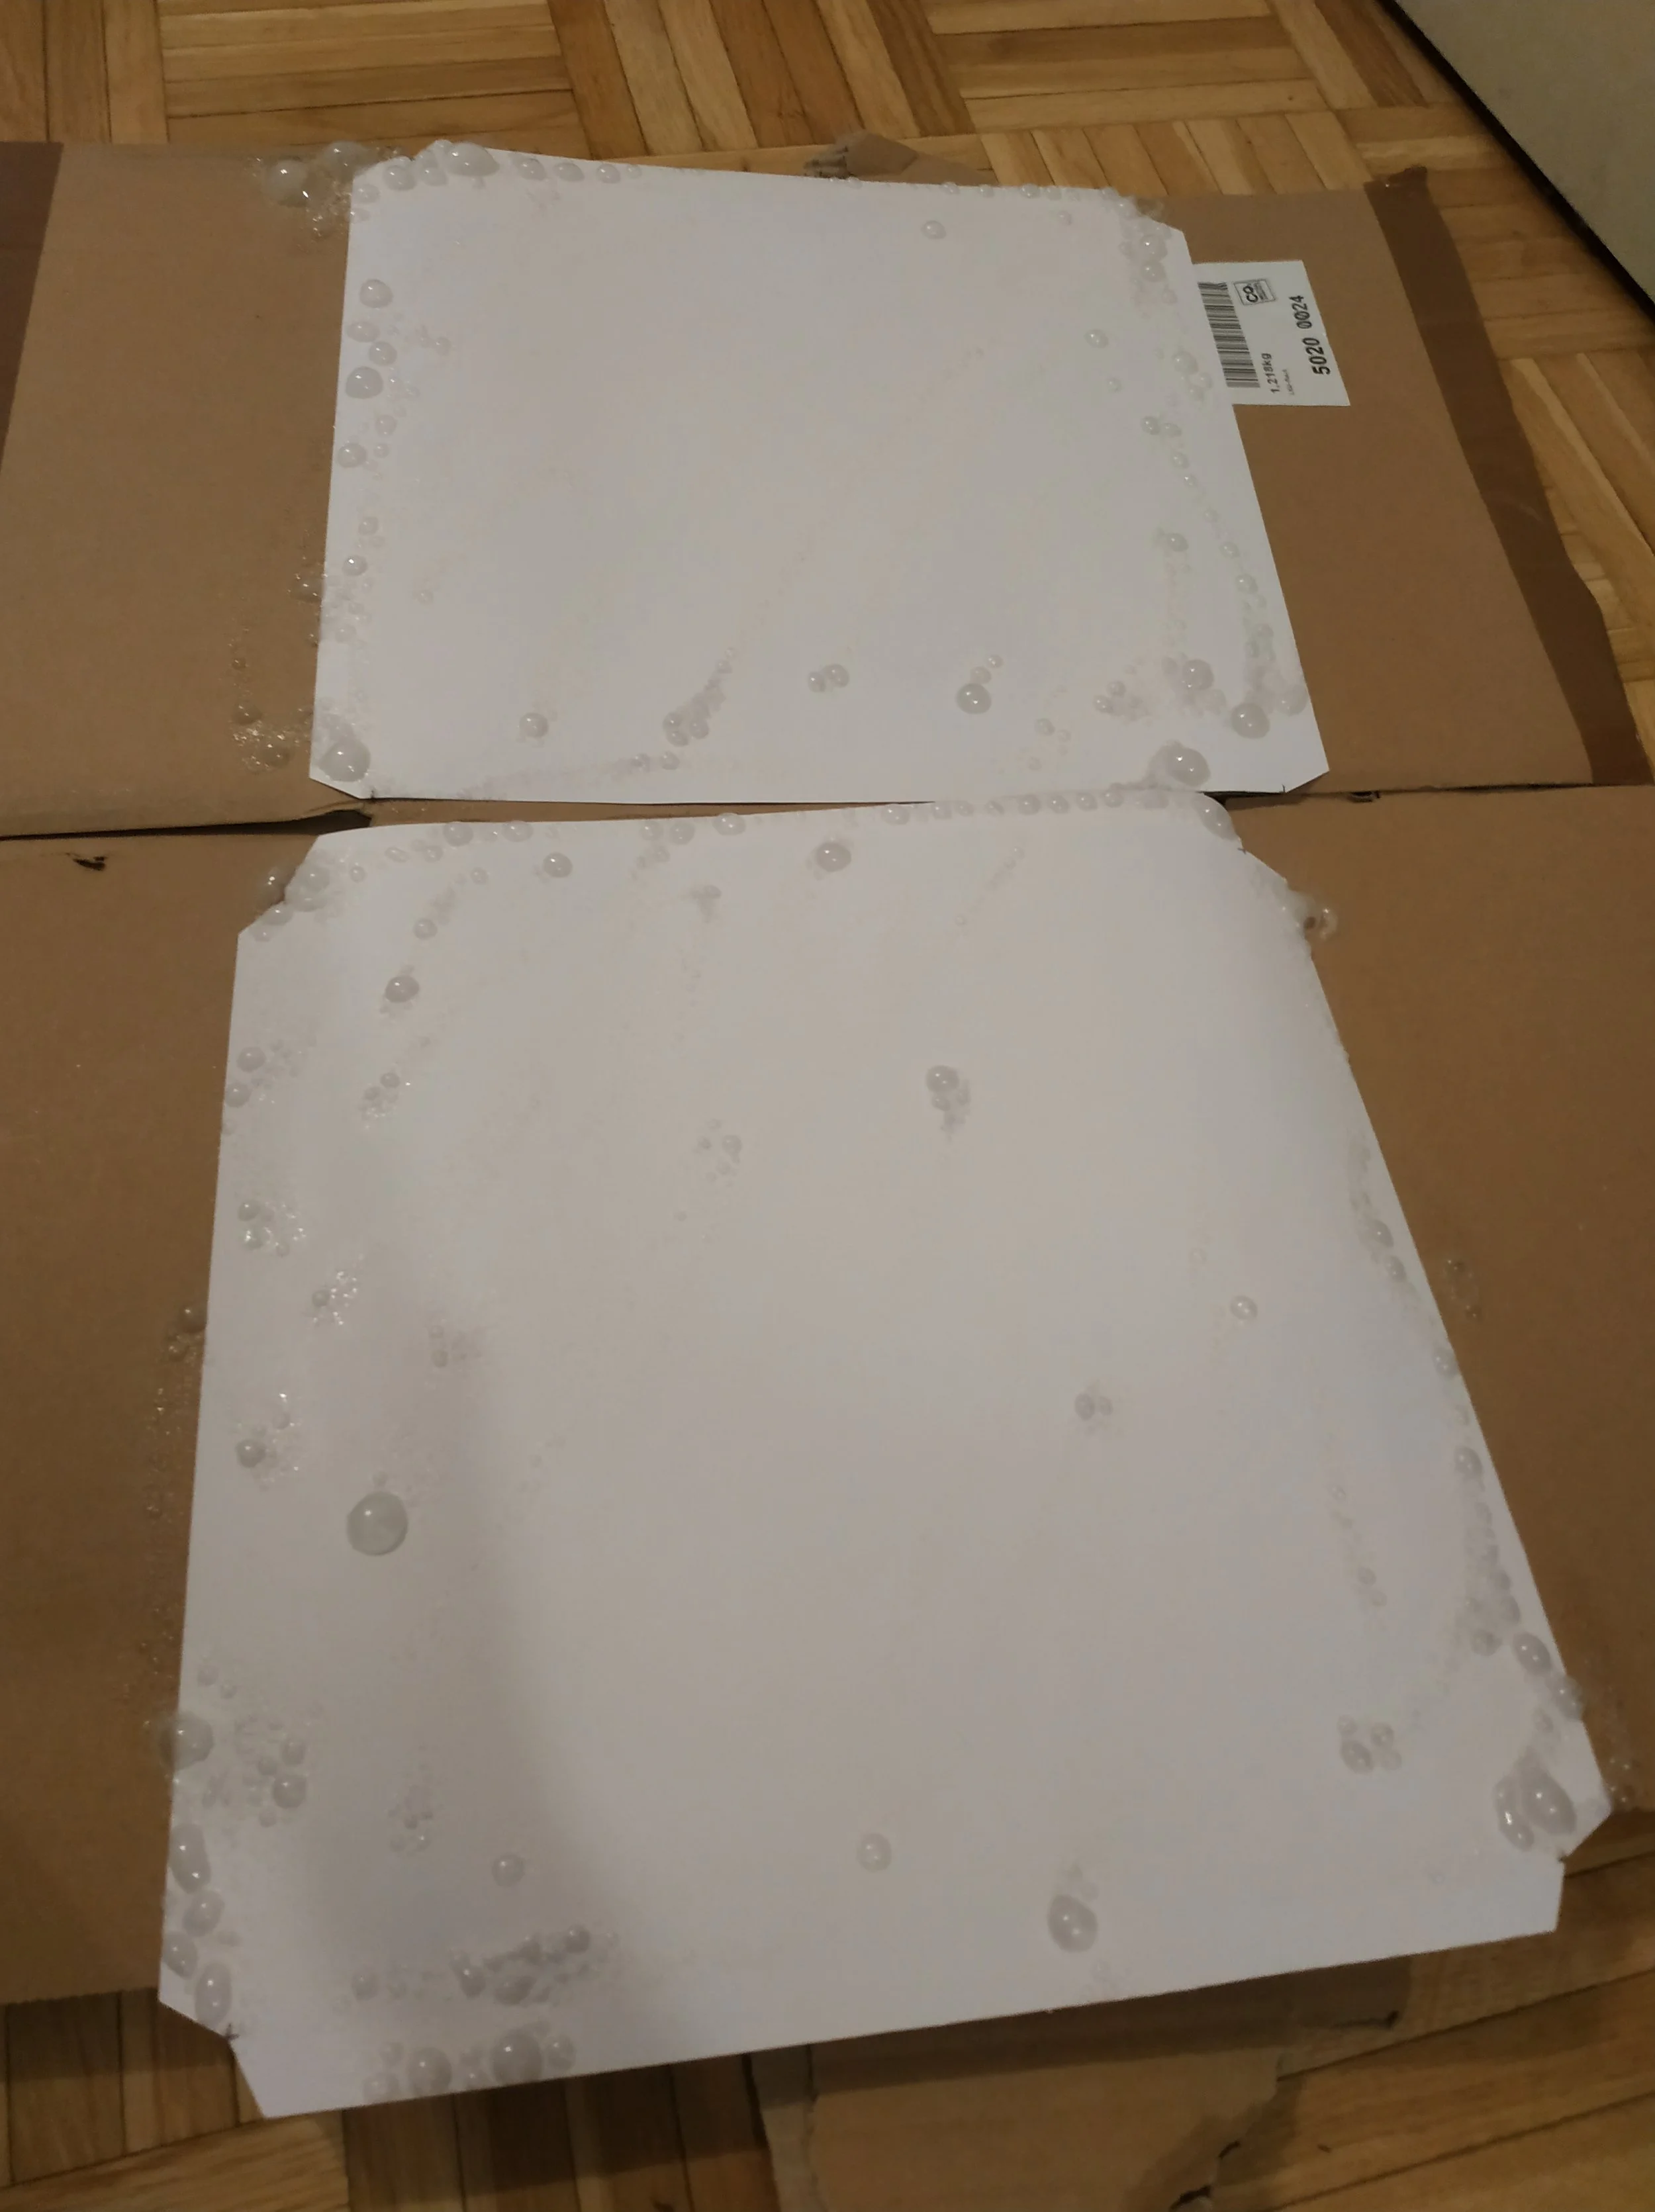
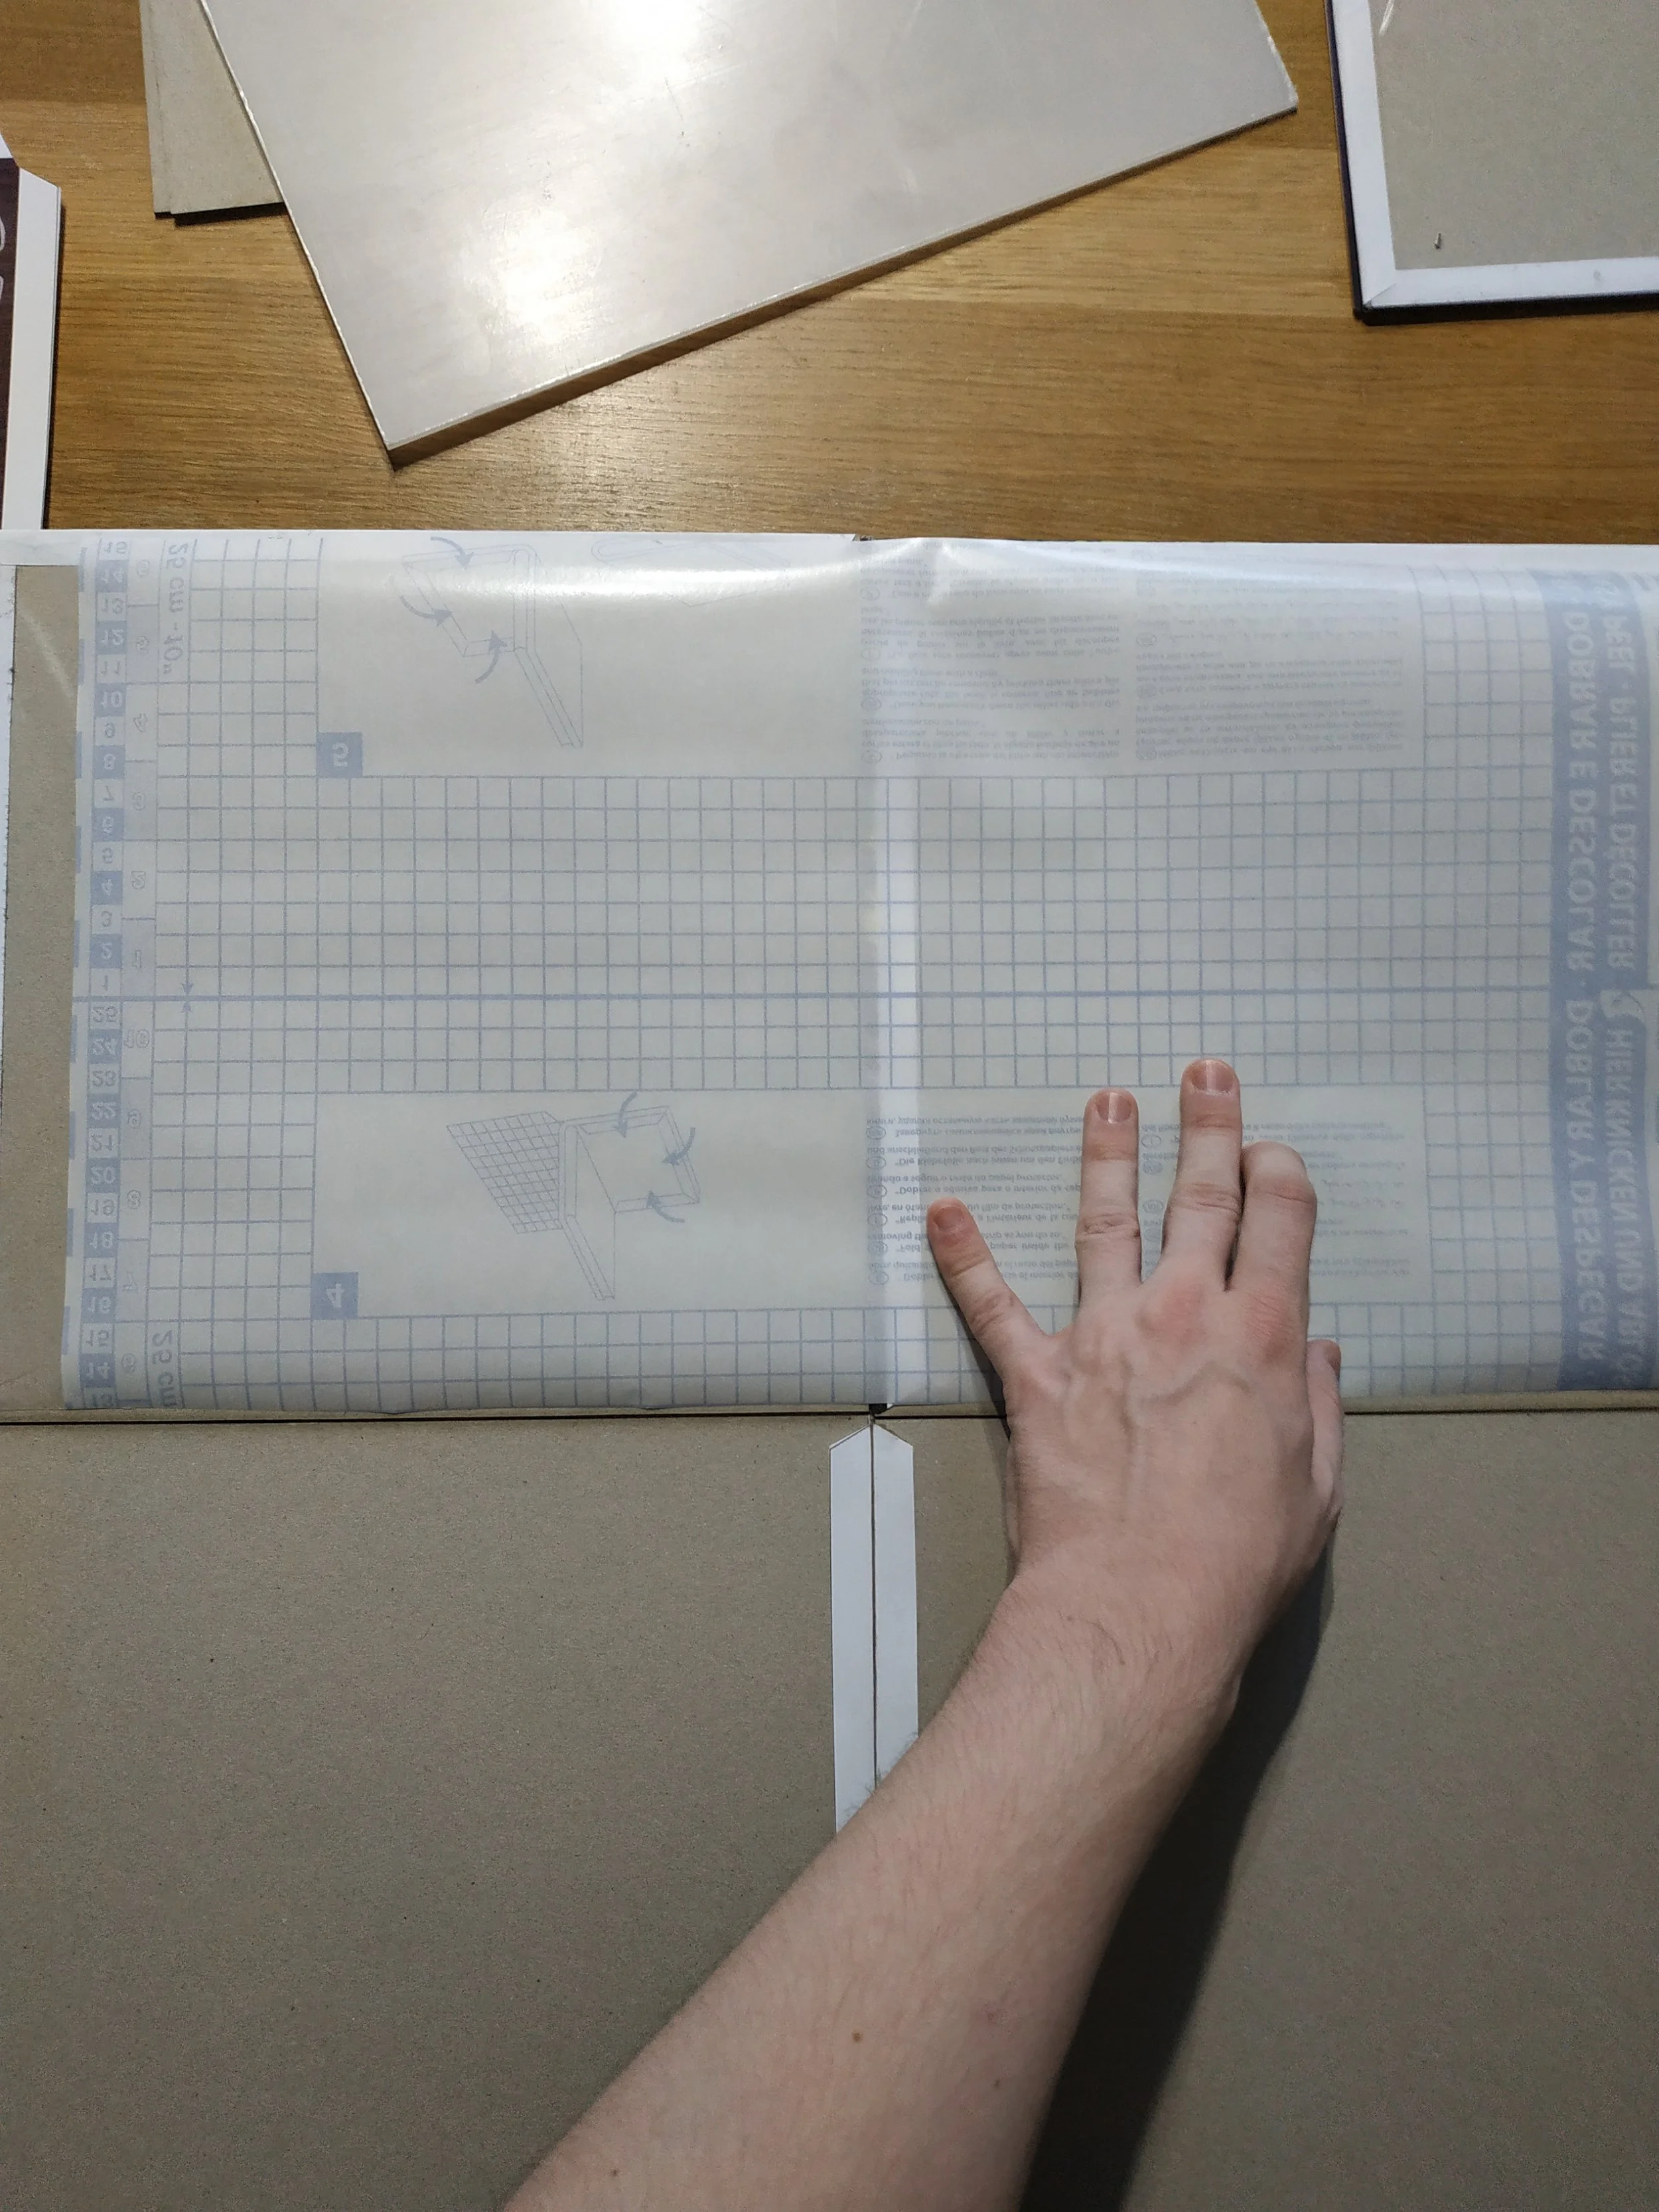
On the back, I reinforced the board with book-cover film. This strengthens the folding edges and also supports the edge that folds in the opposite direction. Otherwise, the board wouldn’t hold together. It’s important to glue the edges correctly — if a section is meant to fold, the film must be glued across the fold (see image 3).
Overall, I’m very happy with the result. If you look closely, you can tell the board is handmade, but it looks good, is sturdy, and feels nice. You get a reliable impression of the material, which was the whole point.
I’m sure you can think of other ways to build a game board like