26 - When You Want the Prototype to Look Pretty … (Part 3: The Box)
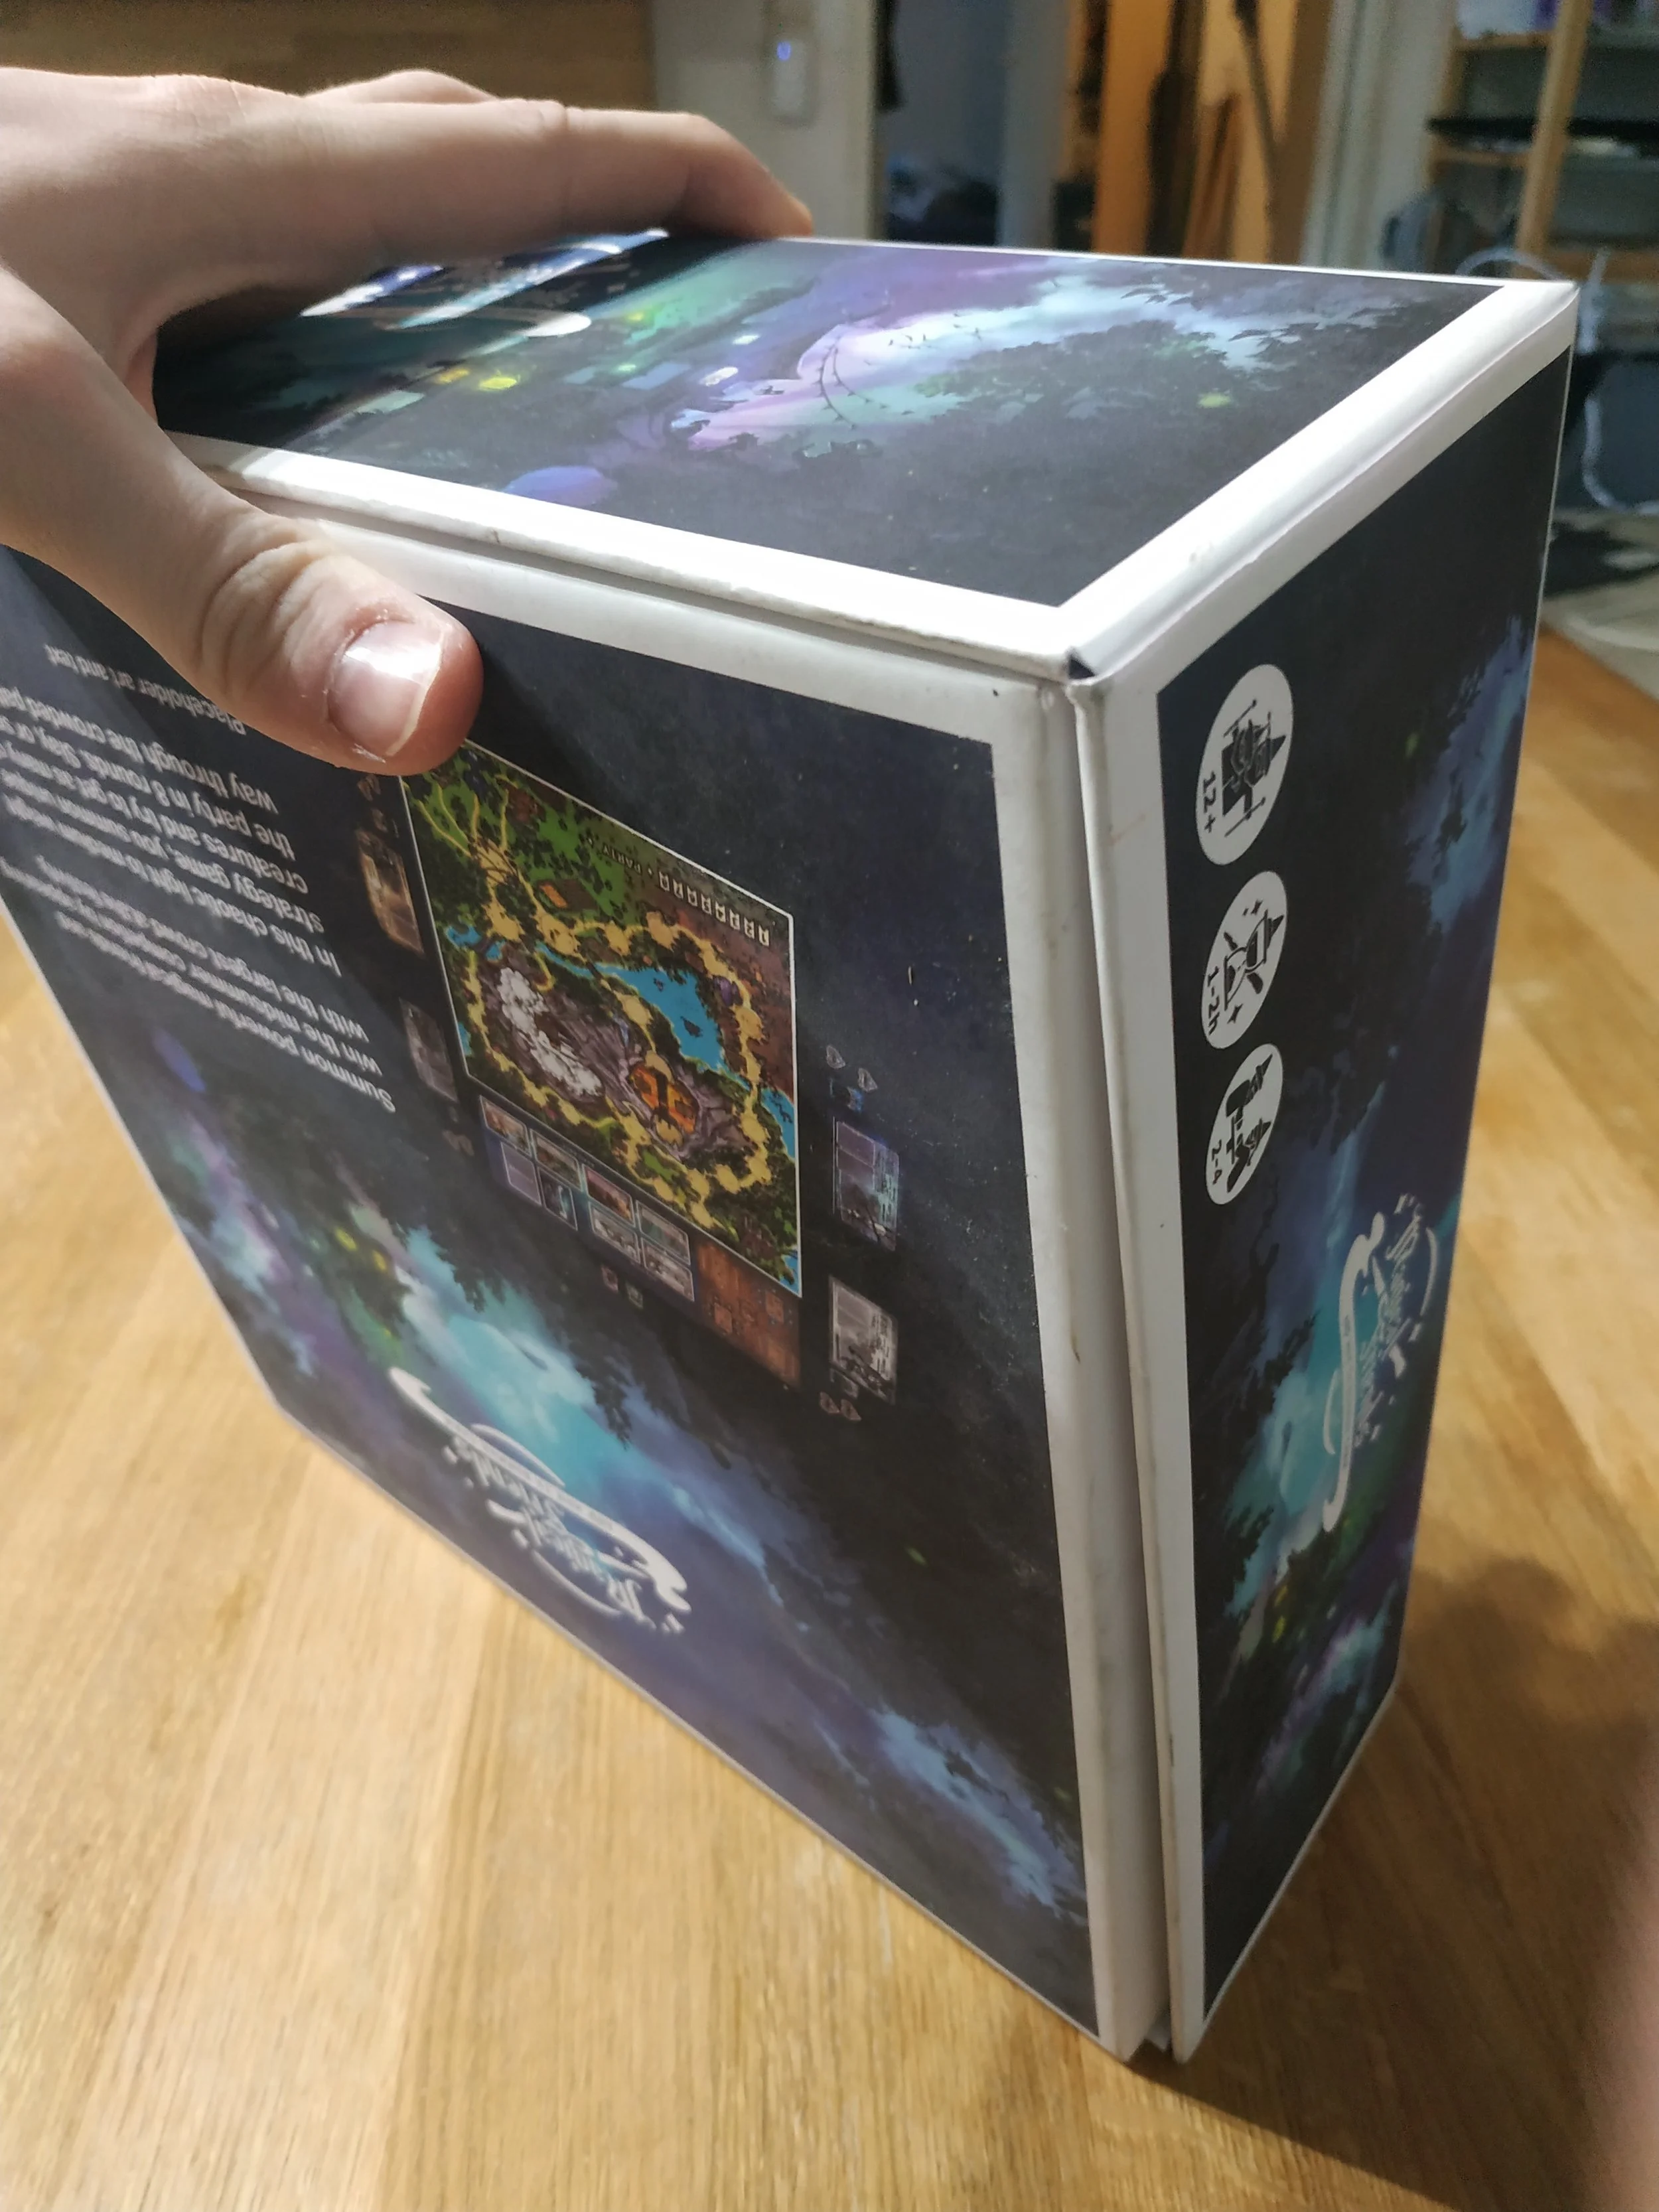
Crafting a nice box is definitely more difficult than cutting out playing cards. But once you finally hold it in your hands, it’s an amazing feeling.
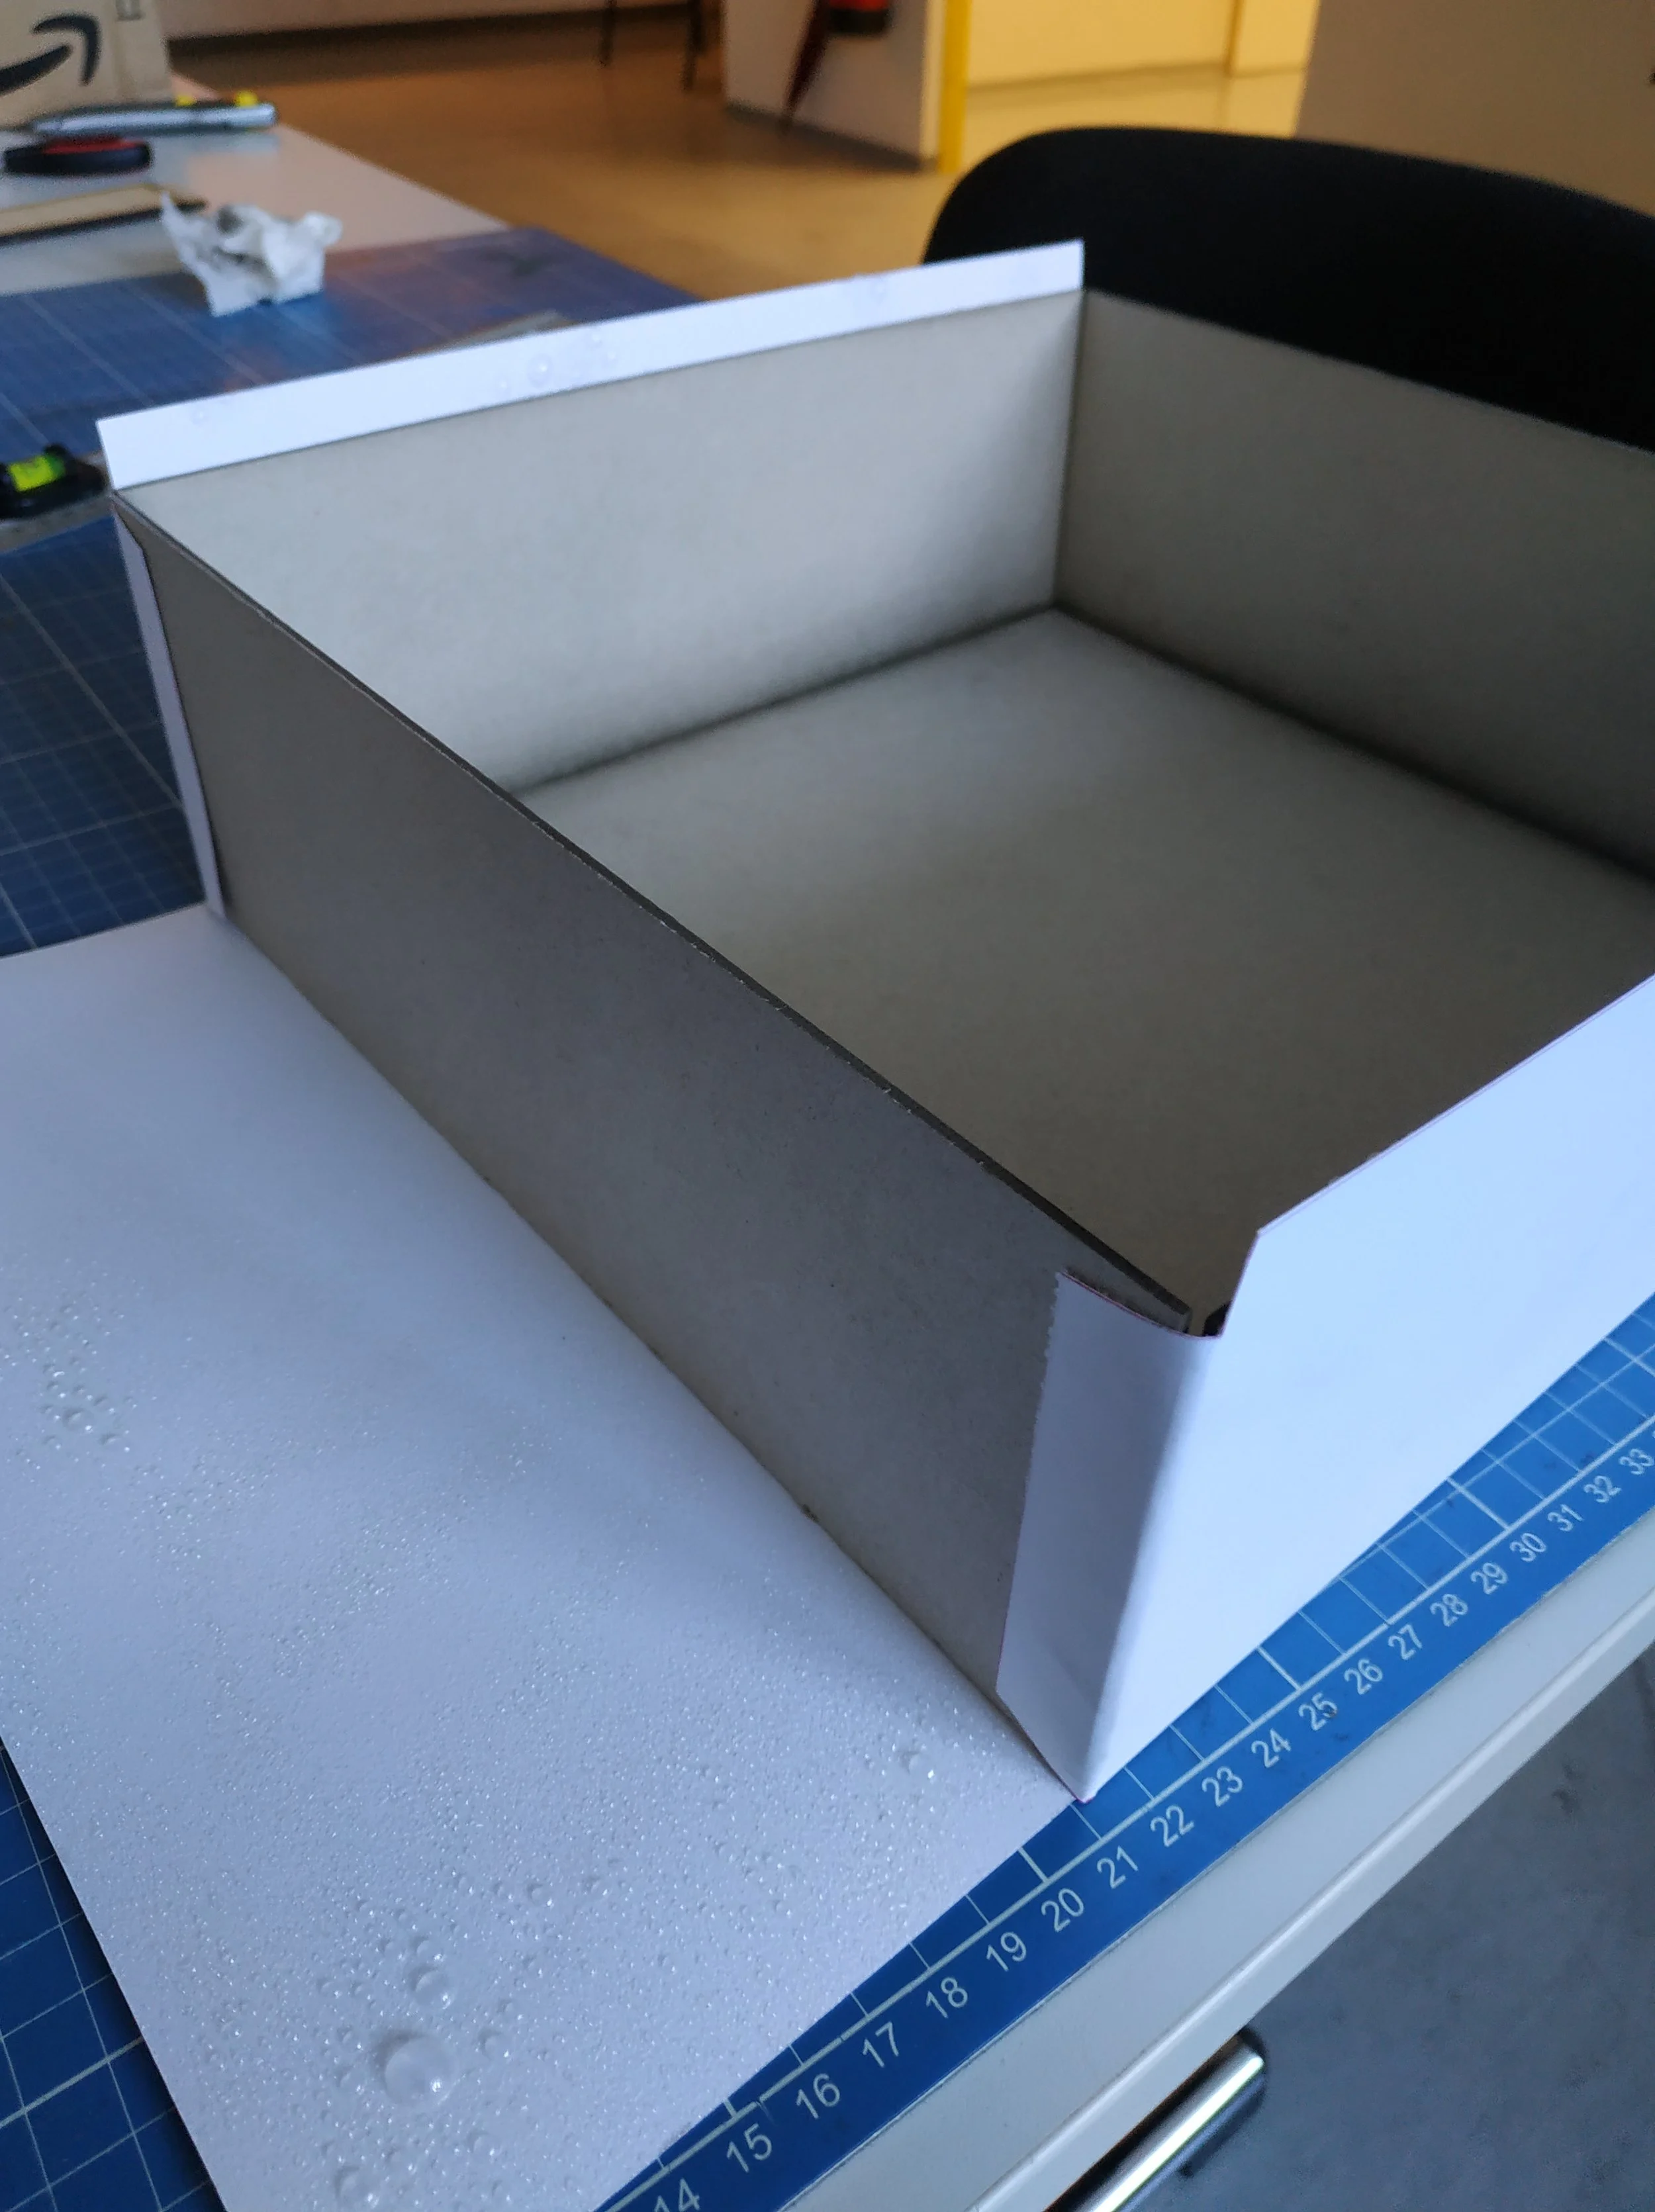
Usually, a game box is made by gluing printed paper onto cardboard. As mentioned in the first part of this series, I used 160 g poster paper for this. Slightly heavier paper is important because the corners of the box are held together only by the glued paper. The lid should be larger than the bottom. With 2 mm cardboard plus 160 g paper, I added a total of 7 mm to the lid’s dimensions.
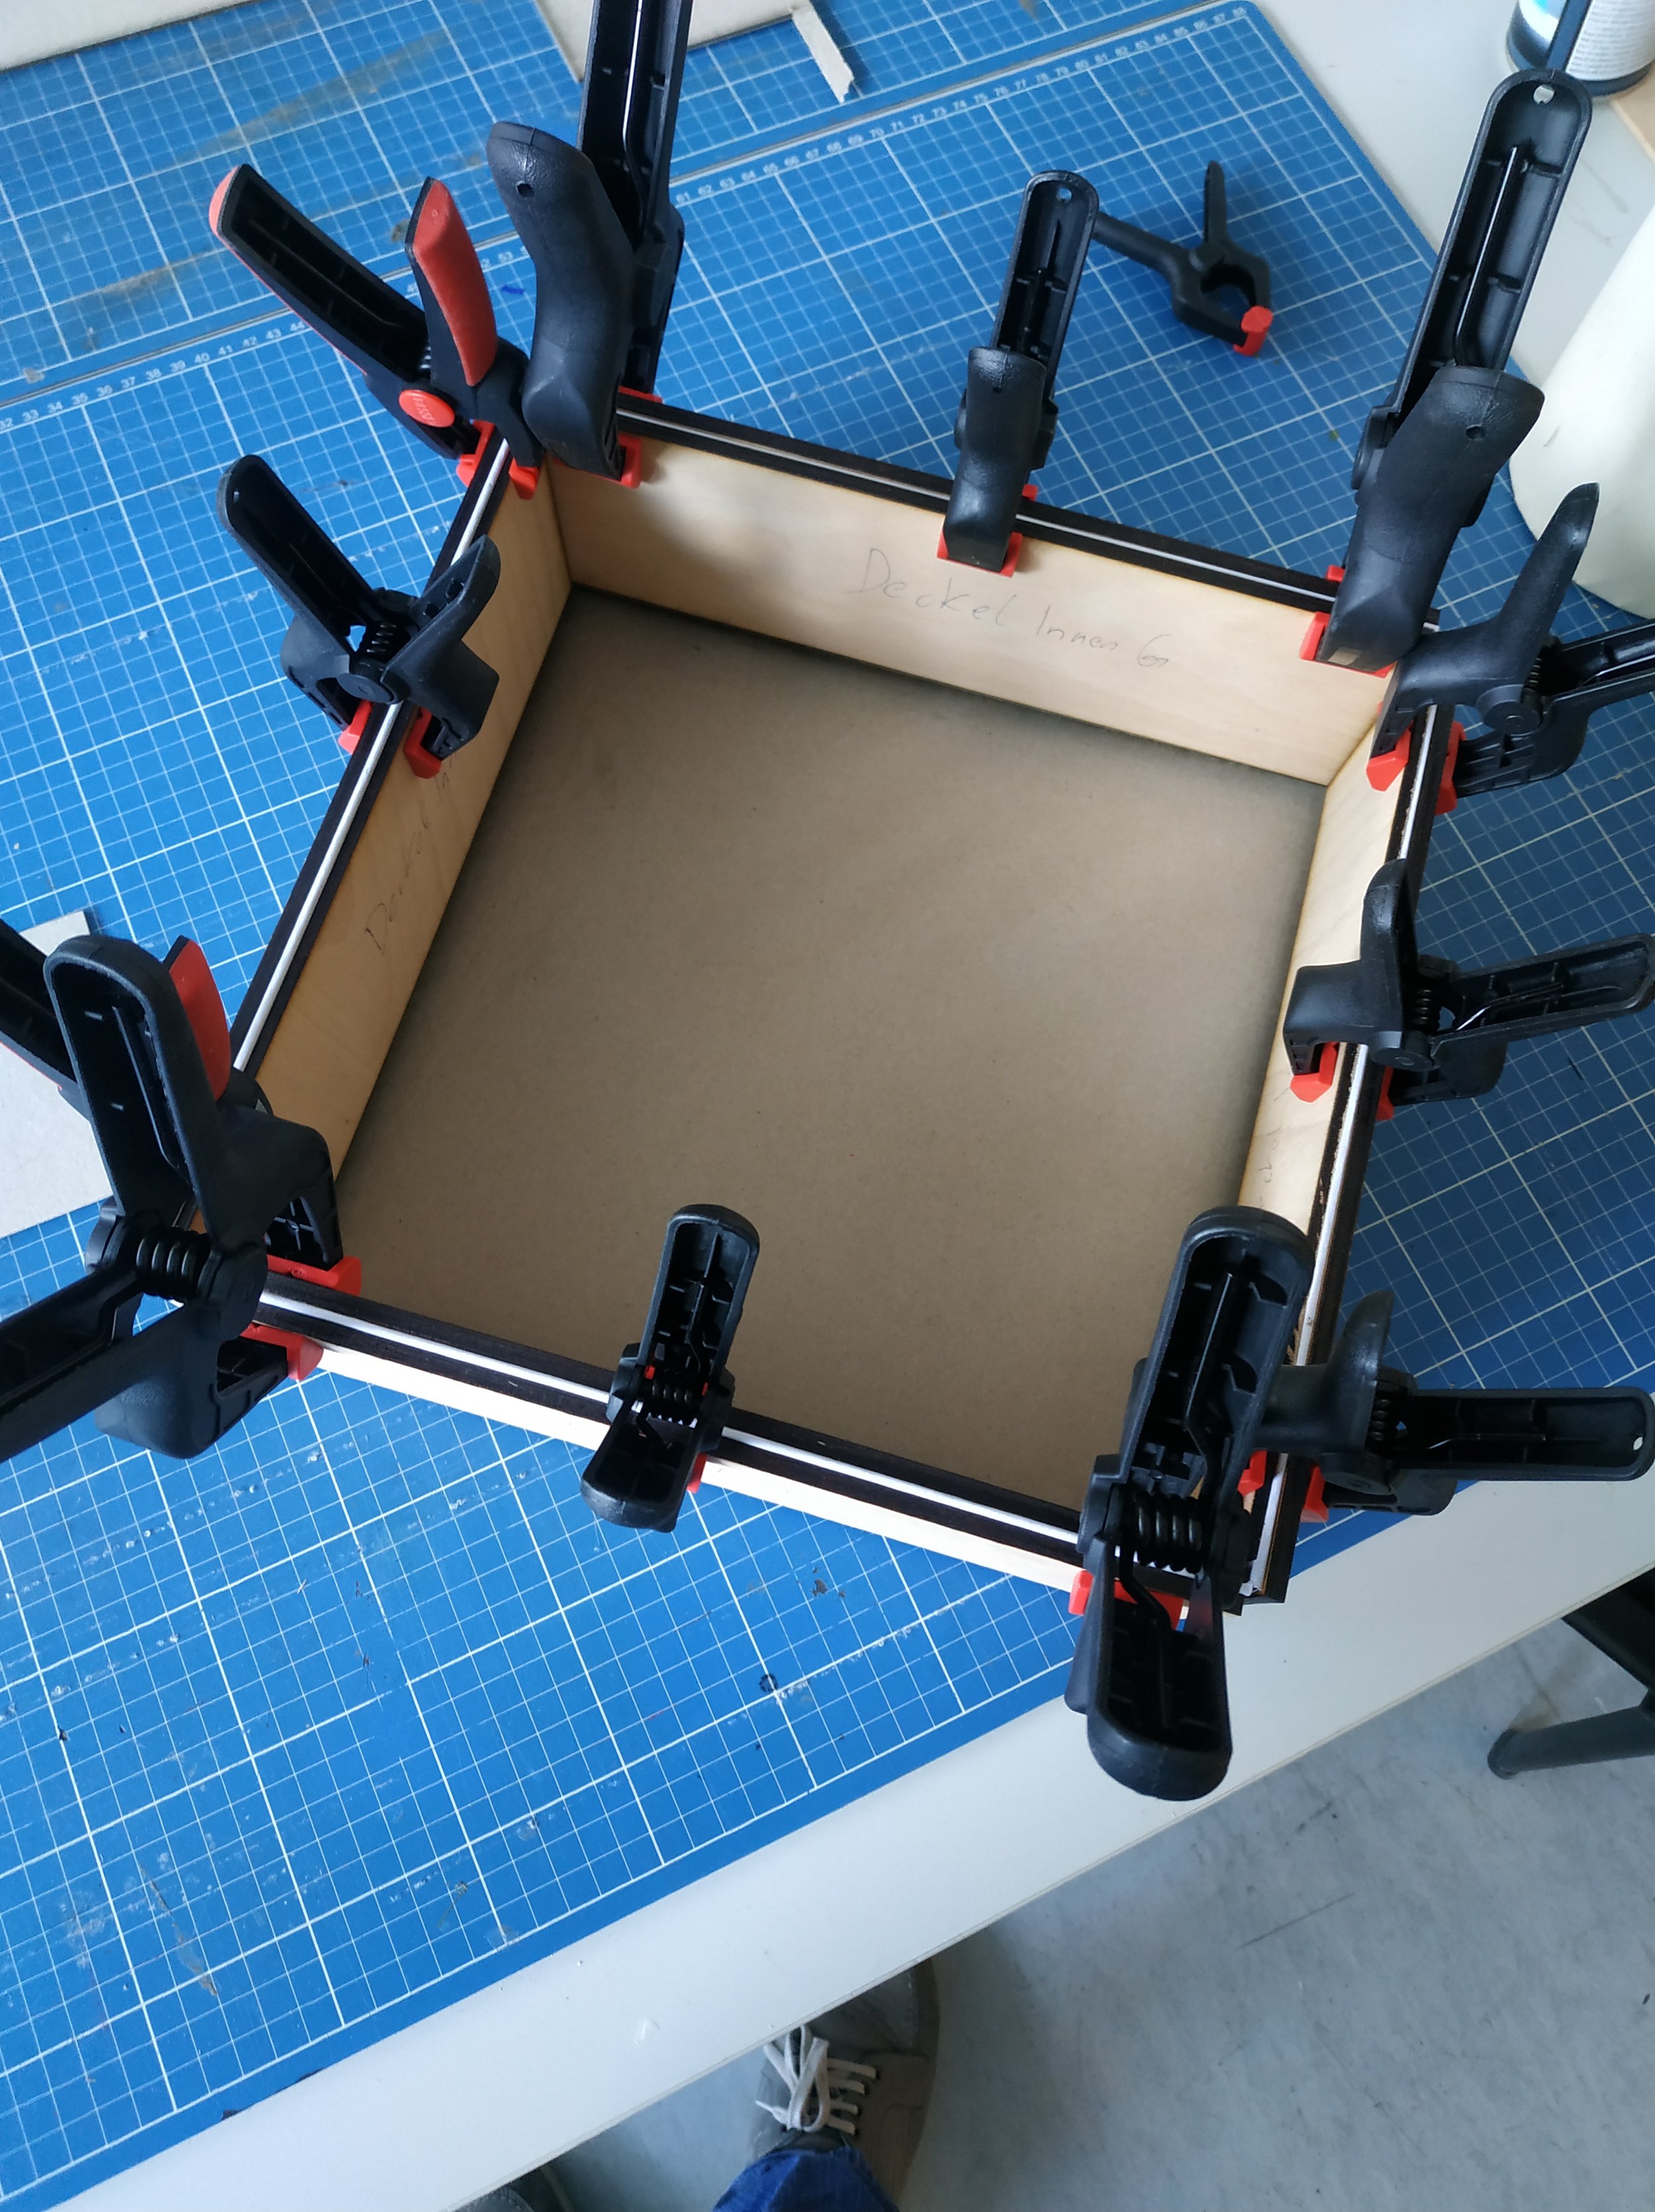
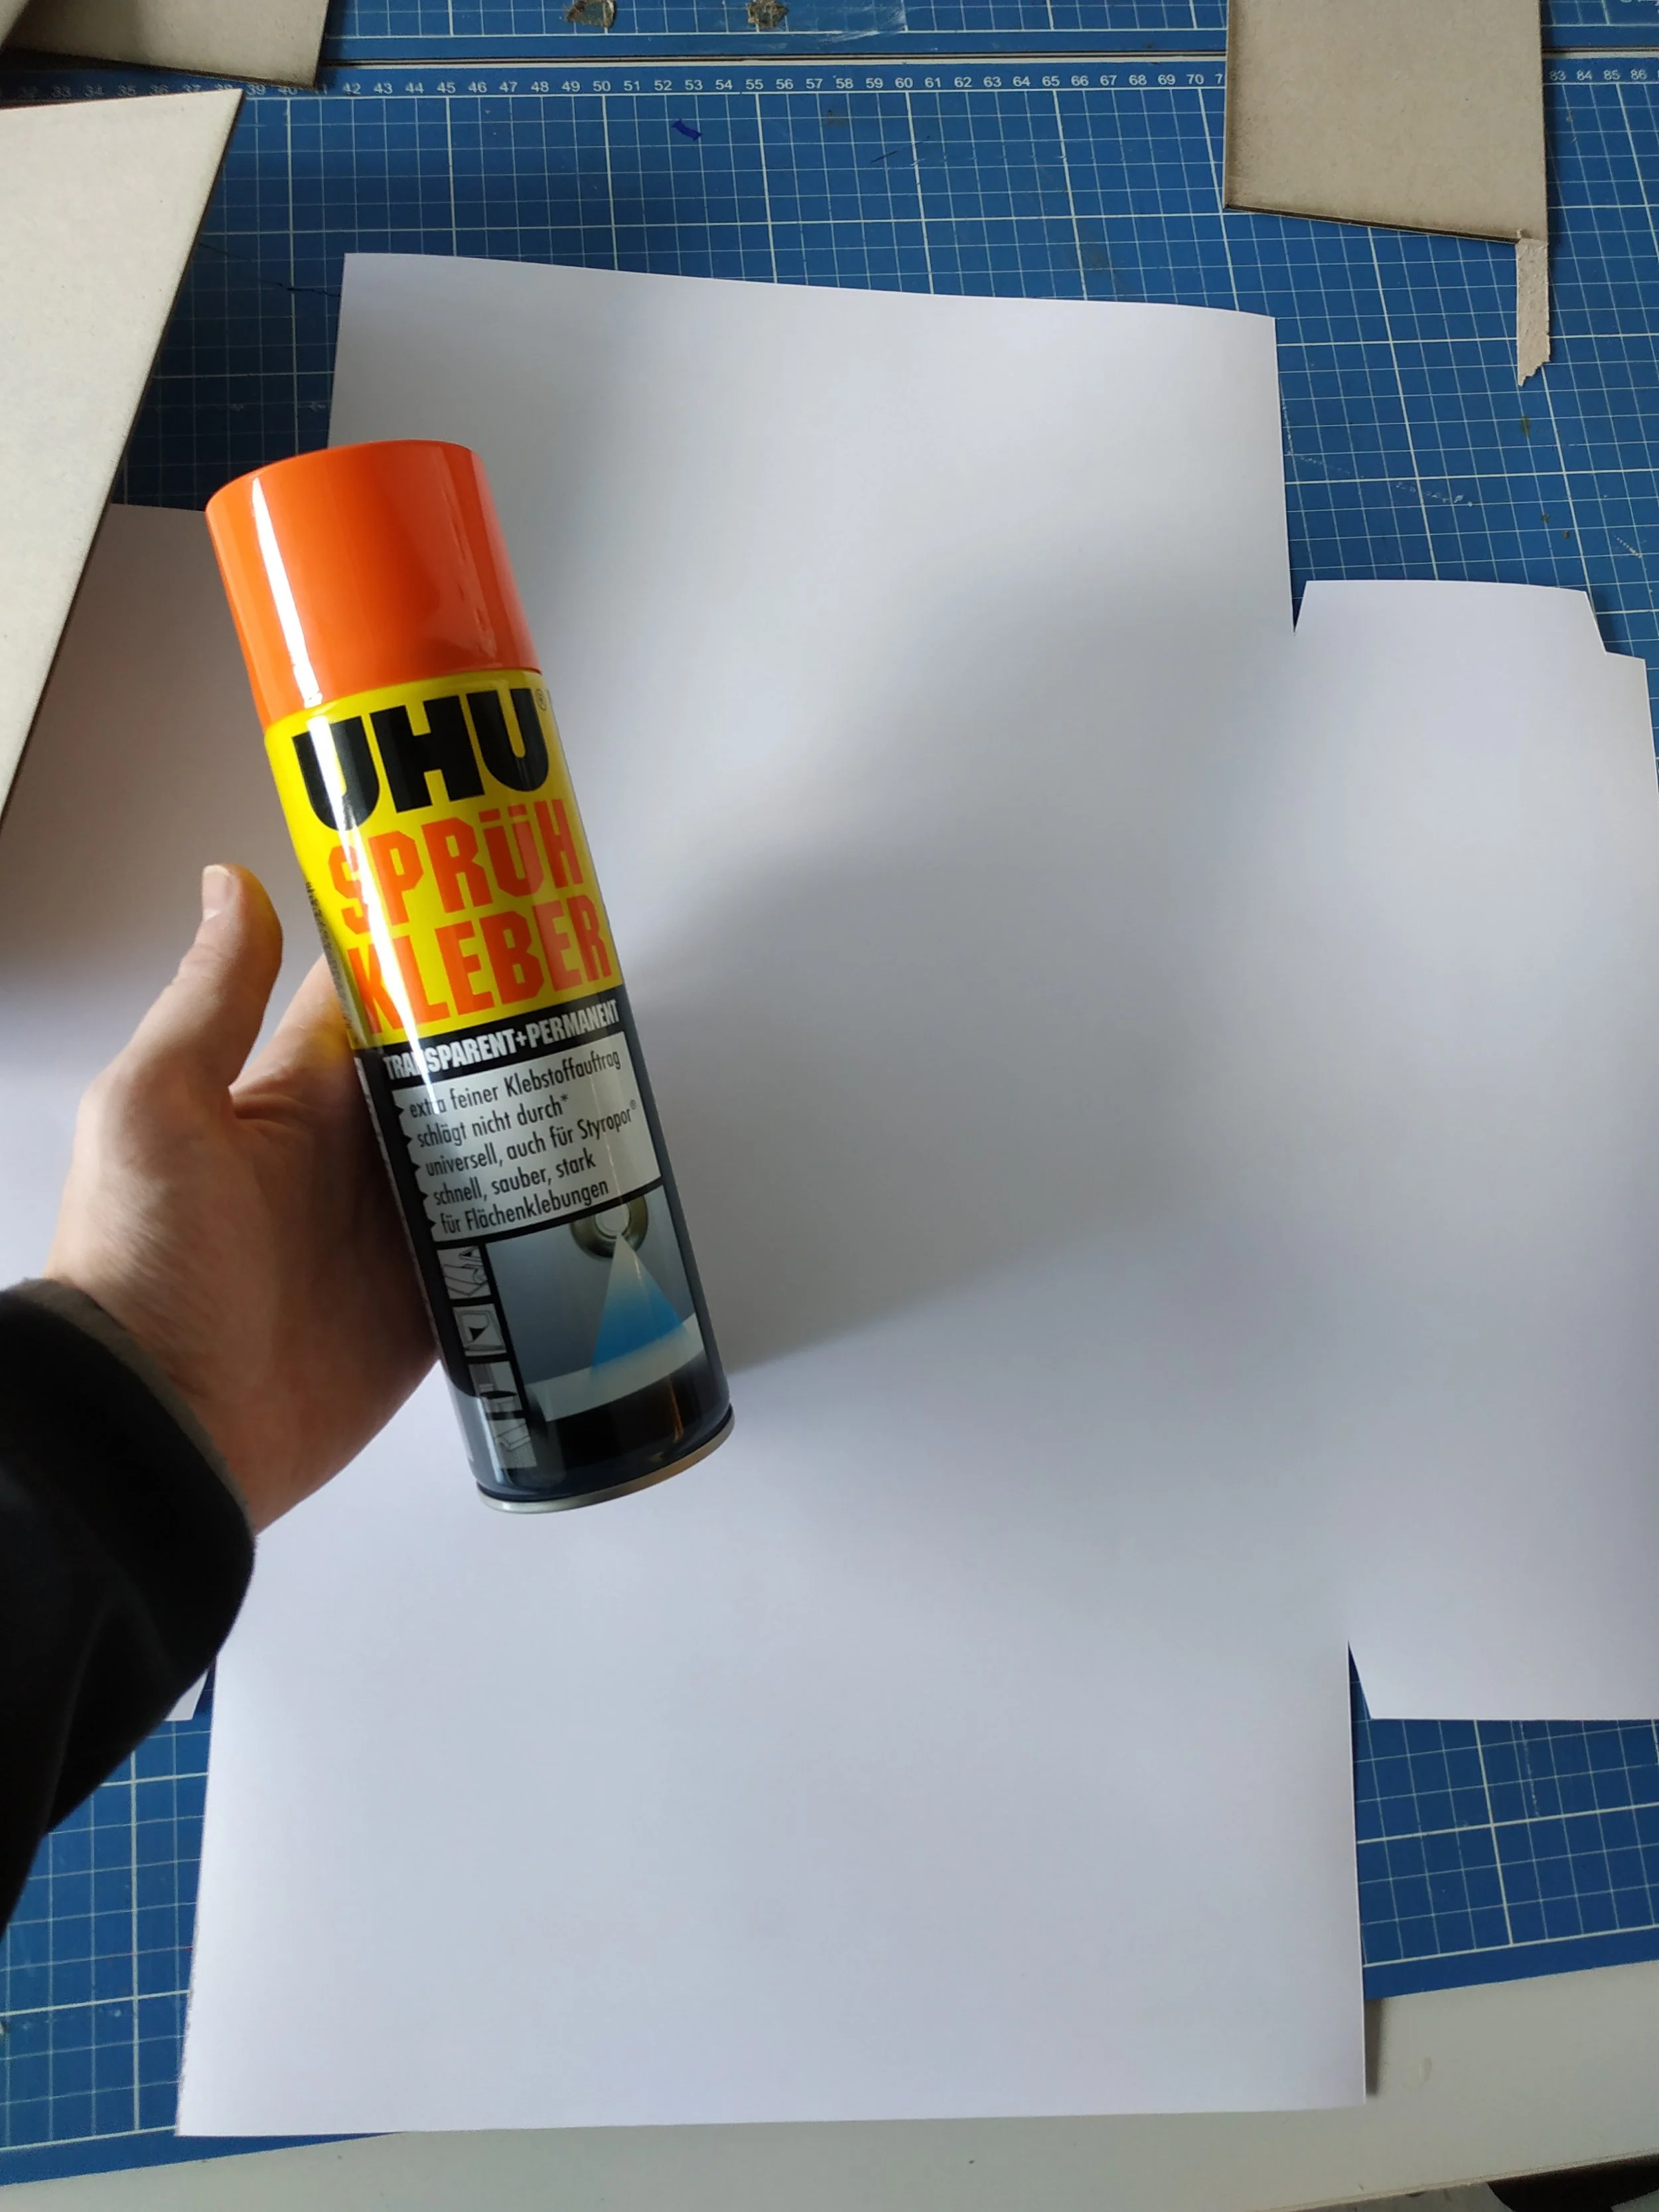

I use 2 mm greyboard. I cut the cardboard using a laser cutter at an open workshop in Salzburg. Along the fold lines, I lightly engraved the material so the board could be bent 90°. Of course, I know not everyone has access to a laser cutter. The cardboard can also be cut with a sharp knife. The box flaps can be cut out and glued manually as well — the paper will hold the flaps together.
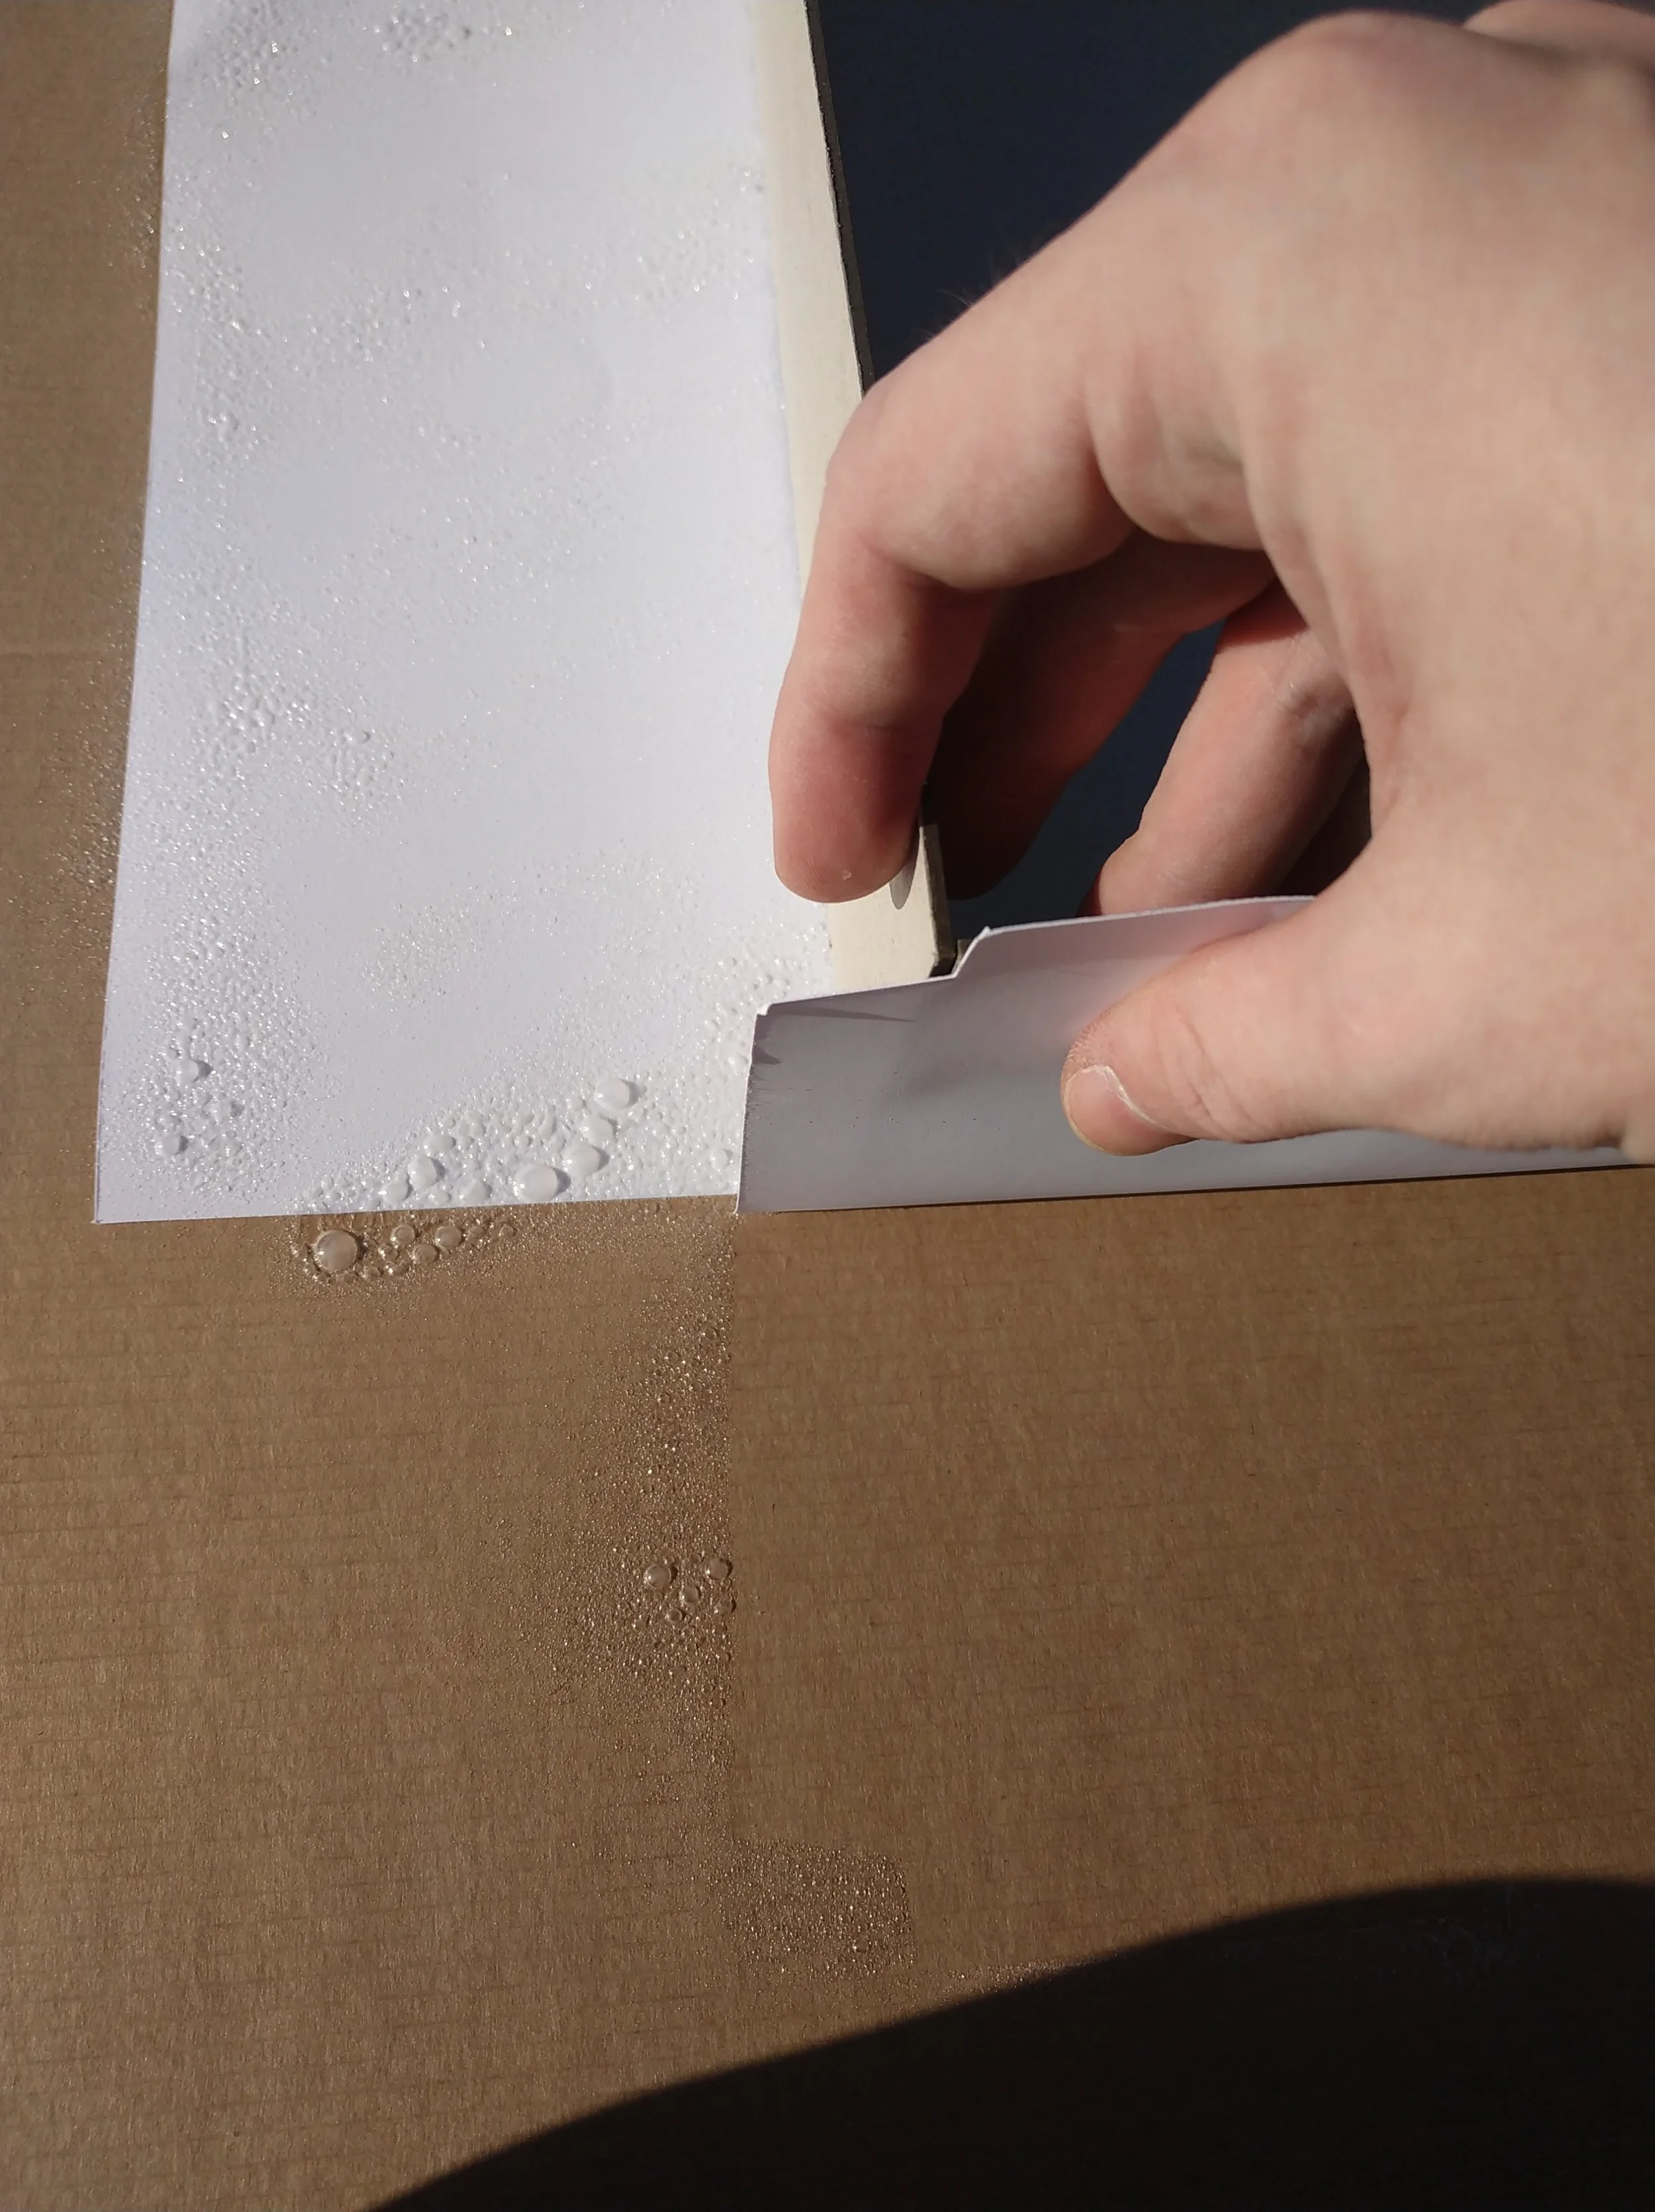
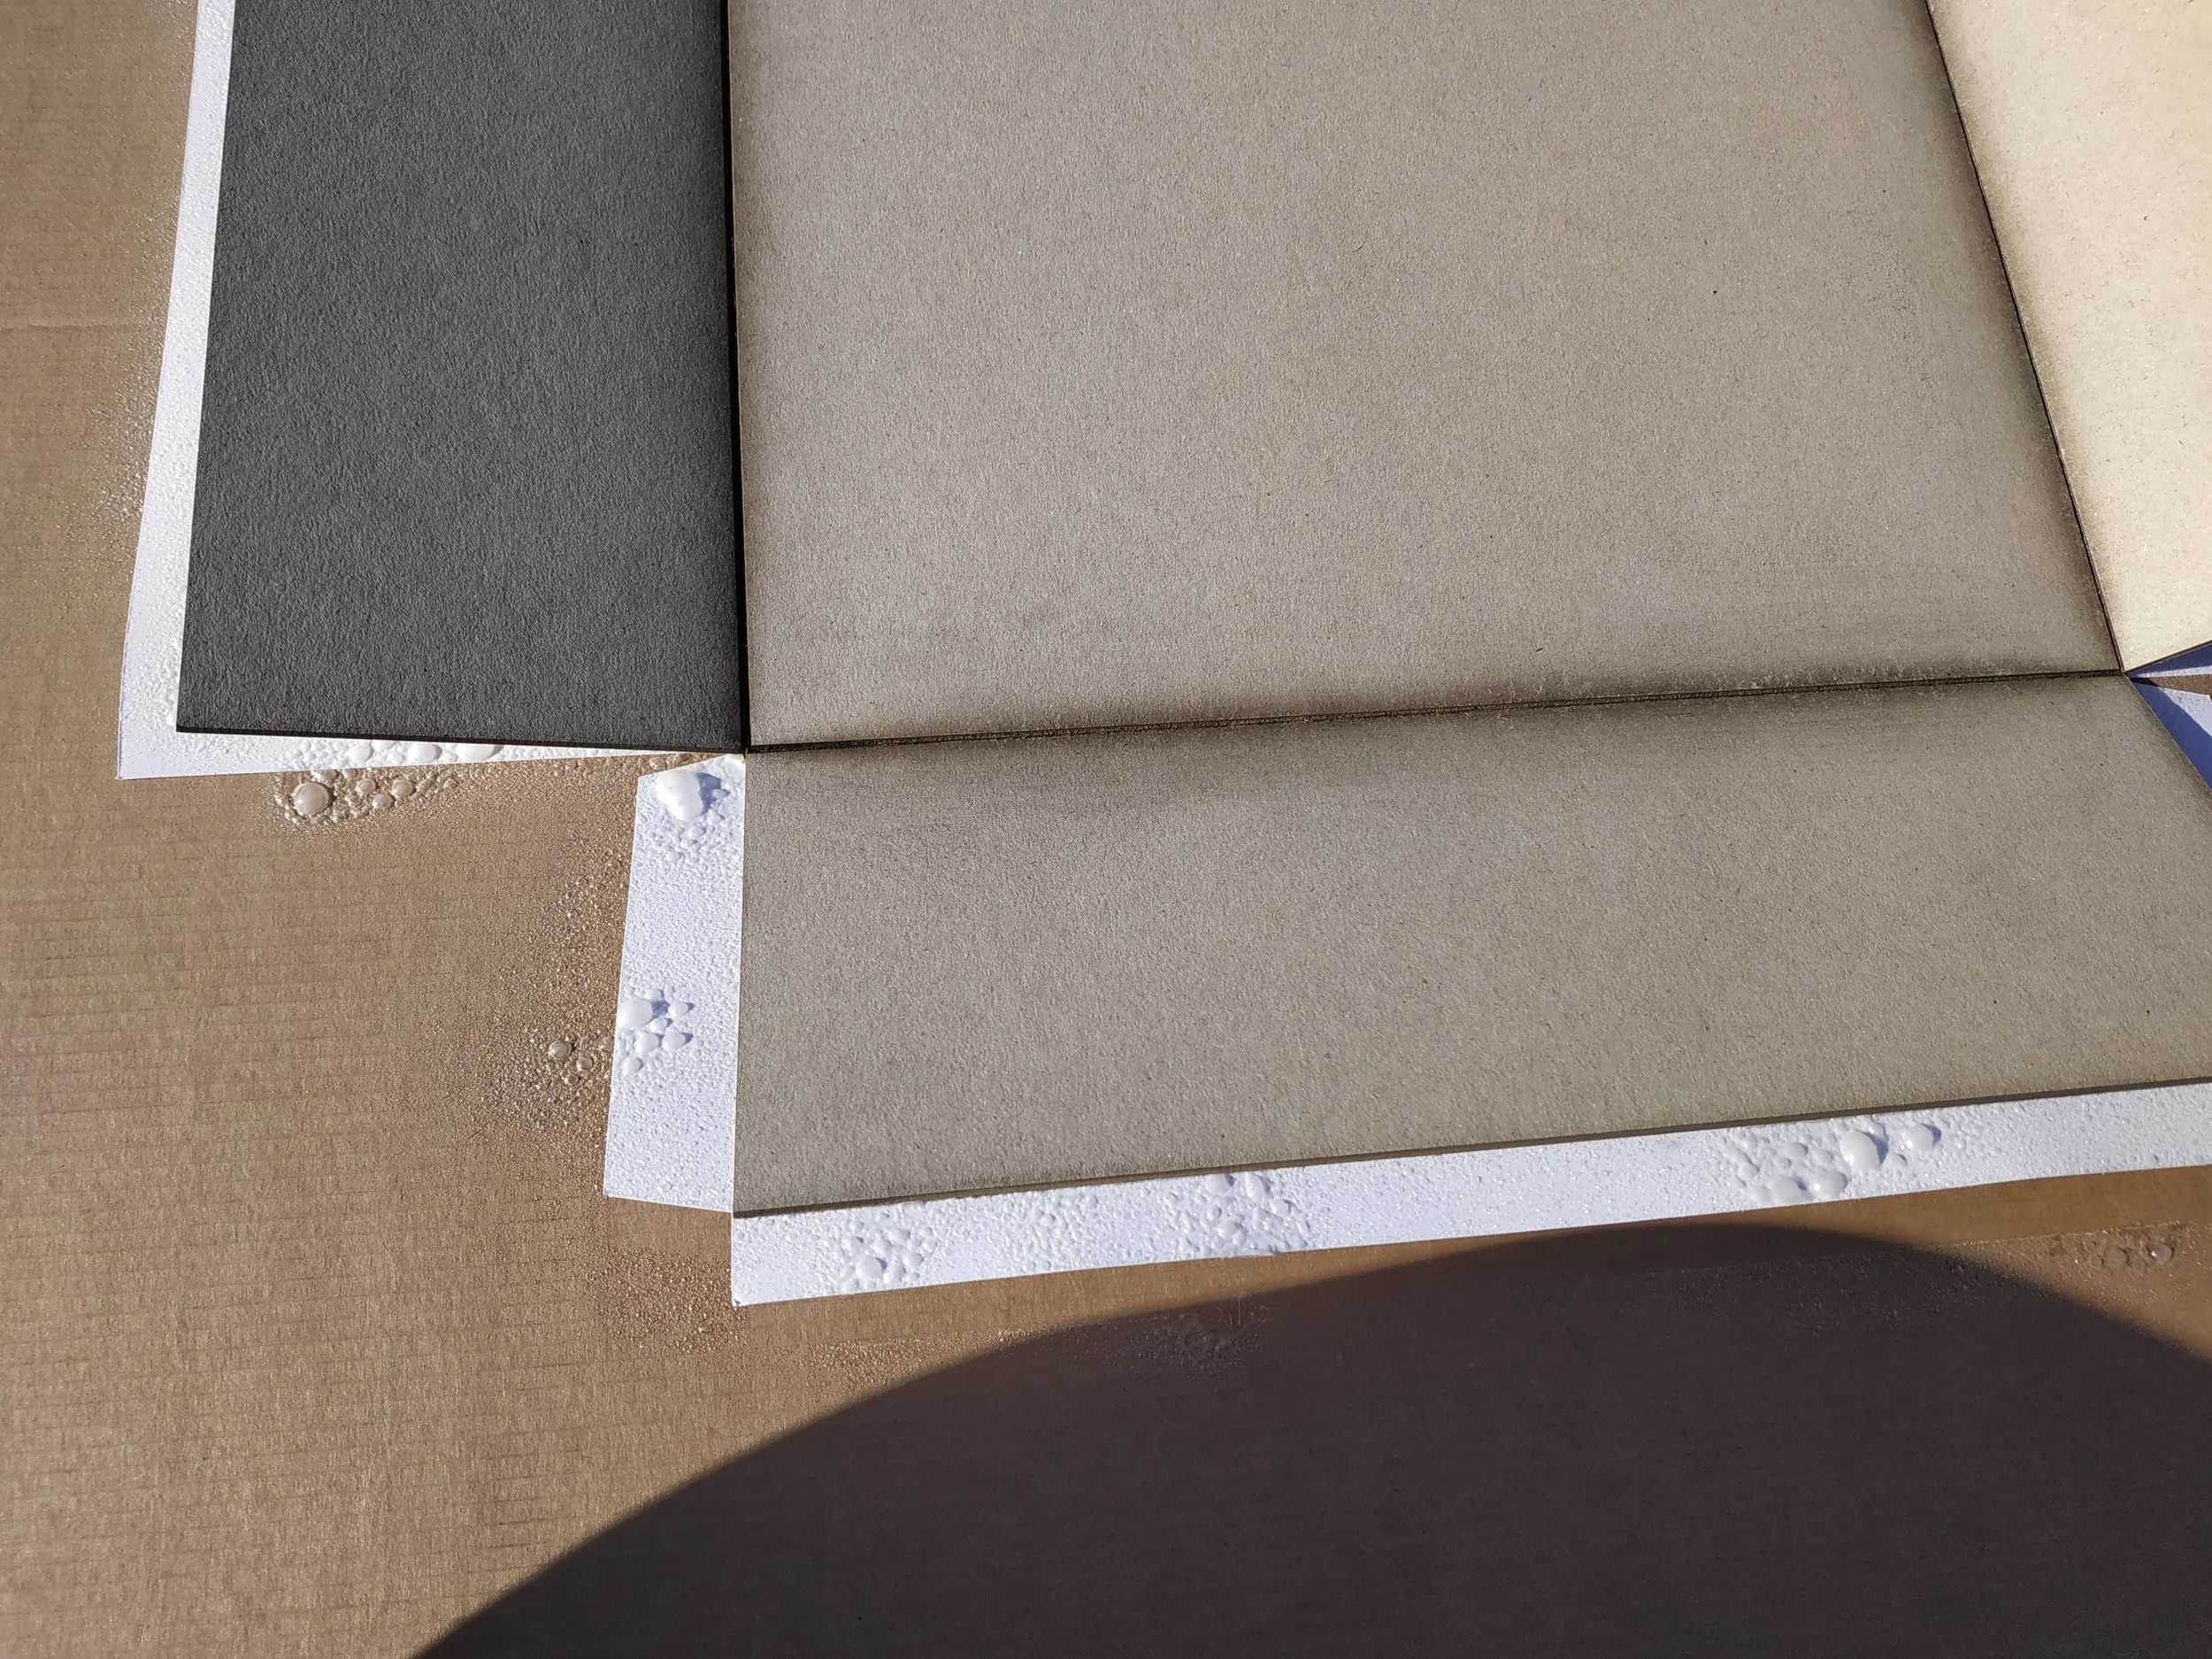
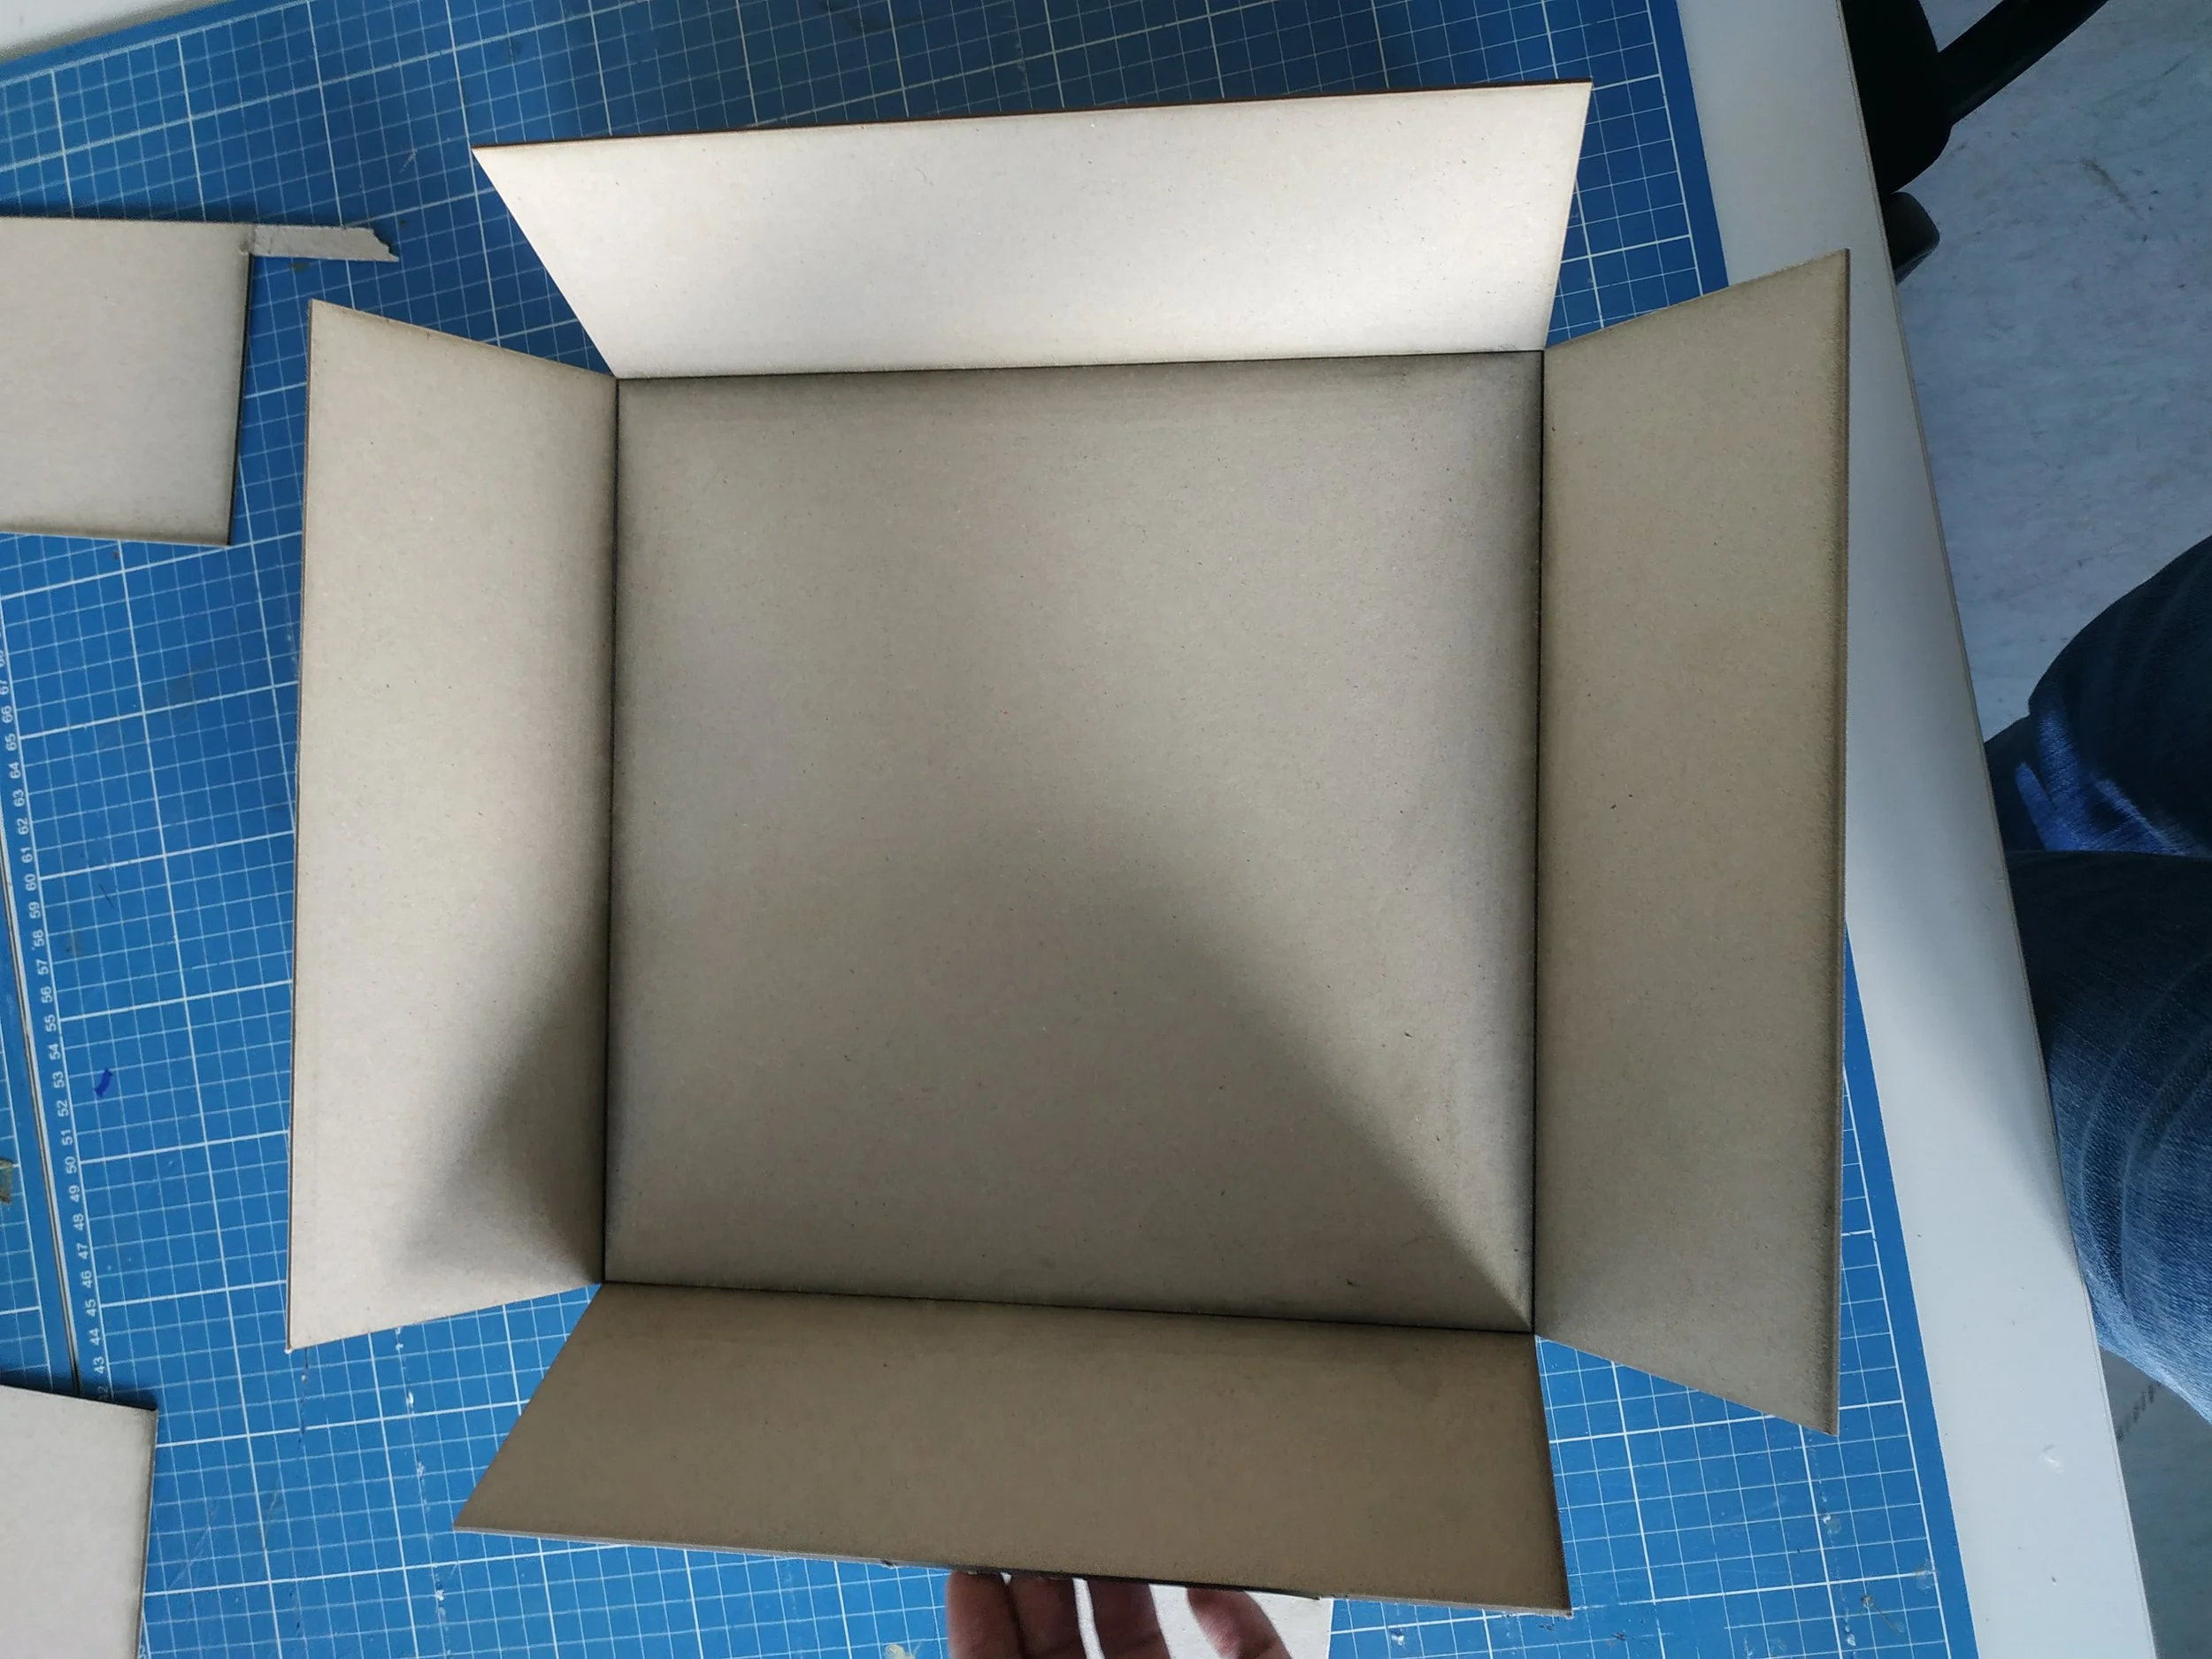
I sprayed the back of the cover paper with spray adhesive, placed the cardboard in the center, and pressed it down firmly. I used the corners of the cardboard as alignment points. You need to be careful here, because not all flaps should touch the glued paper immediately. First, press down the sides where the corner‑flaps are attached. These corner‑flaps should be glued to the adjacent sides at a 90° angle before being glued down under the outer paper layer. After that, the sides should be pressed well and left to dry.
I’m very happy with how the box turned out, but spray adhesive is not pleasant to work with. You have to be careful not to get glue residue on the print, and it takes a long time to dry. Spray adhesive is also not ideal during winter months, since it shouldn’t be used in cold environments. For the remaining eight prototypes I made for shipping, I used bookbinding glue instead. Using bookbinding glue was much more pleasant, and the results were far better. Press once firmly, and the bond holds very quickly. If you ever make your own boxes, I would absolutely recommend bookbinding glue!
I made my special insert for the cardboard standees the same way as the box, but additionally engraved and cut it with the laser cutter. I’m afraid that part would be difficult to do without one. But not everyone needs such an insert. I didn’t pre‑print and cut it because I couldn’t align the print cleanly with the cutouts otherwise.

A word of caution: at least with my print, the surface is not very water‑resistant. A single drop is enough to make the colors run. I sprayed a thin layer of clear matte varnish over the box so that a splash of water wouldn’t immediately ruin the artwork.
There are certainly many different ways to build boxes like this, even if you use the same materials. I’m always open to tips and suggestions for improvement. Just leave me a comment.