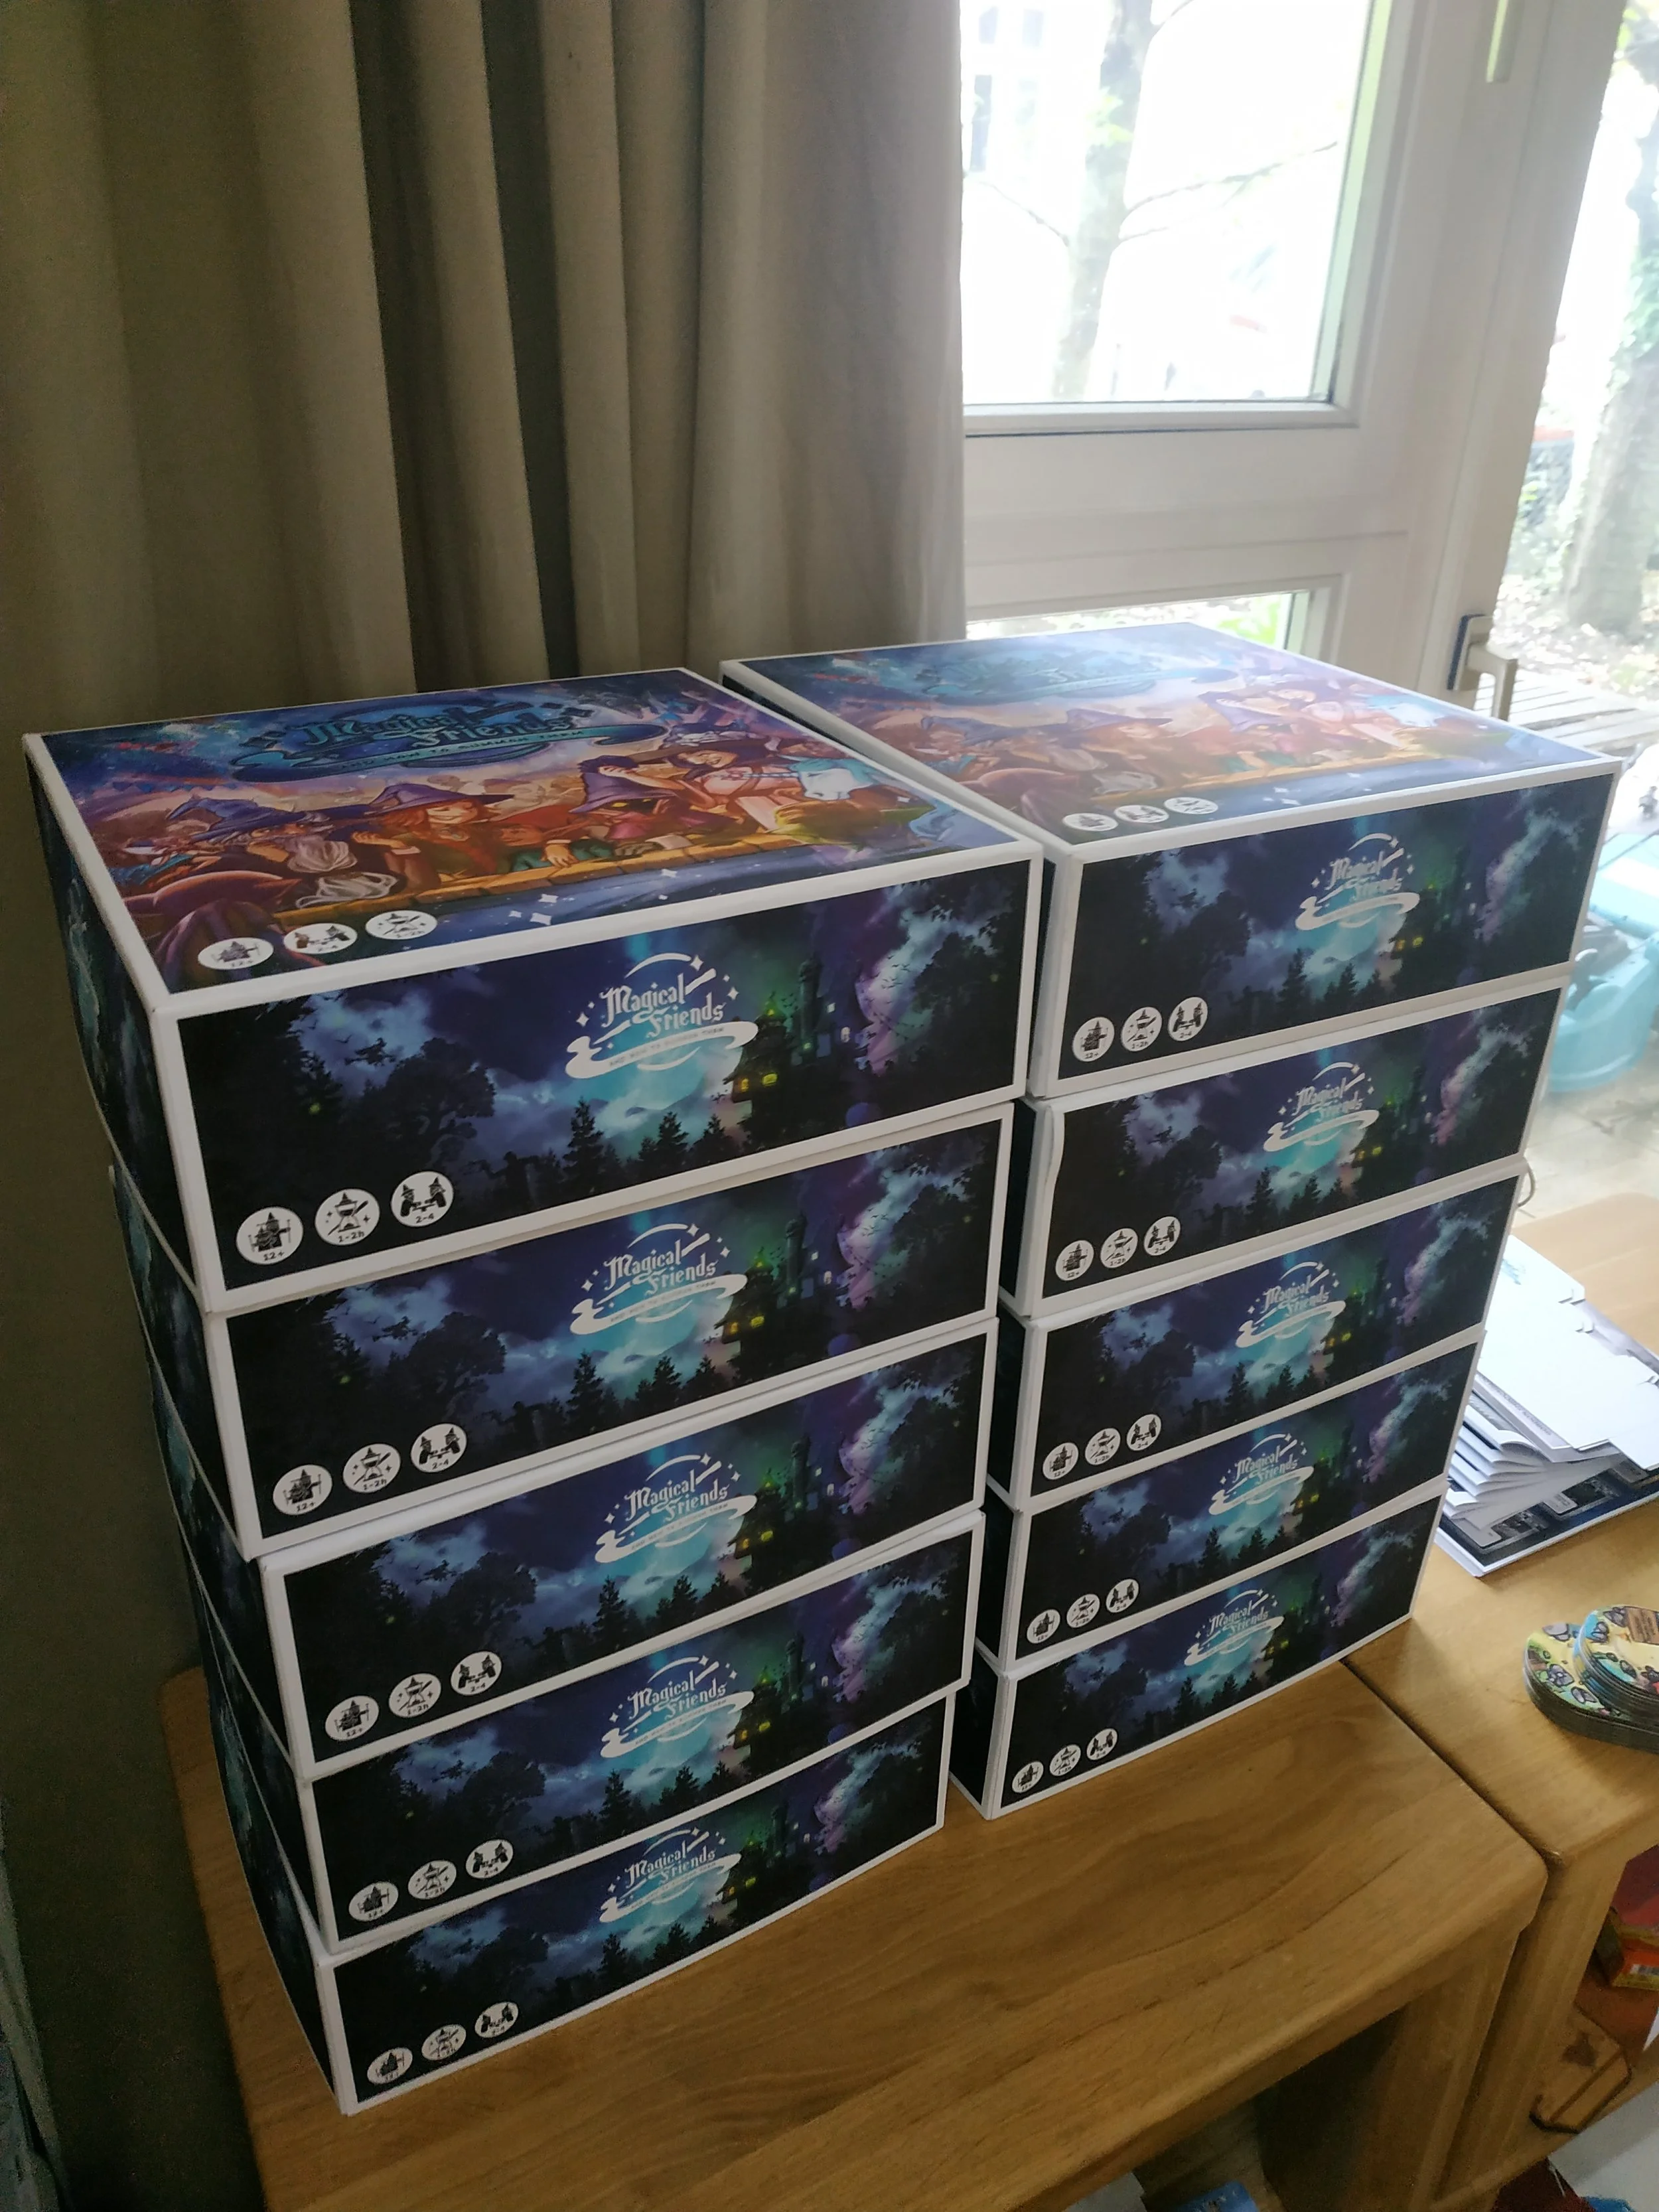
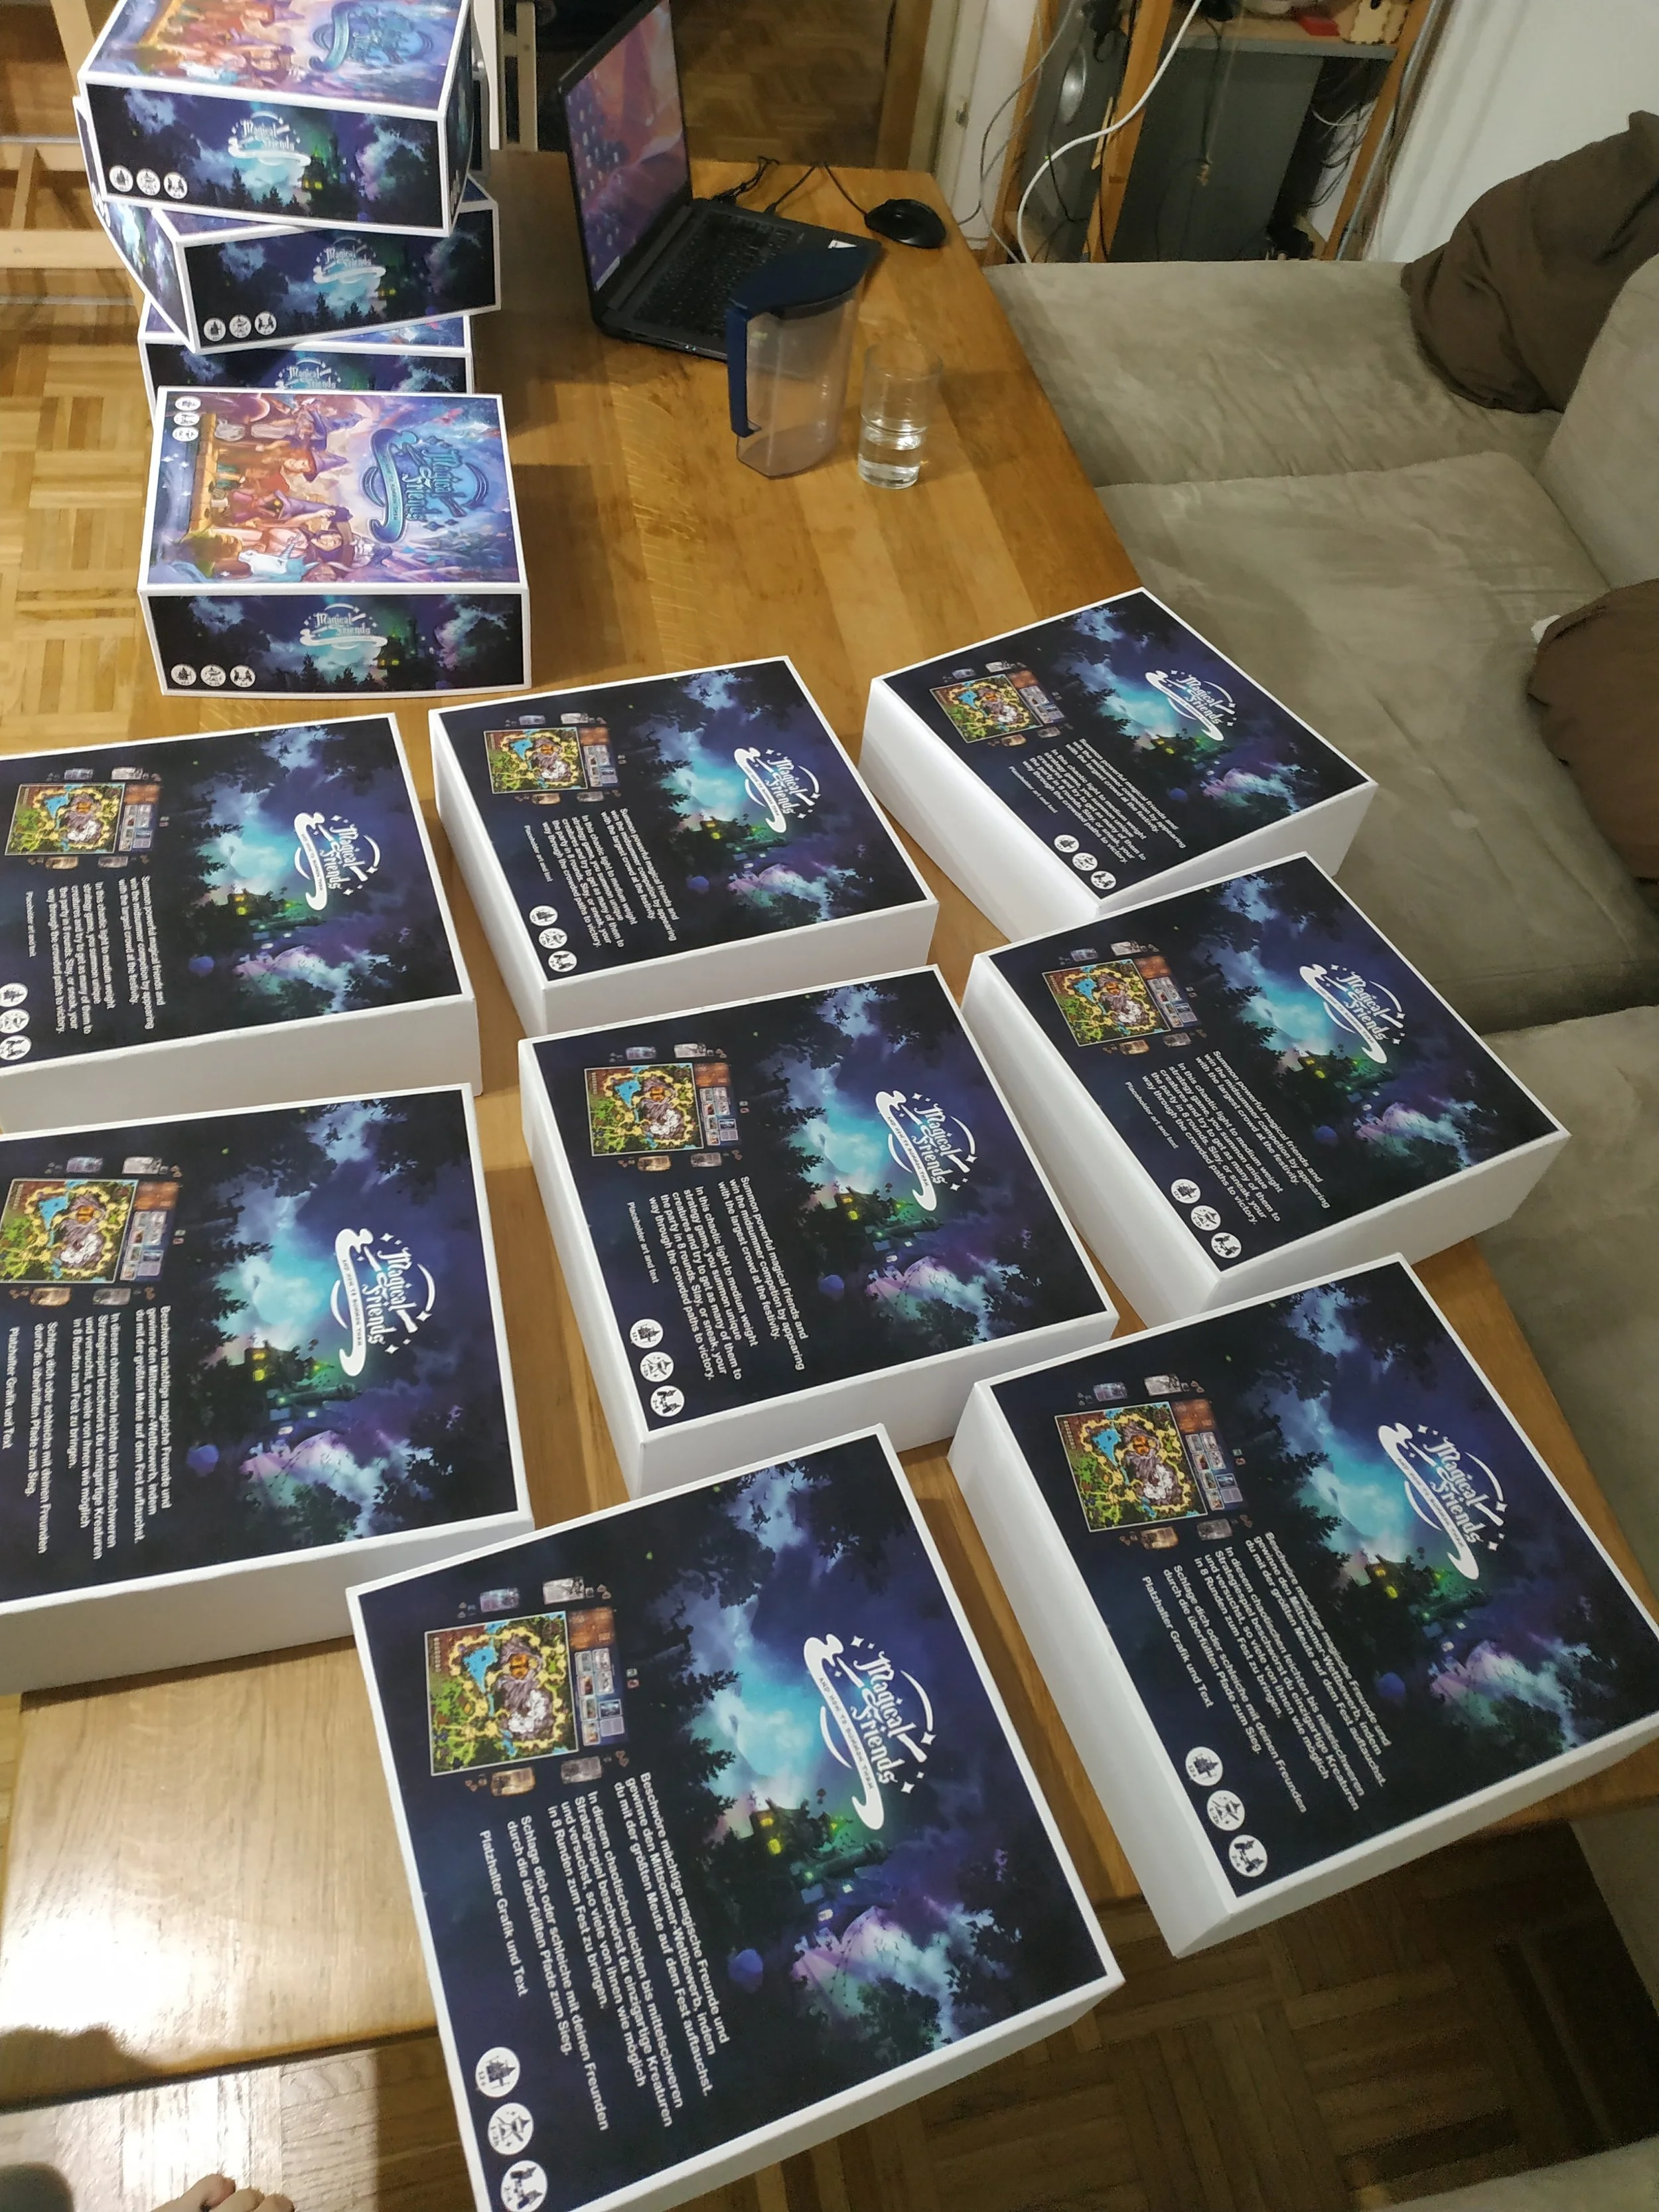
30 – When You Finish Multiple Prototypes…
30 - When You Finish Multiple Prototypes…
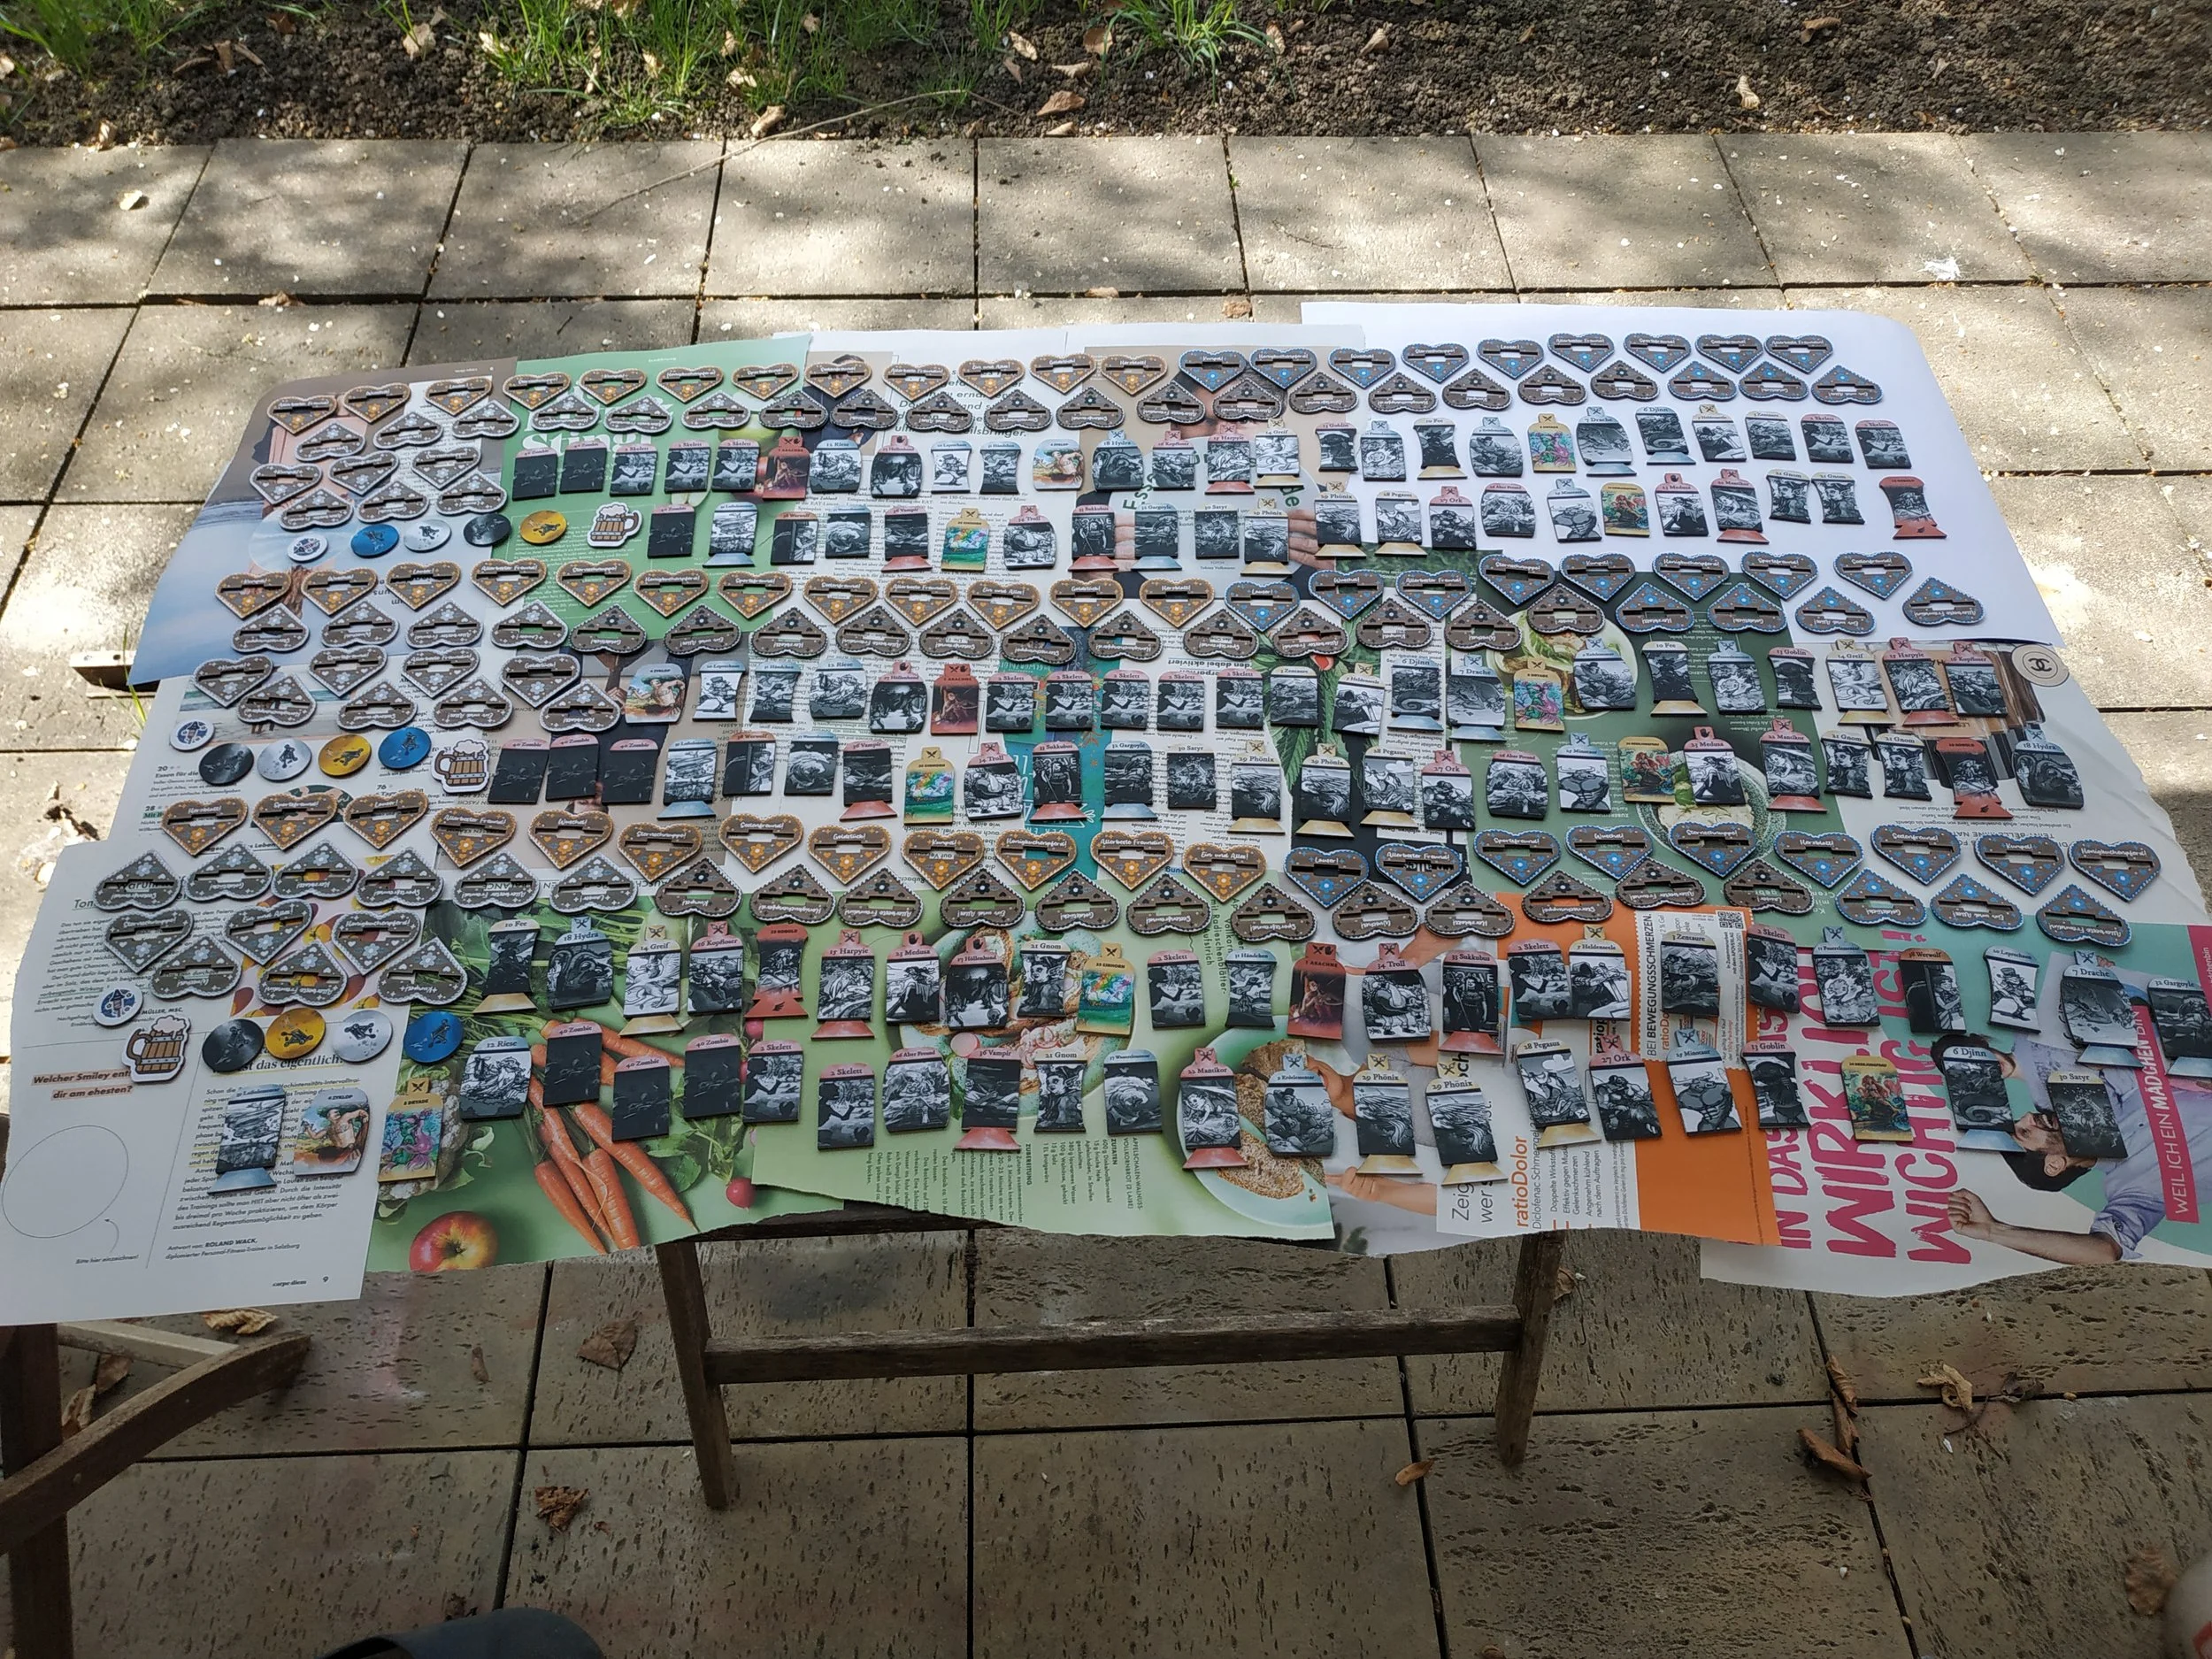
… you’re busy for quite a while. My set of review prototypes kept me fully occupied for the last three weeks. And they really had to get done, because the 12 m² of cardboard and 14 m² of paper were taking up a huge amount of space in my apartment.
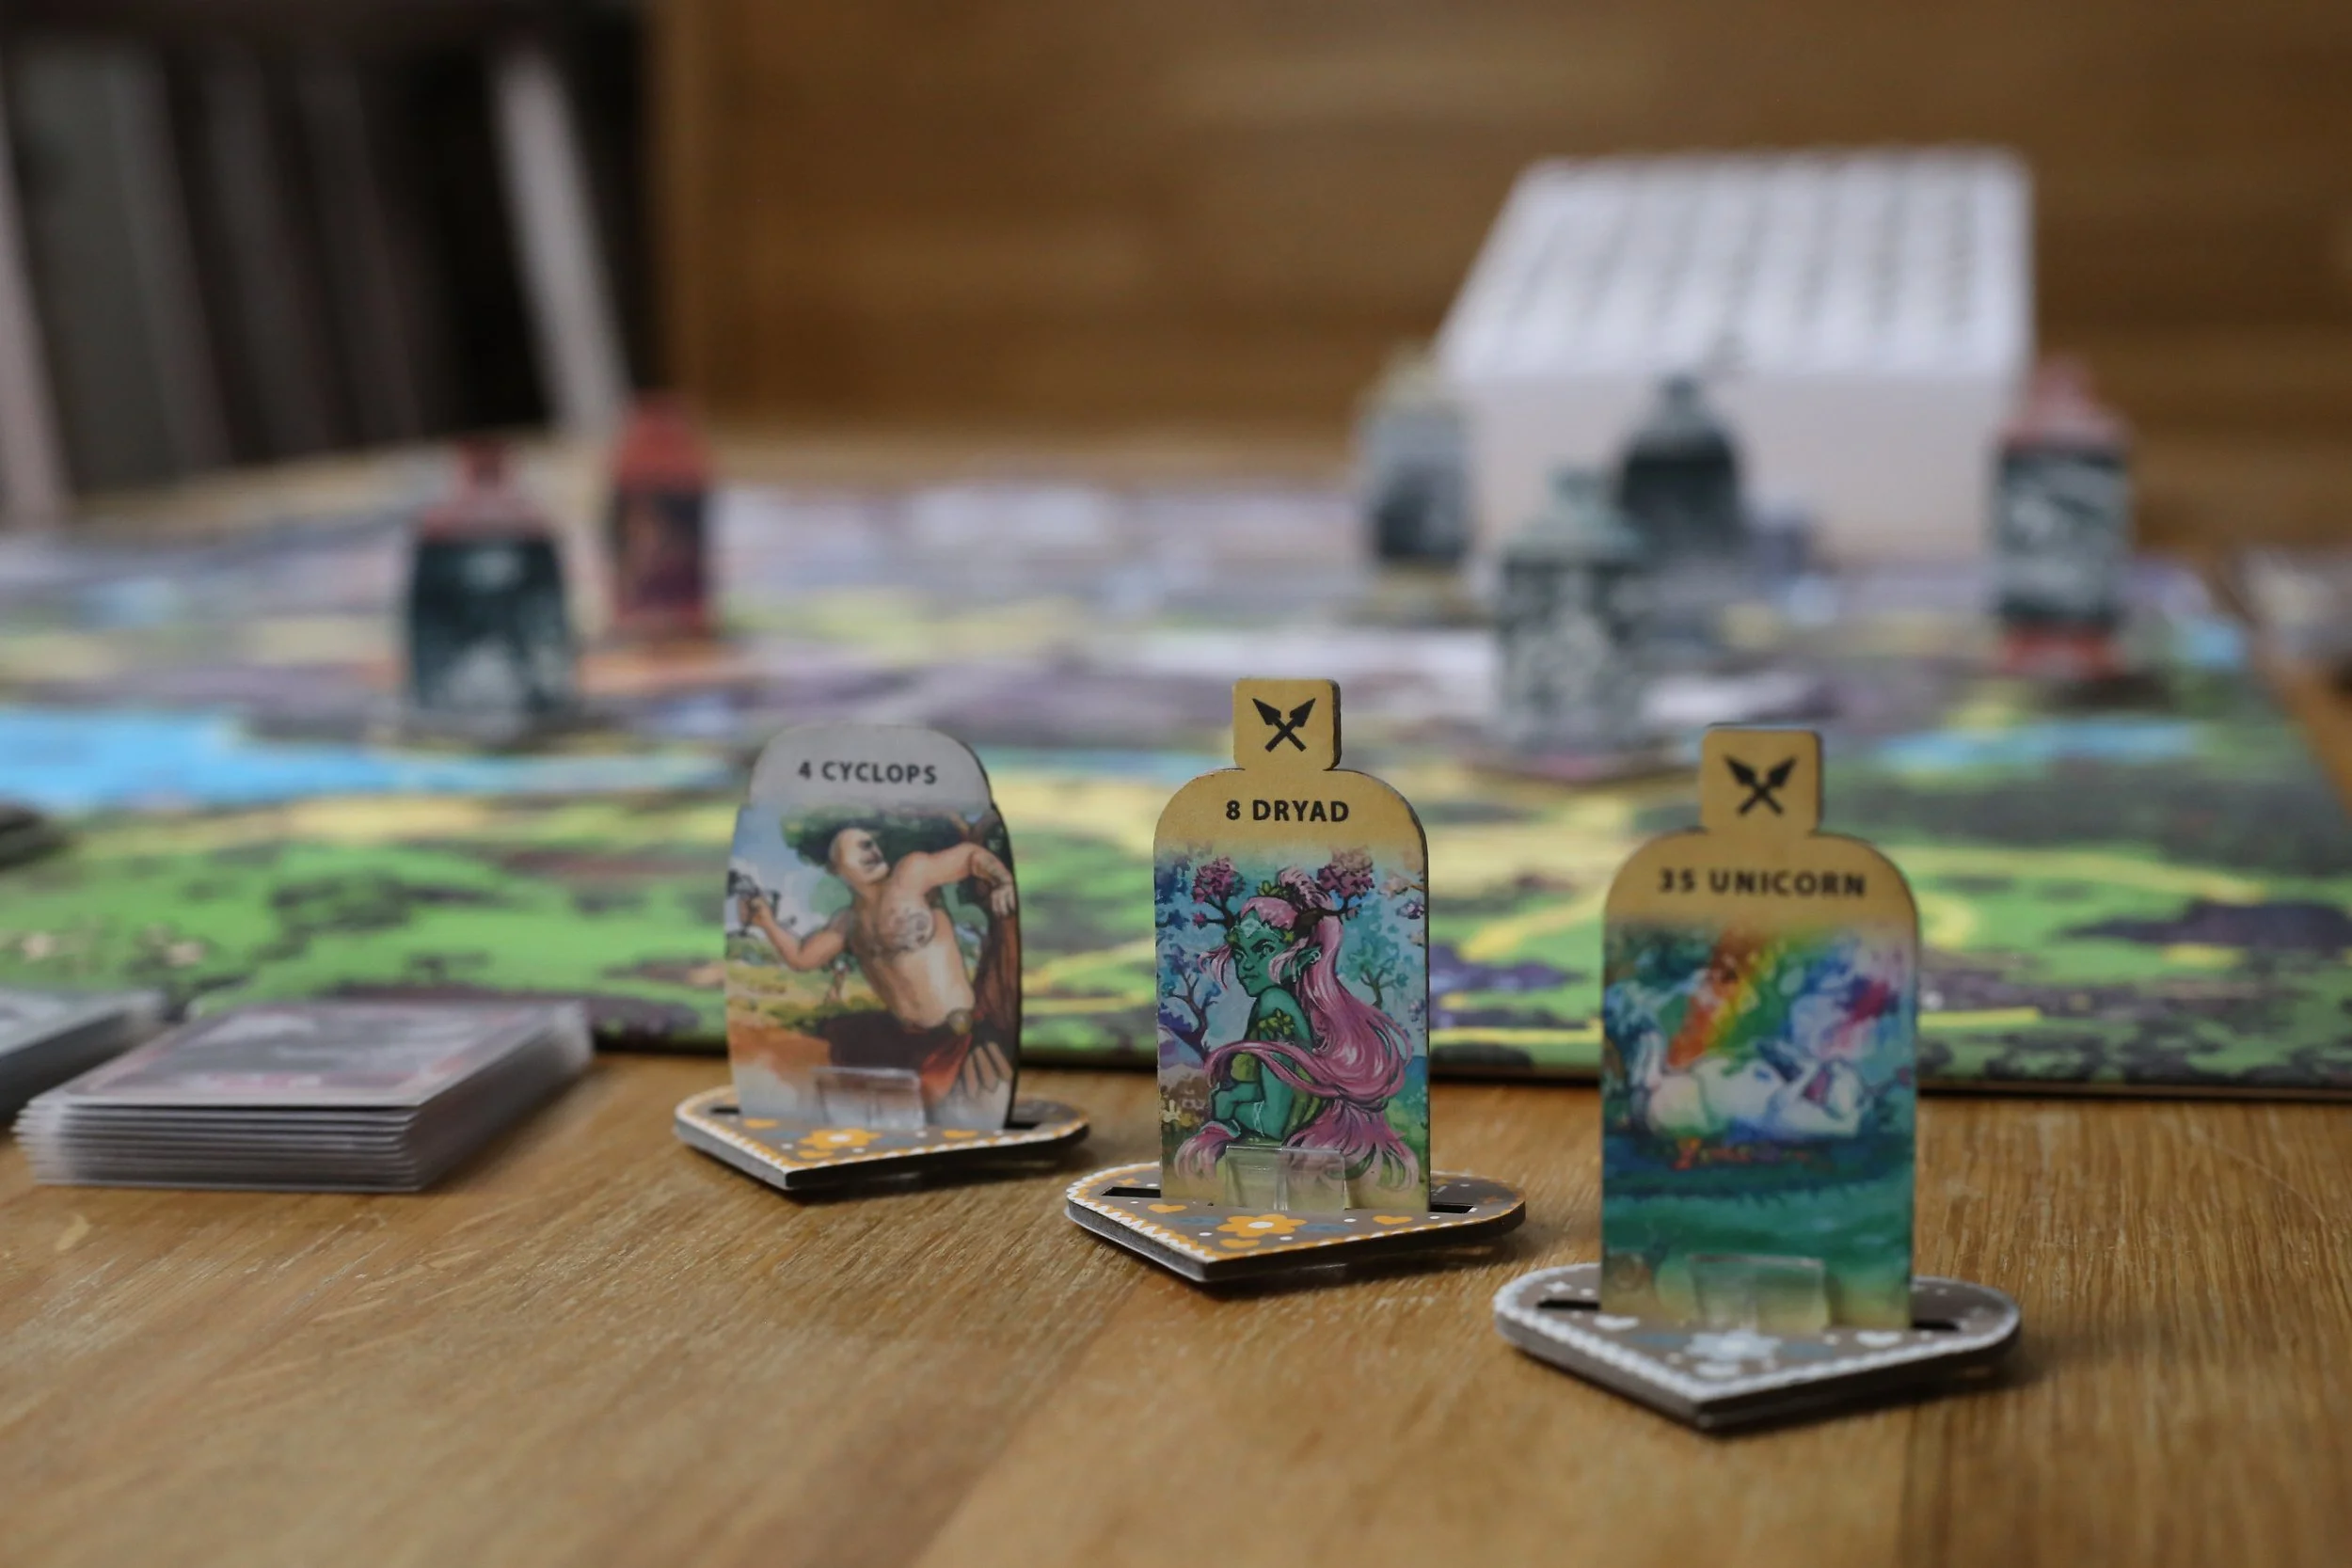
Creature standees and color hearts for 3 games
Matte varnish for the boxes so they’re less sensitive to water
Boxes drying and waiting to be filled
Components ready for packing
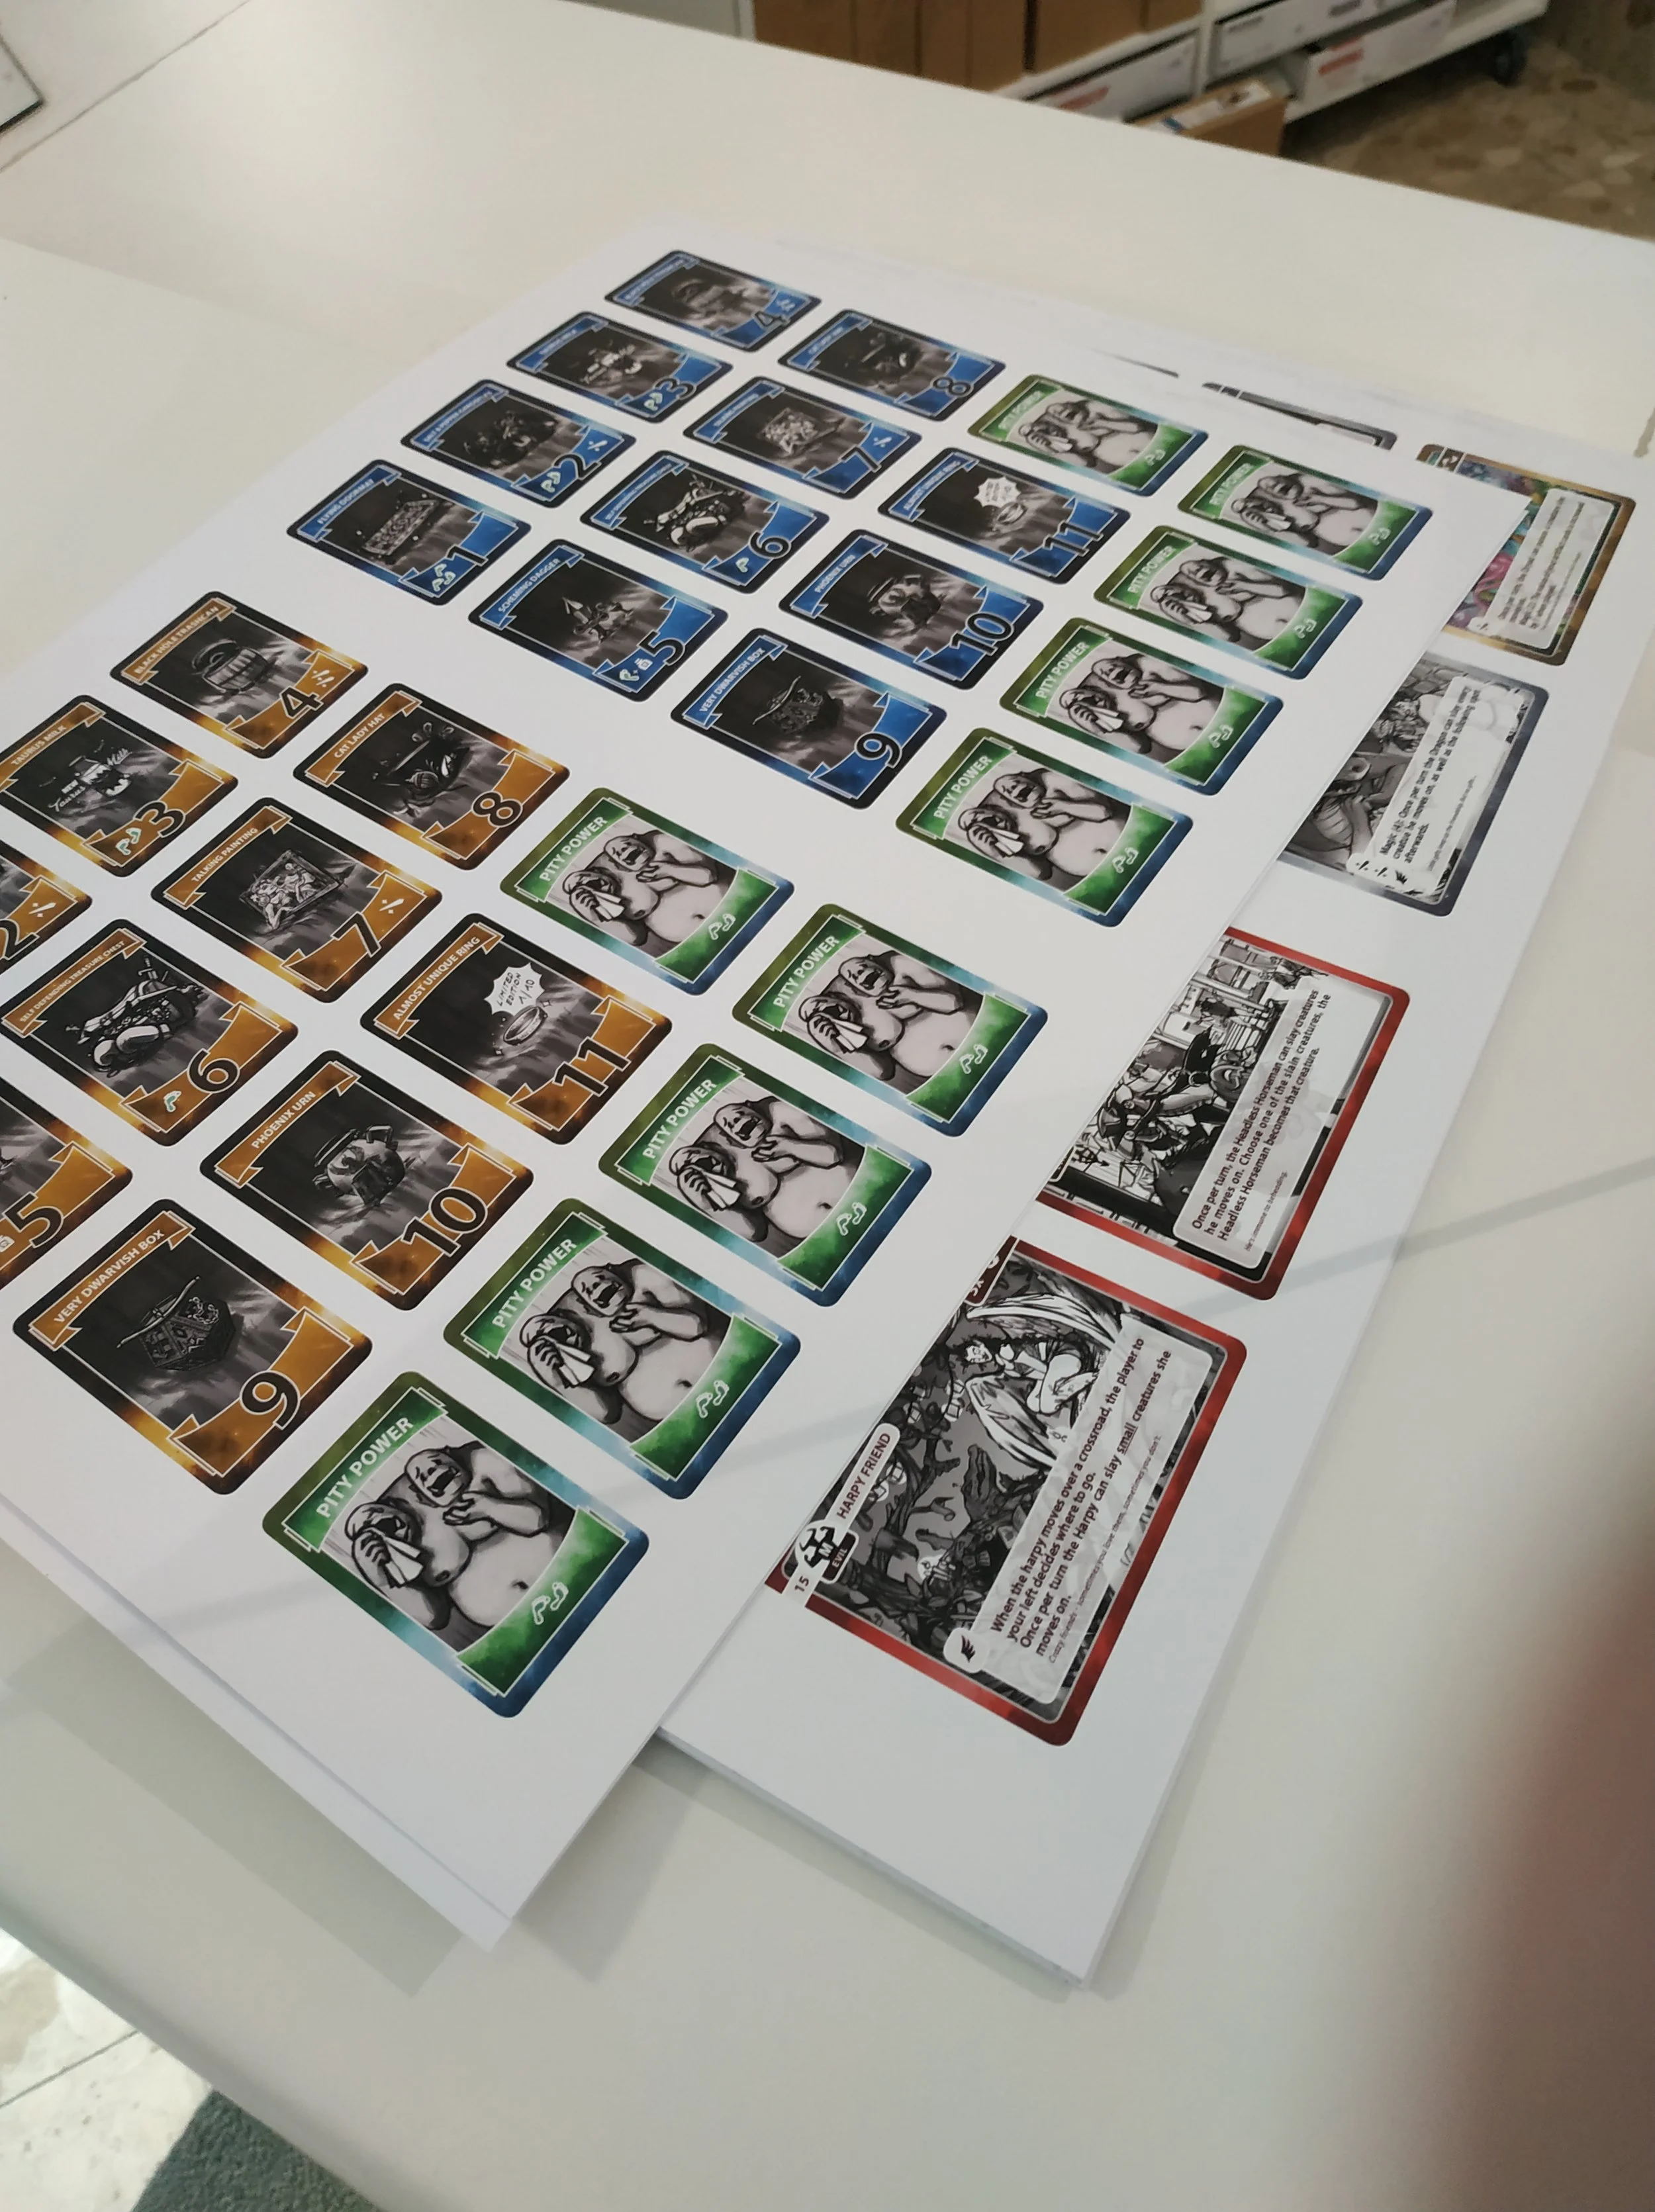
If I hadn’t made them myself and had ordered them from my manufacturer instead, 10 prototypes would have cost me €2000–3000. I also would have had to wait around 2–2.5 months for them. On top of that, I would have had to interrupt my illustrators’ work to adjust some graphics for printing — all for prototypes where many illustrations aren’t even in full color yet. Prototypes from a manufacturer aren’t always that expensive, but my game — even without miniatures or complex plastic components — is quite elaborate and definitely not small. The materials cost me about €55 per game, and in total I processed around 650 individual parts (cardboard, cards, paper, stickers, card sleeves…).
The finished mountain of games
They still take up a lot of space, but seeing them completed is a huge relief. Now it’s time to ship them out. I’m excited to see what happens next.
Do you have any questions about crafting prototypes? Just leave a comment — I’d love to hear from you!
29 - When the Prototype Turns Out Beautiful … (finished)
29 - When the Prototype Turns Out Beautiful … (finished)
… you immediately want to show it to everyone! I mean everywhere — on all channels! But even then, a little patience is needed. It would be a shame to post mediocre photos online when you’ll have really good ones just a week later.
For the photos, I borrowed a friend with a good camera and professional lighting. You shouldn’t underestimate how much time that takes. For about 45 nice photos (after sorting), showing the game, the atmosphere, and the components, we needed an entire day.
Depending on the components or the game setup, we rearranged the table and lighting countless times. It really helps to plan ahead which components you want to show from which angle, and to organize the photo sequence based on those angles. Constantly setting up and taking down the game board would waste a lot of time.
Even if everything is handmade, you shouldn’t underestimate the cost and effort. I spent about €55 on raw materials (though two‑thirds of that was from the copy shop). The time I needed to build everything: about three days. Most of that was due to the drying times of the spray adhesive. With bookbinding glue, the gluing process is much faster.
If you still have any questions, feel free to ask. I’m also very happy about any other feedback. That’s it for now regarding the prototype.
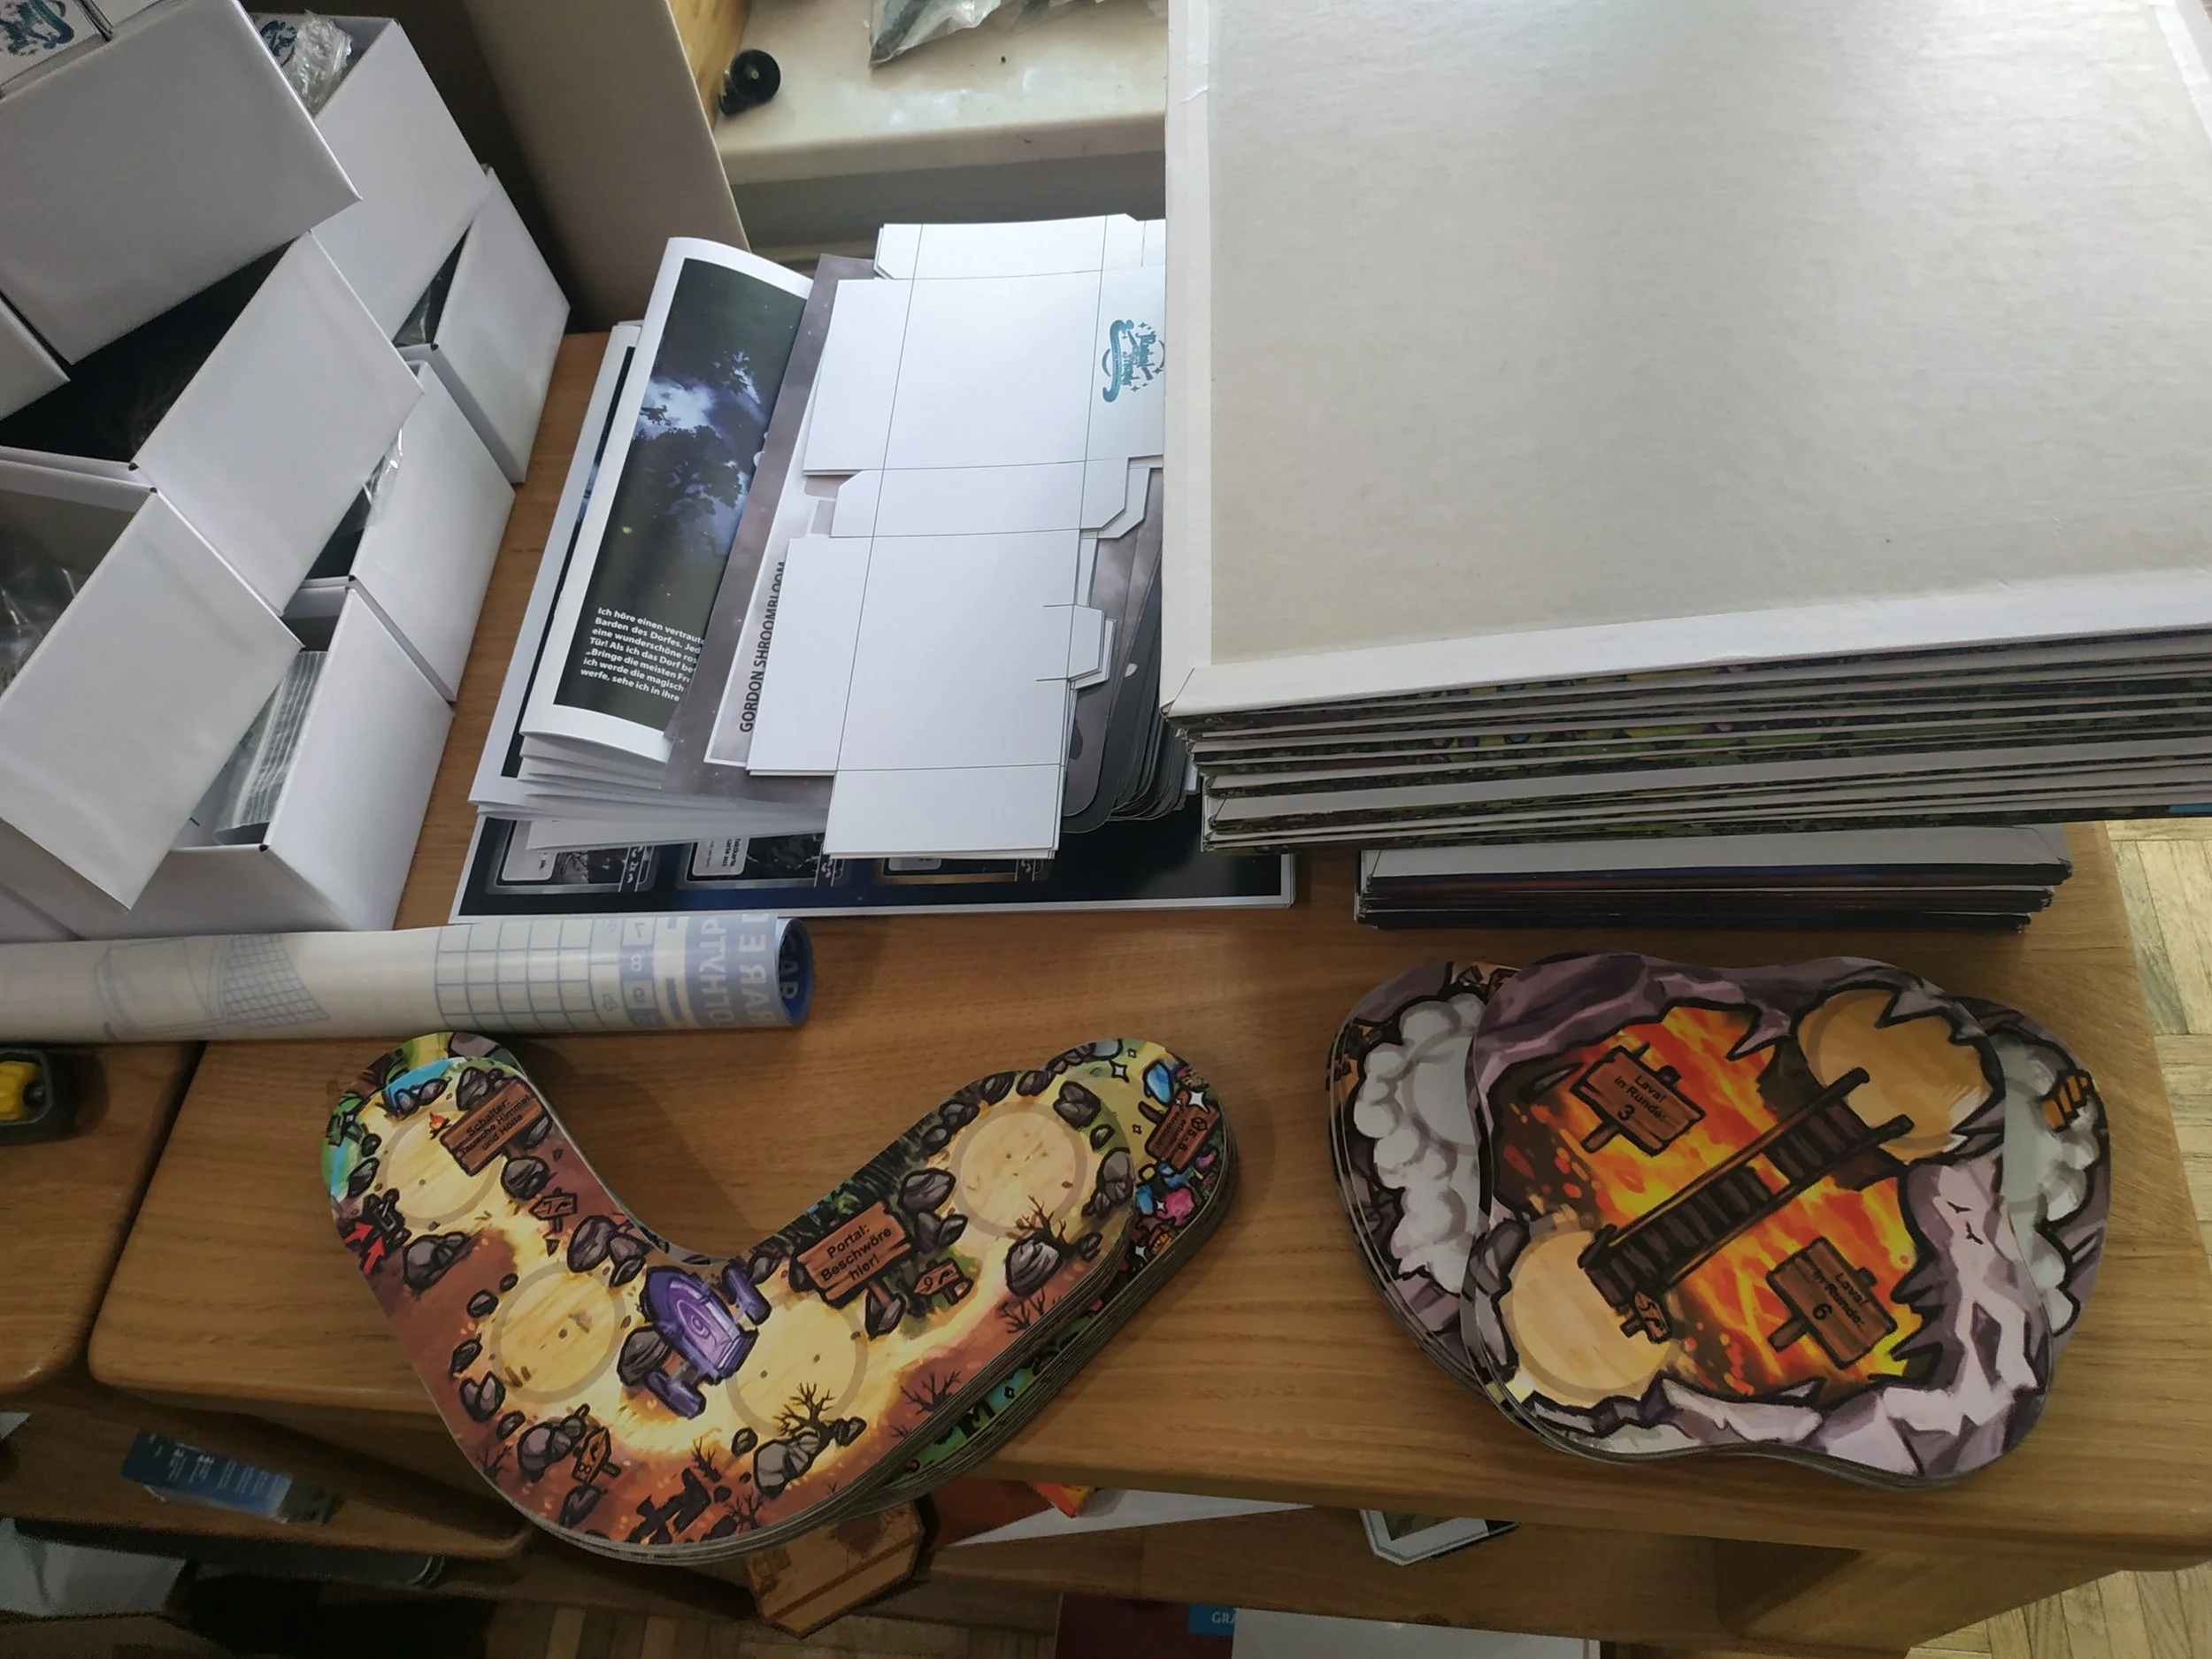
28 - When You Want the Prototype to Look Pretty … (Part 5: Cardboard Tokens / Markers / Standees)
28 - When You Want the Prototype to Look Pretty … (Part 5: Cardboard Tokens / Markers / Standees)
With my cardboard components, things get pretty difficult using regular tools. The shapes of my tokens are a bit more complicated than simple rectangles.
As you can already see, these shapes are much harder to cut out of cardboard with a knife — at least if you want them to still look nice afterward.
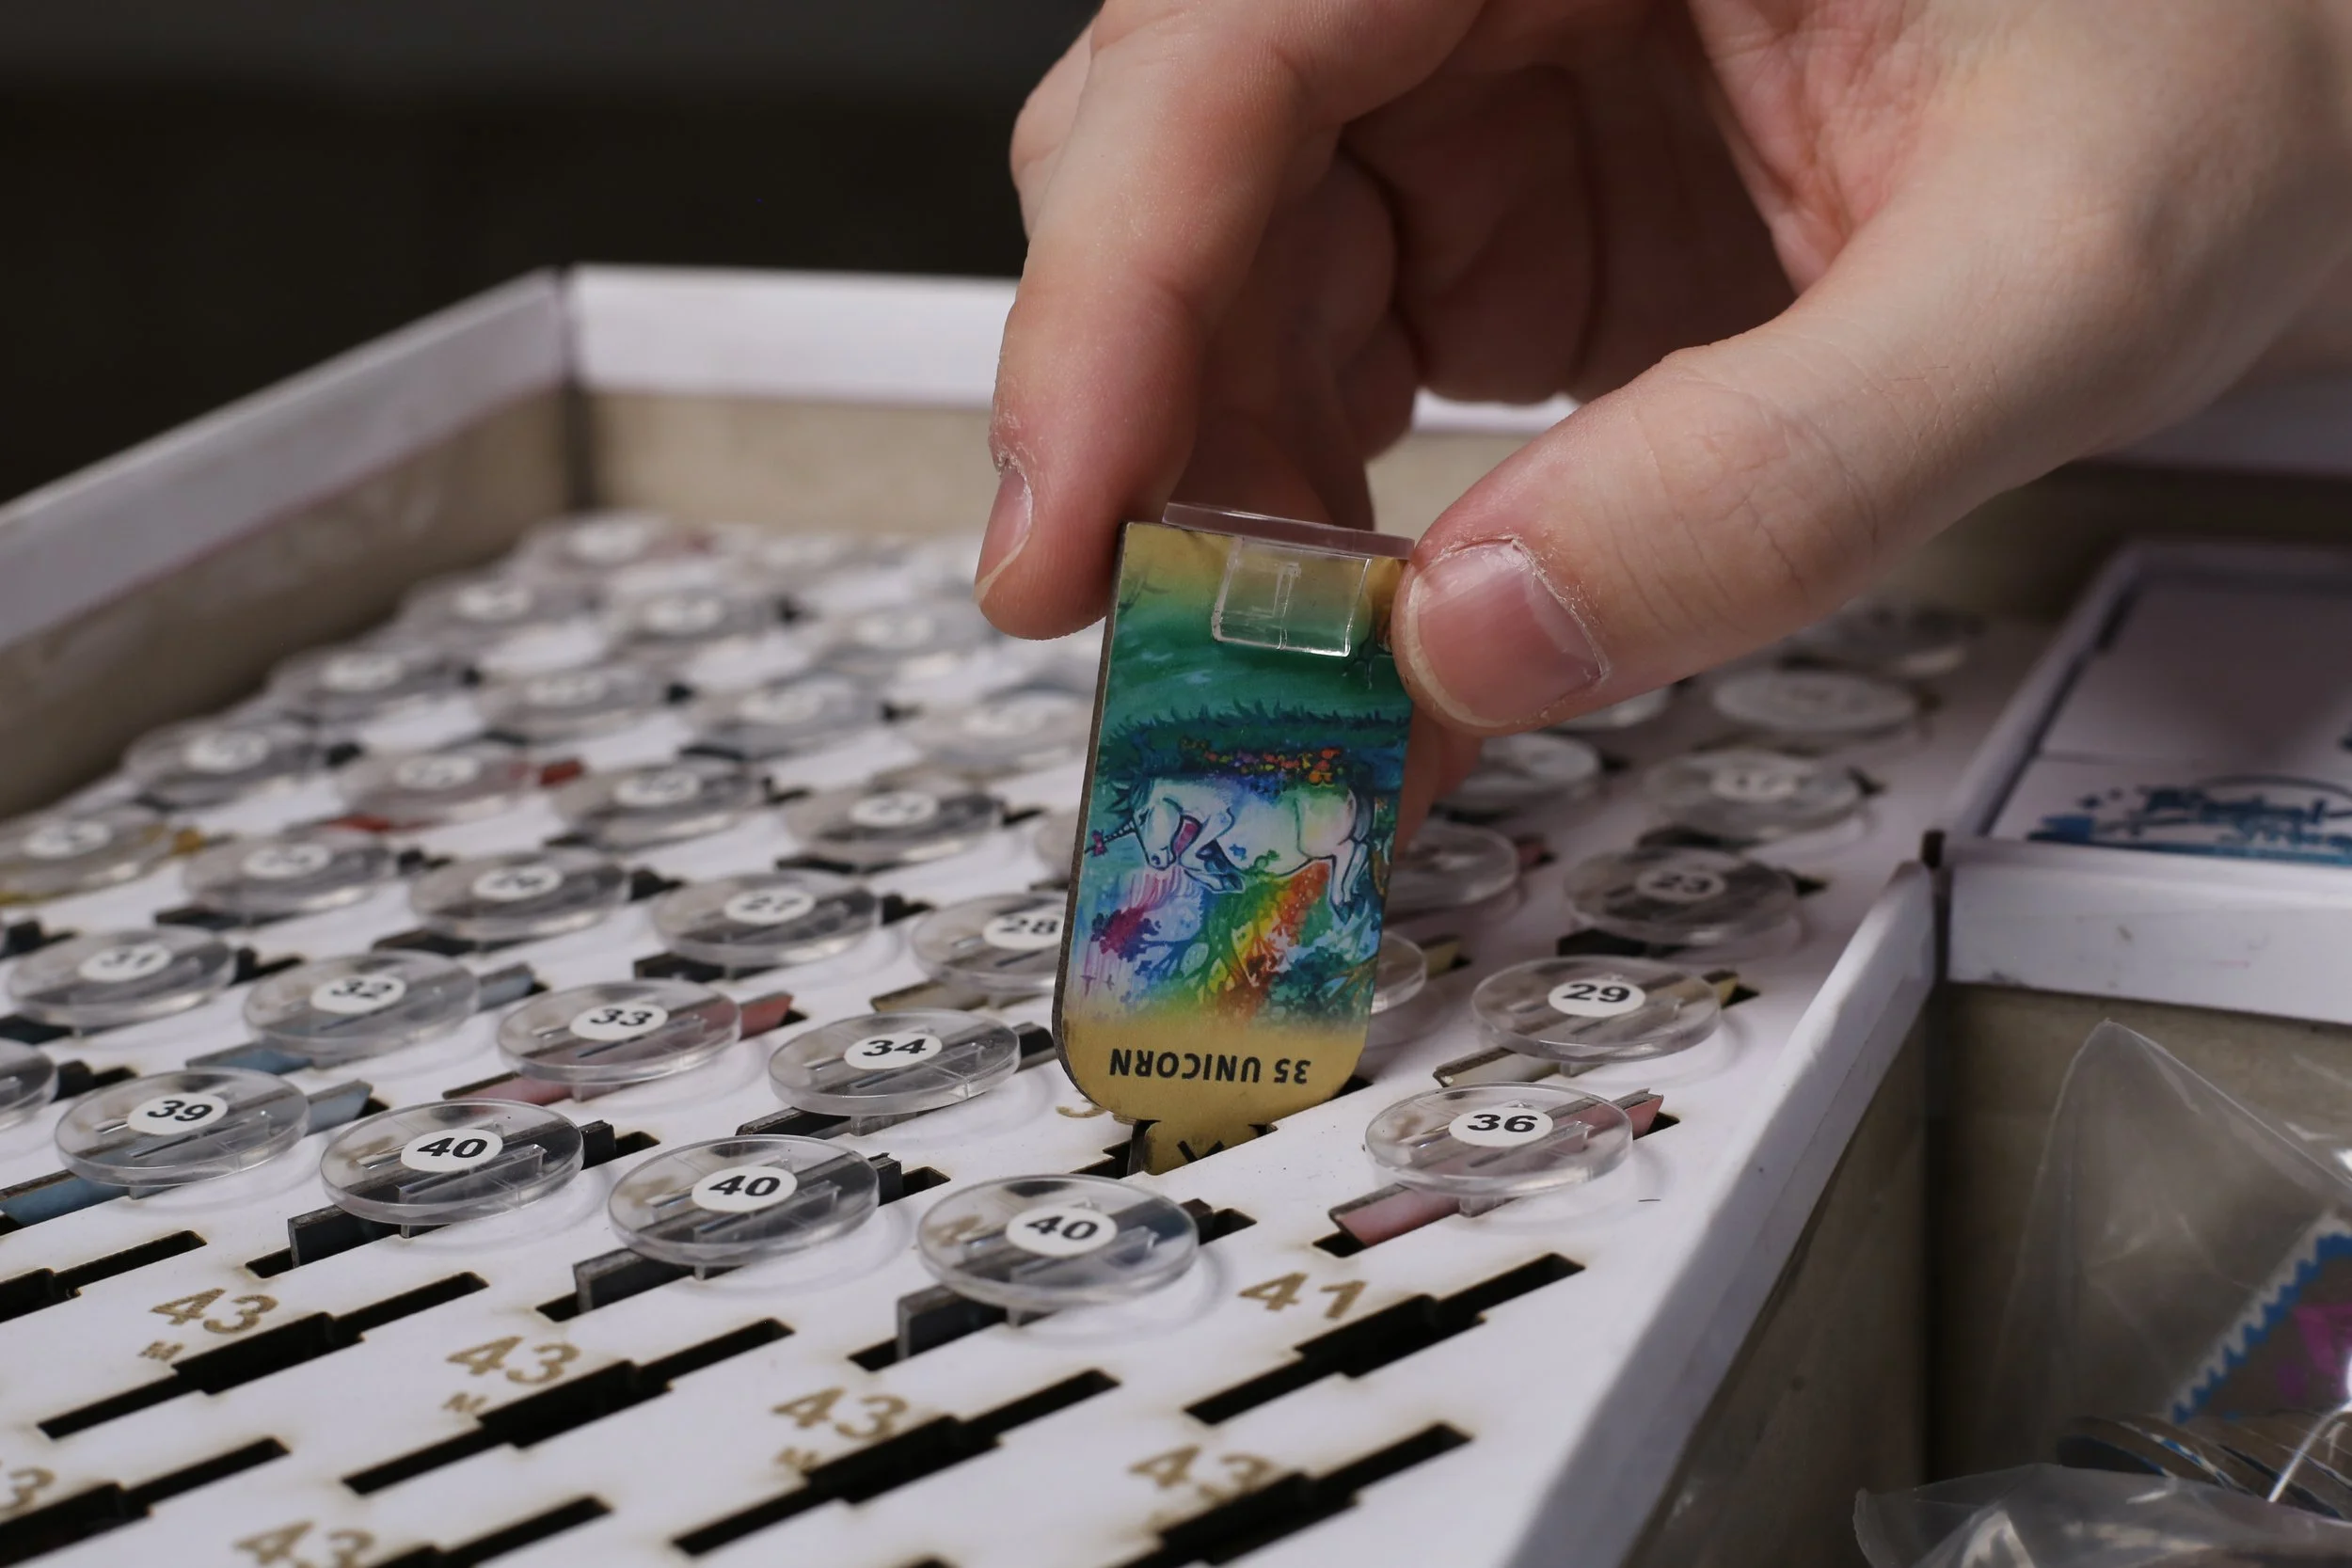
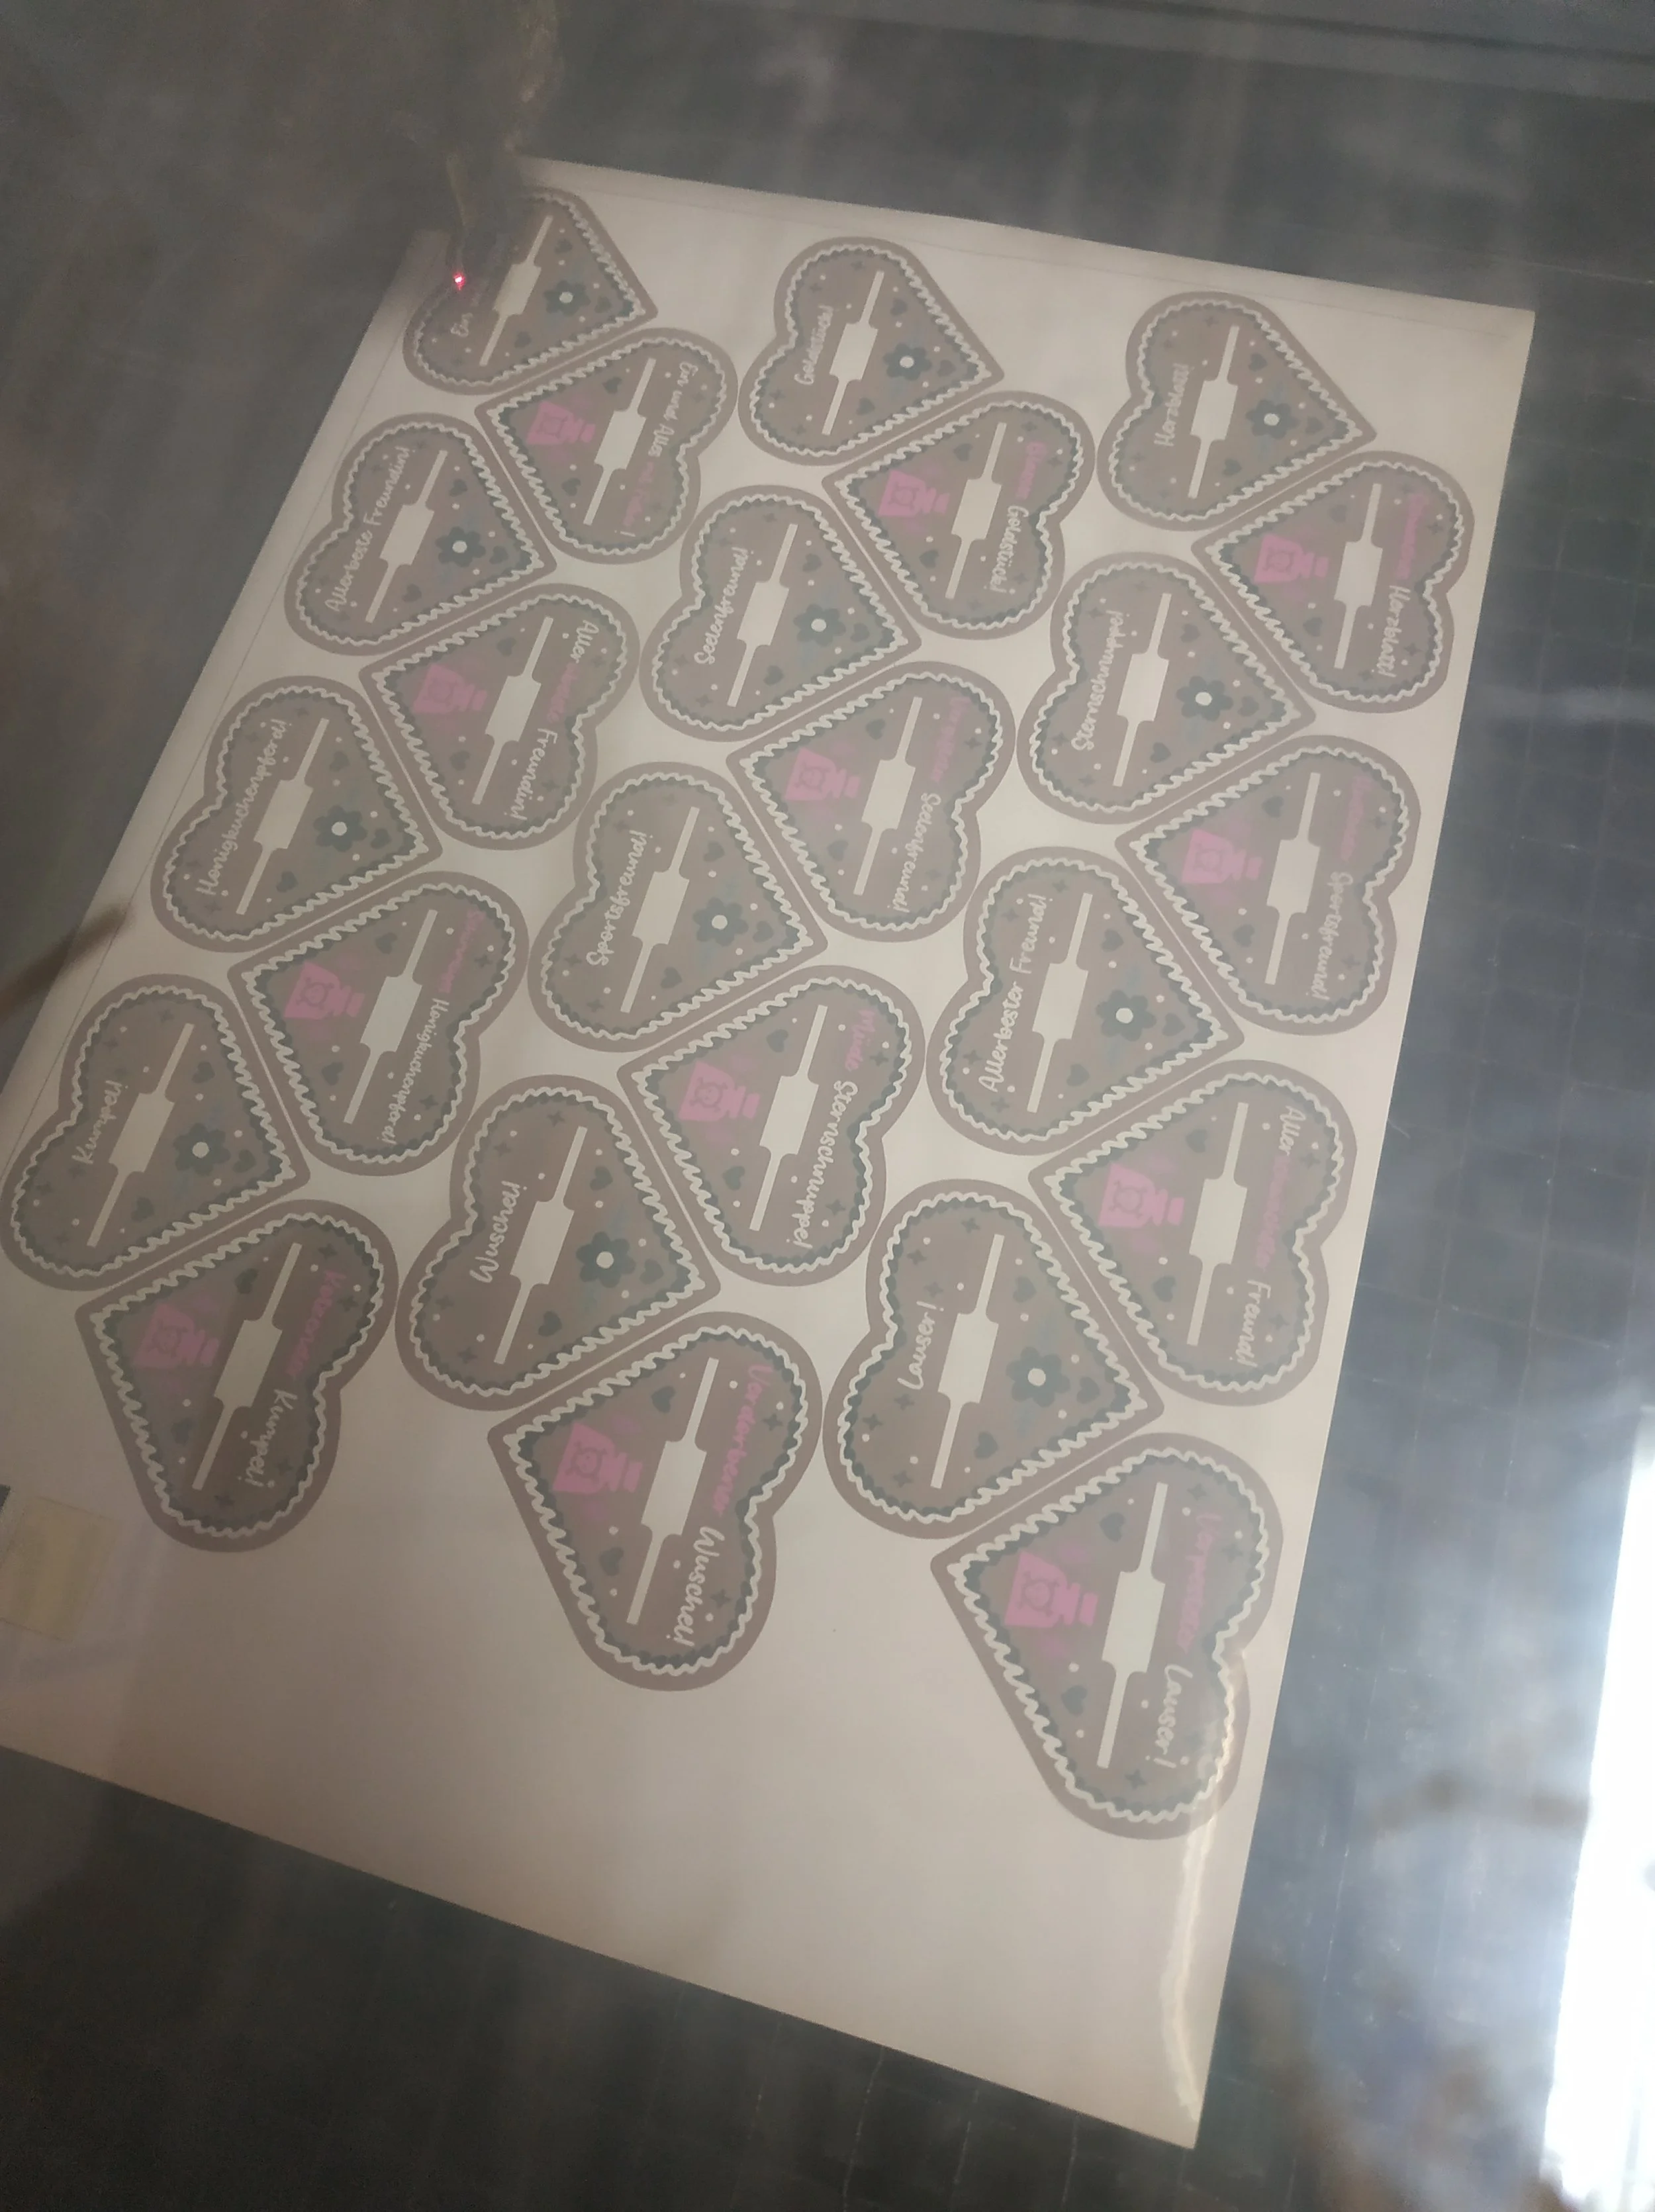
Unfortunately, the print quality for these cardboard pieces isn’t great. I used my home printer and sticker paper, but it’s good enough for a prototype.
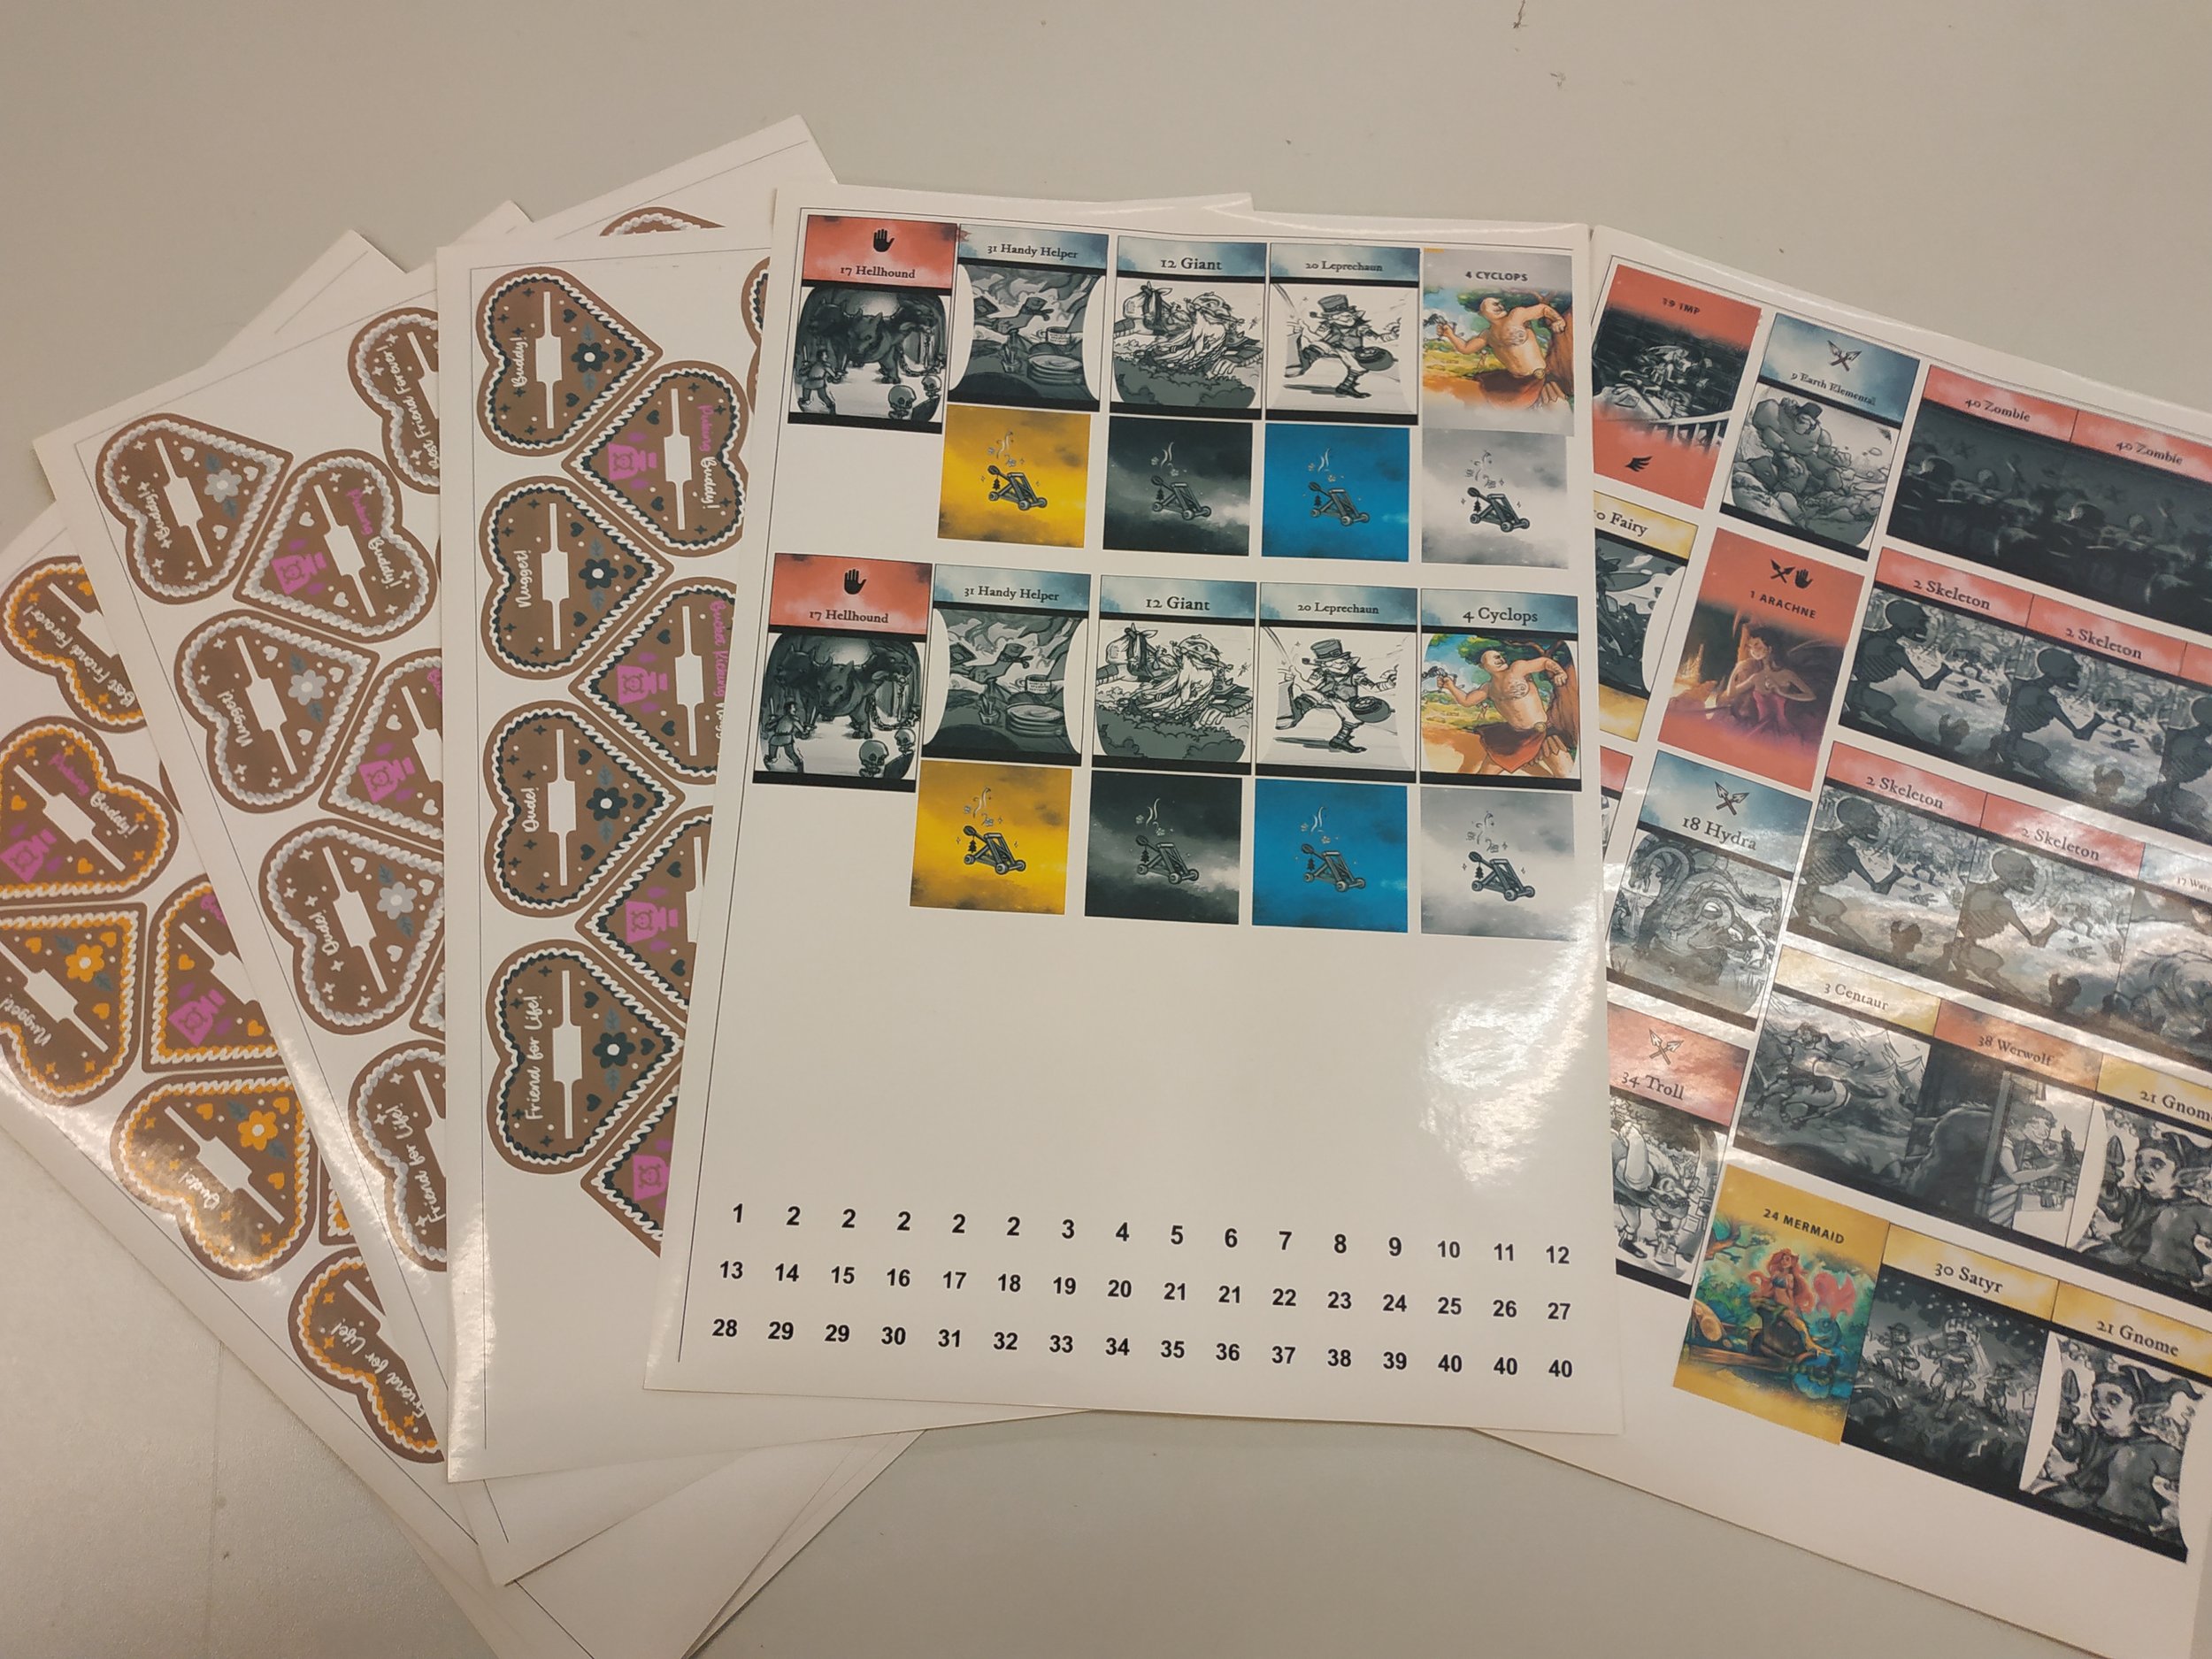
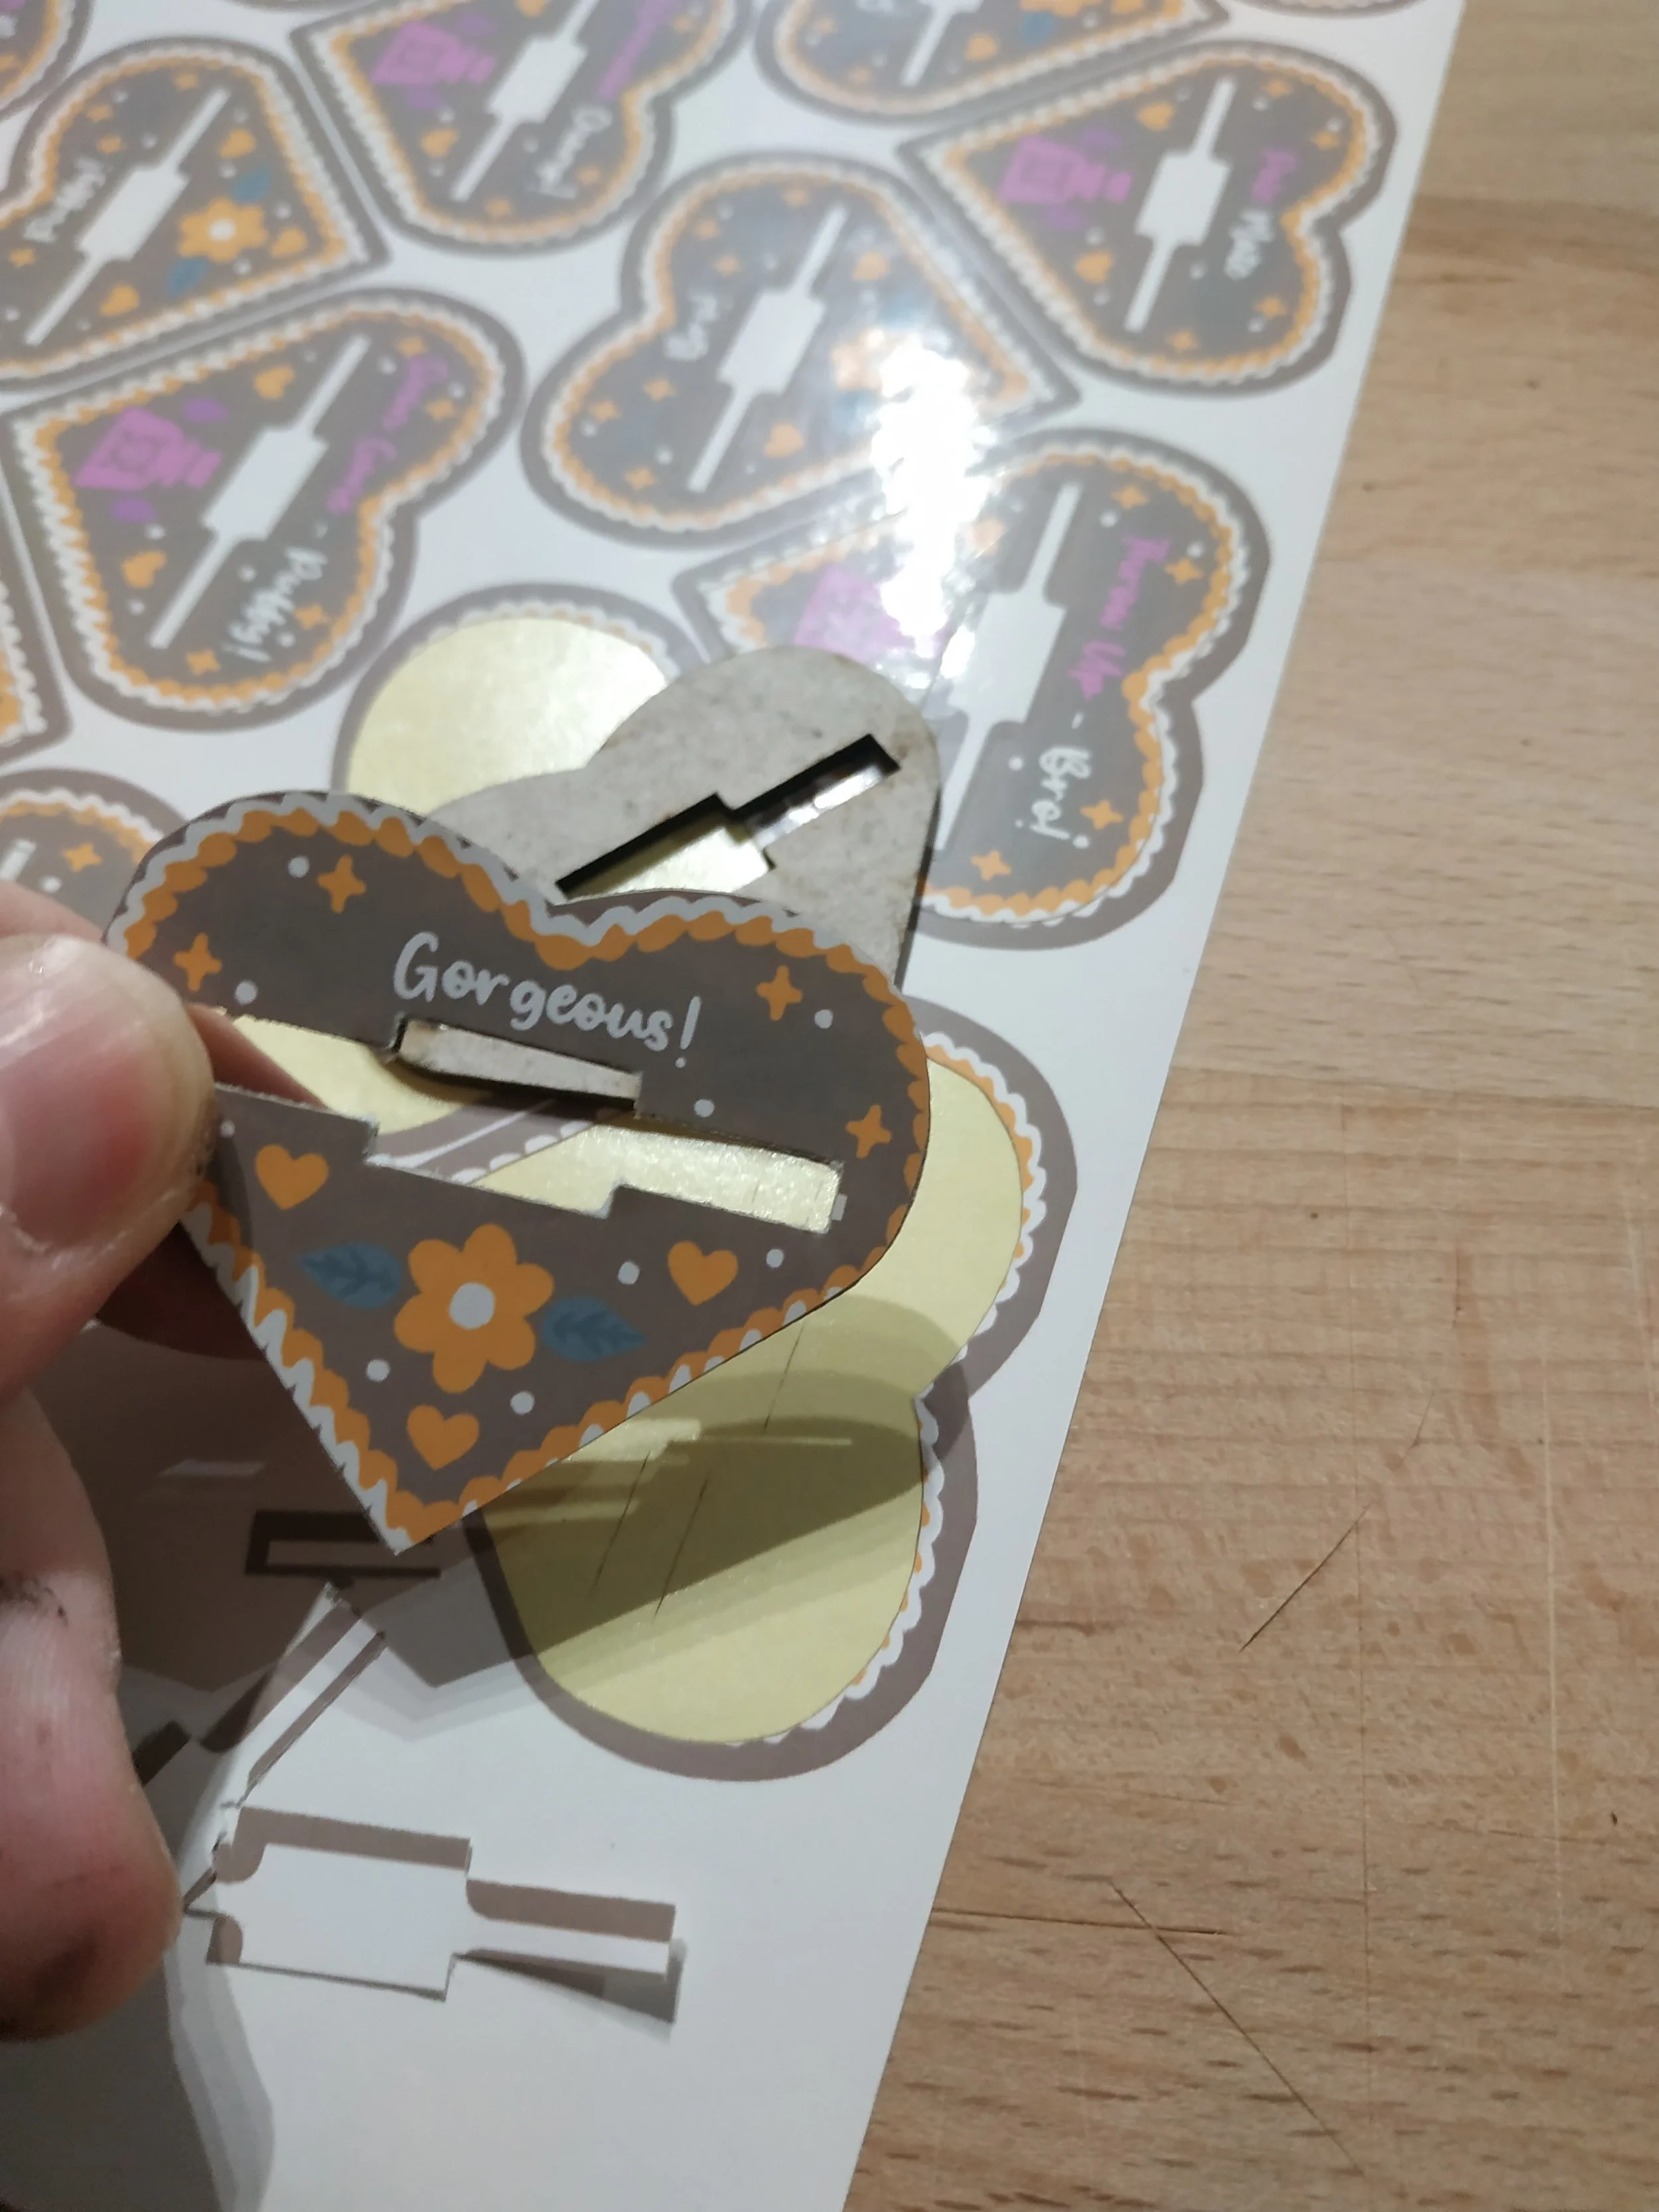
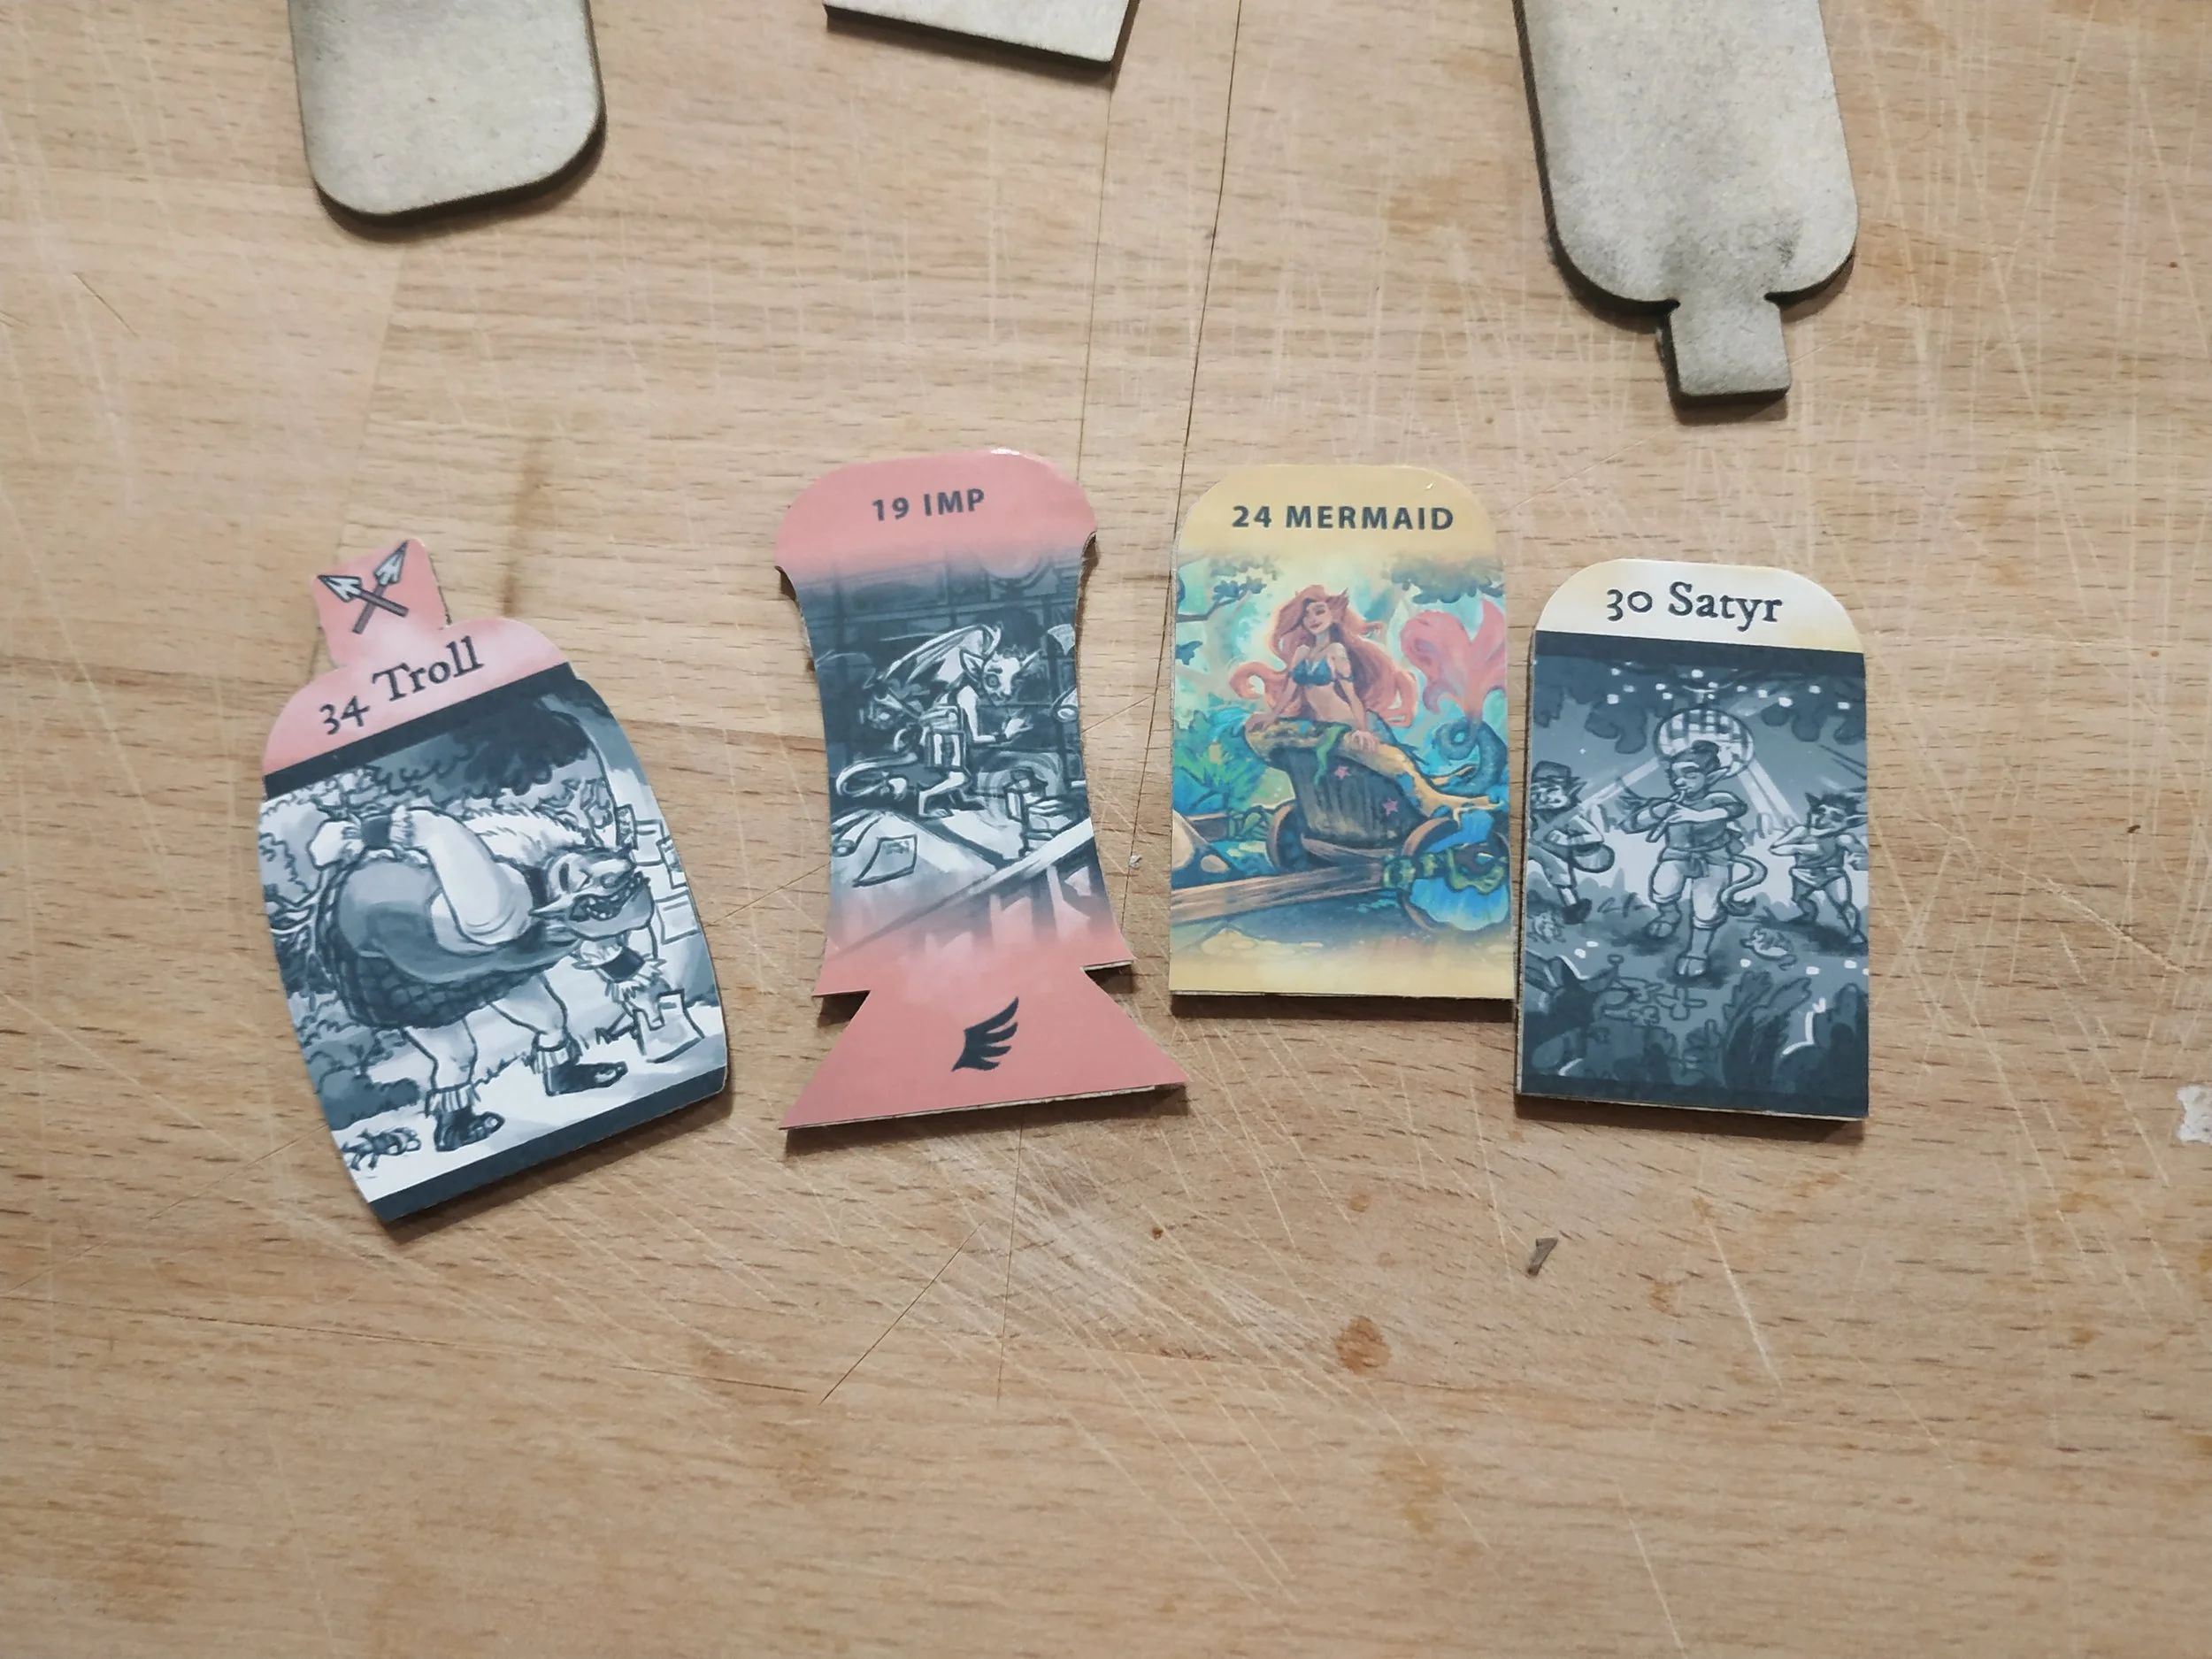
I cut both the cardboard pieces and the stickers with a laser cutter. Because of that, bleed and margin are important here as well. With these irregular shapes, bleed and margin are trickier, so we decided on a color gradient that still looks good even if it’s slightly misaligned. Even though the laser is very precise, I still have to align everything manually — and every tiny inaccuracy becomes noticeable.
After cutting, I simply stuck the stickers onto the cardboard. Yes, it’s tedious and takes a while, so it’s best to put on a show in the background. But the result is fairly precise and looks reasonably good.
2 mm cardboard is not easy to work with — a laser cutter helps tremendously. Do you have any other ideas on how to achieve something like this with a reasonable amount of effort? I’m open to suggestions.
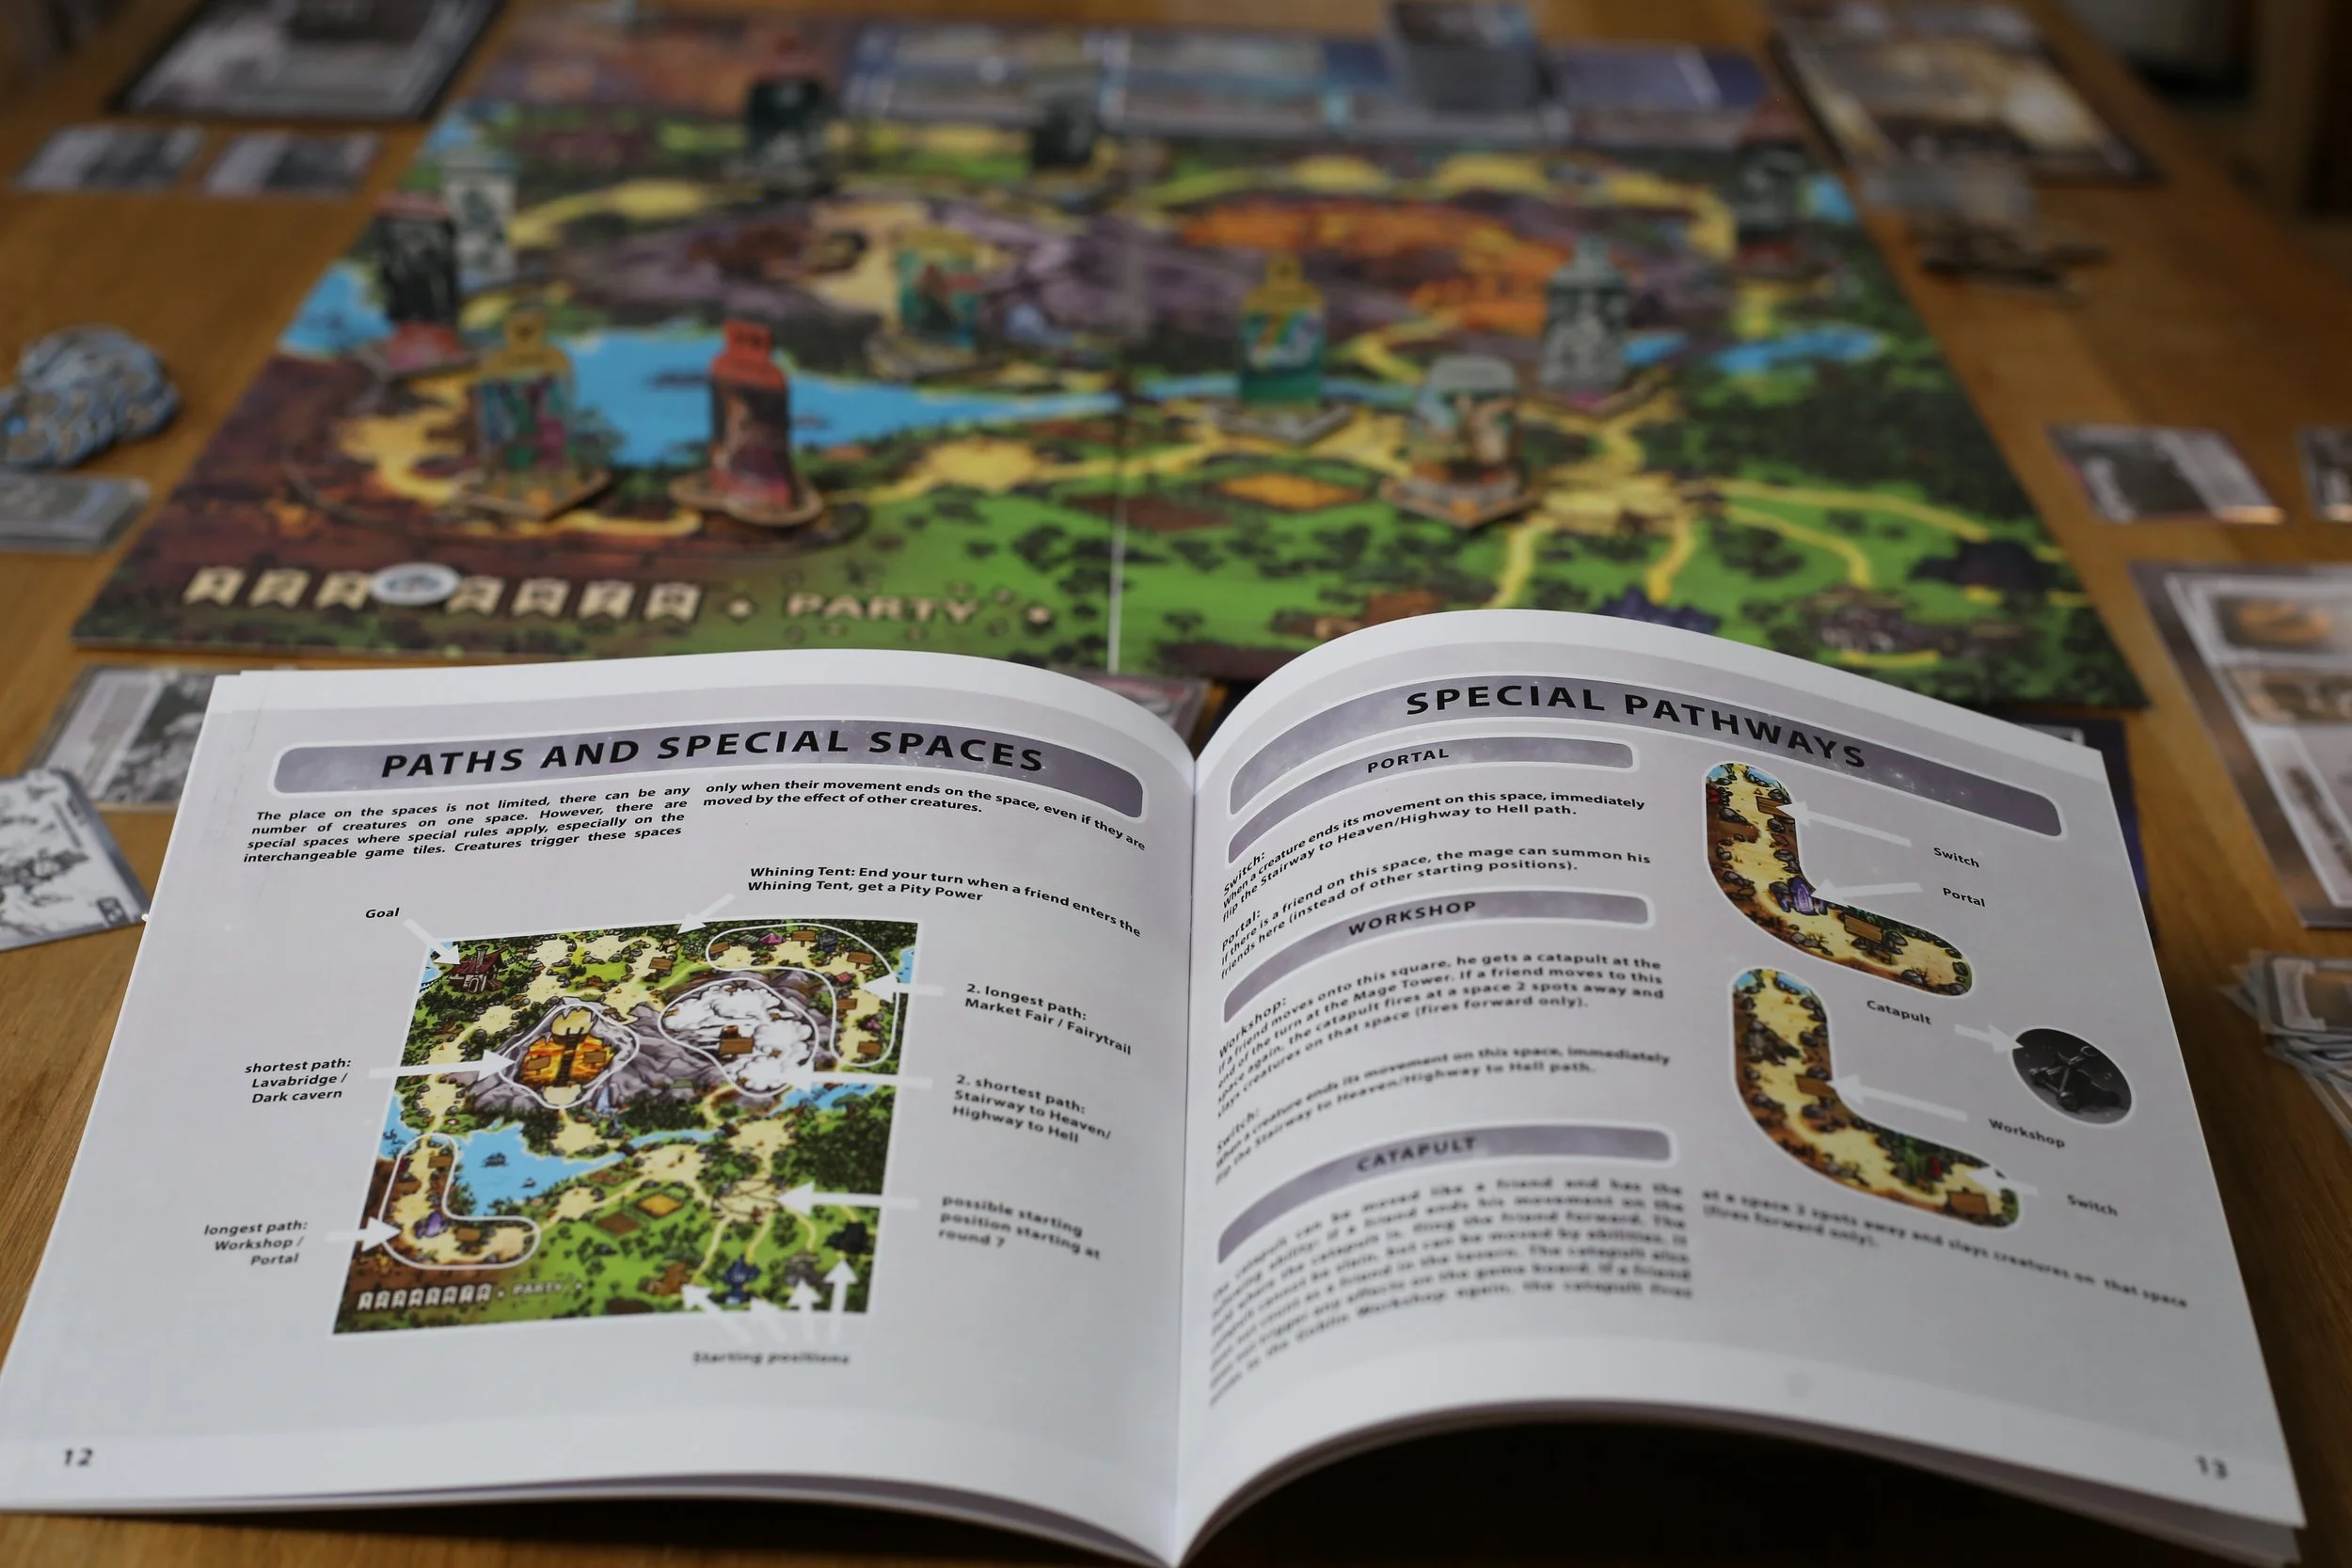
27 - When You Want the Prototype to Look Pretty … (Part 4: Game Board)
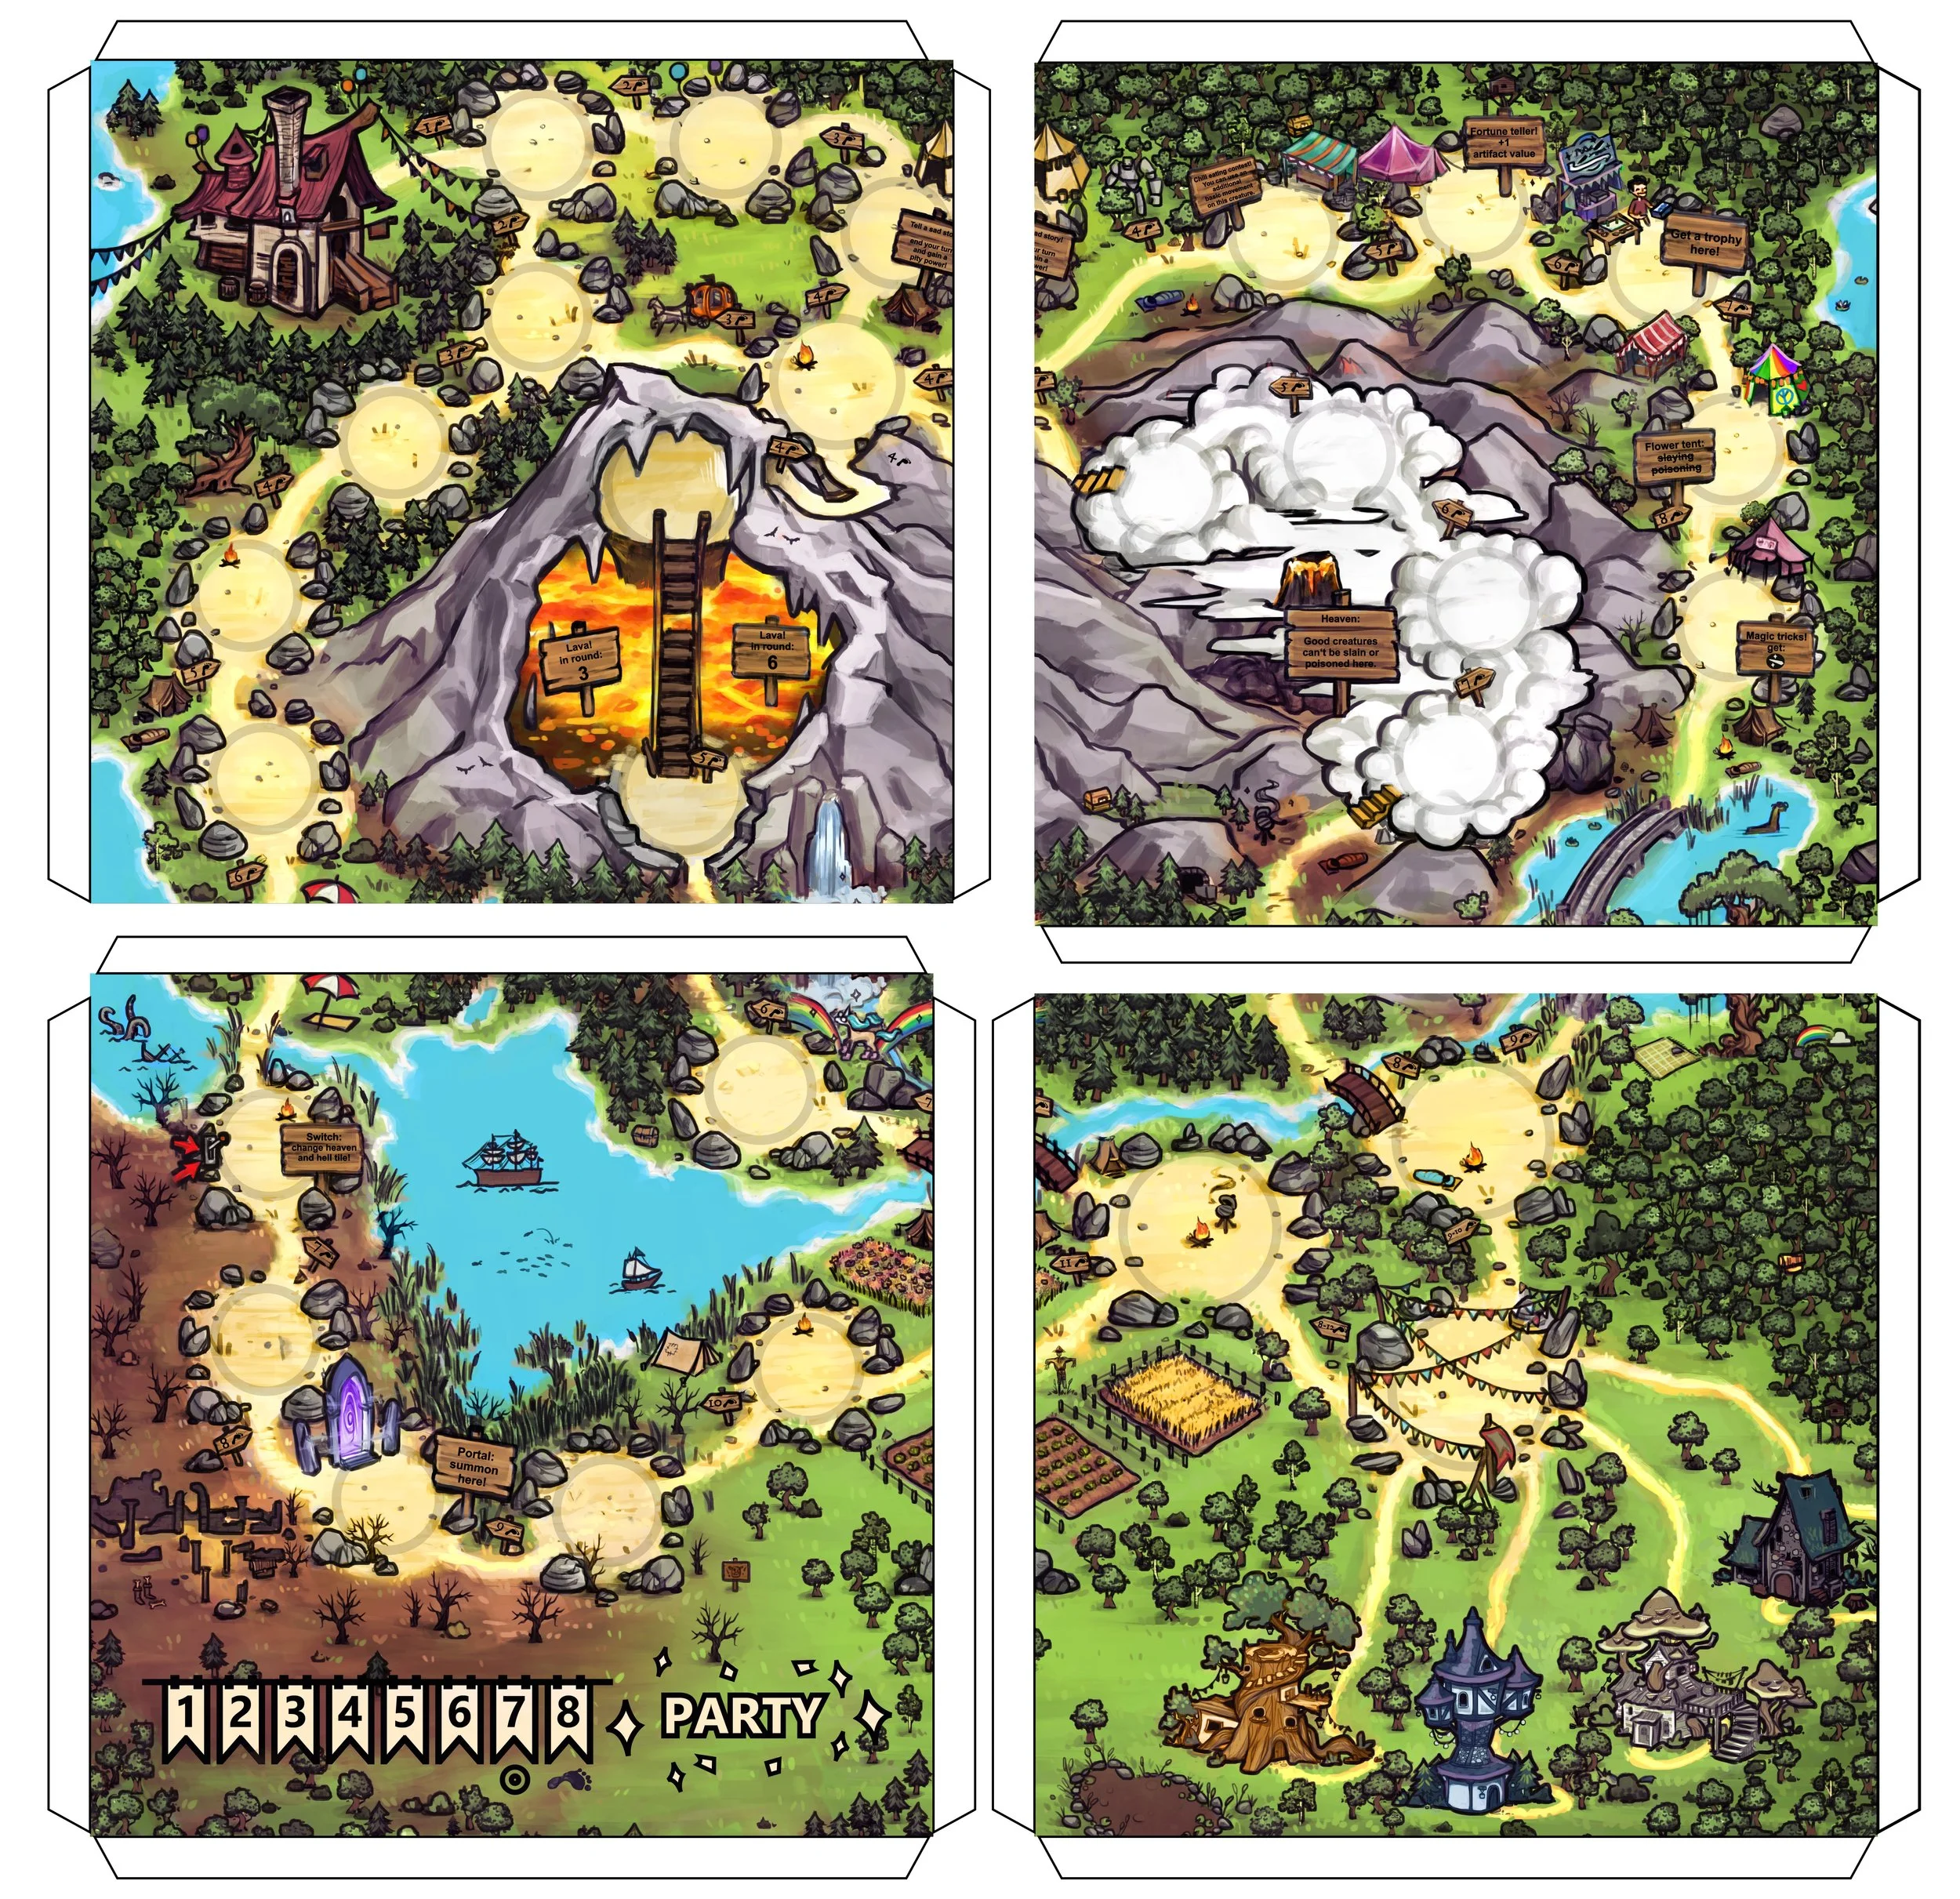
27 - When You Want the Prototype to Look Pretty … (Part 4: Game Board)
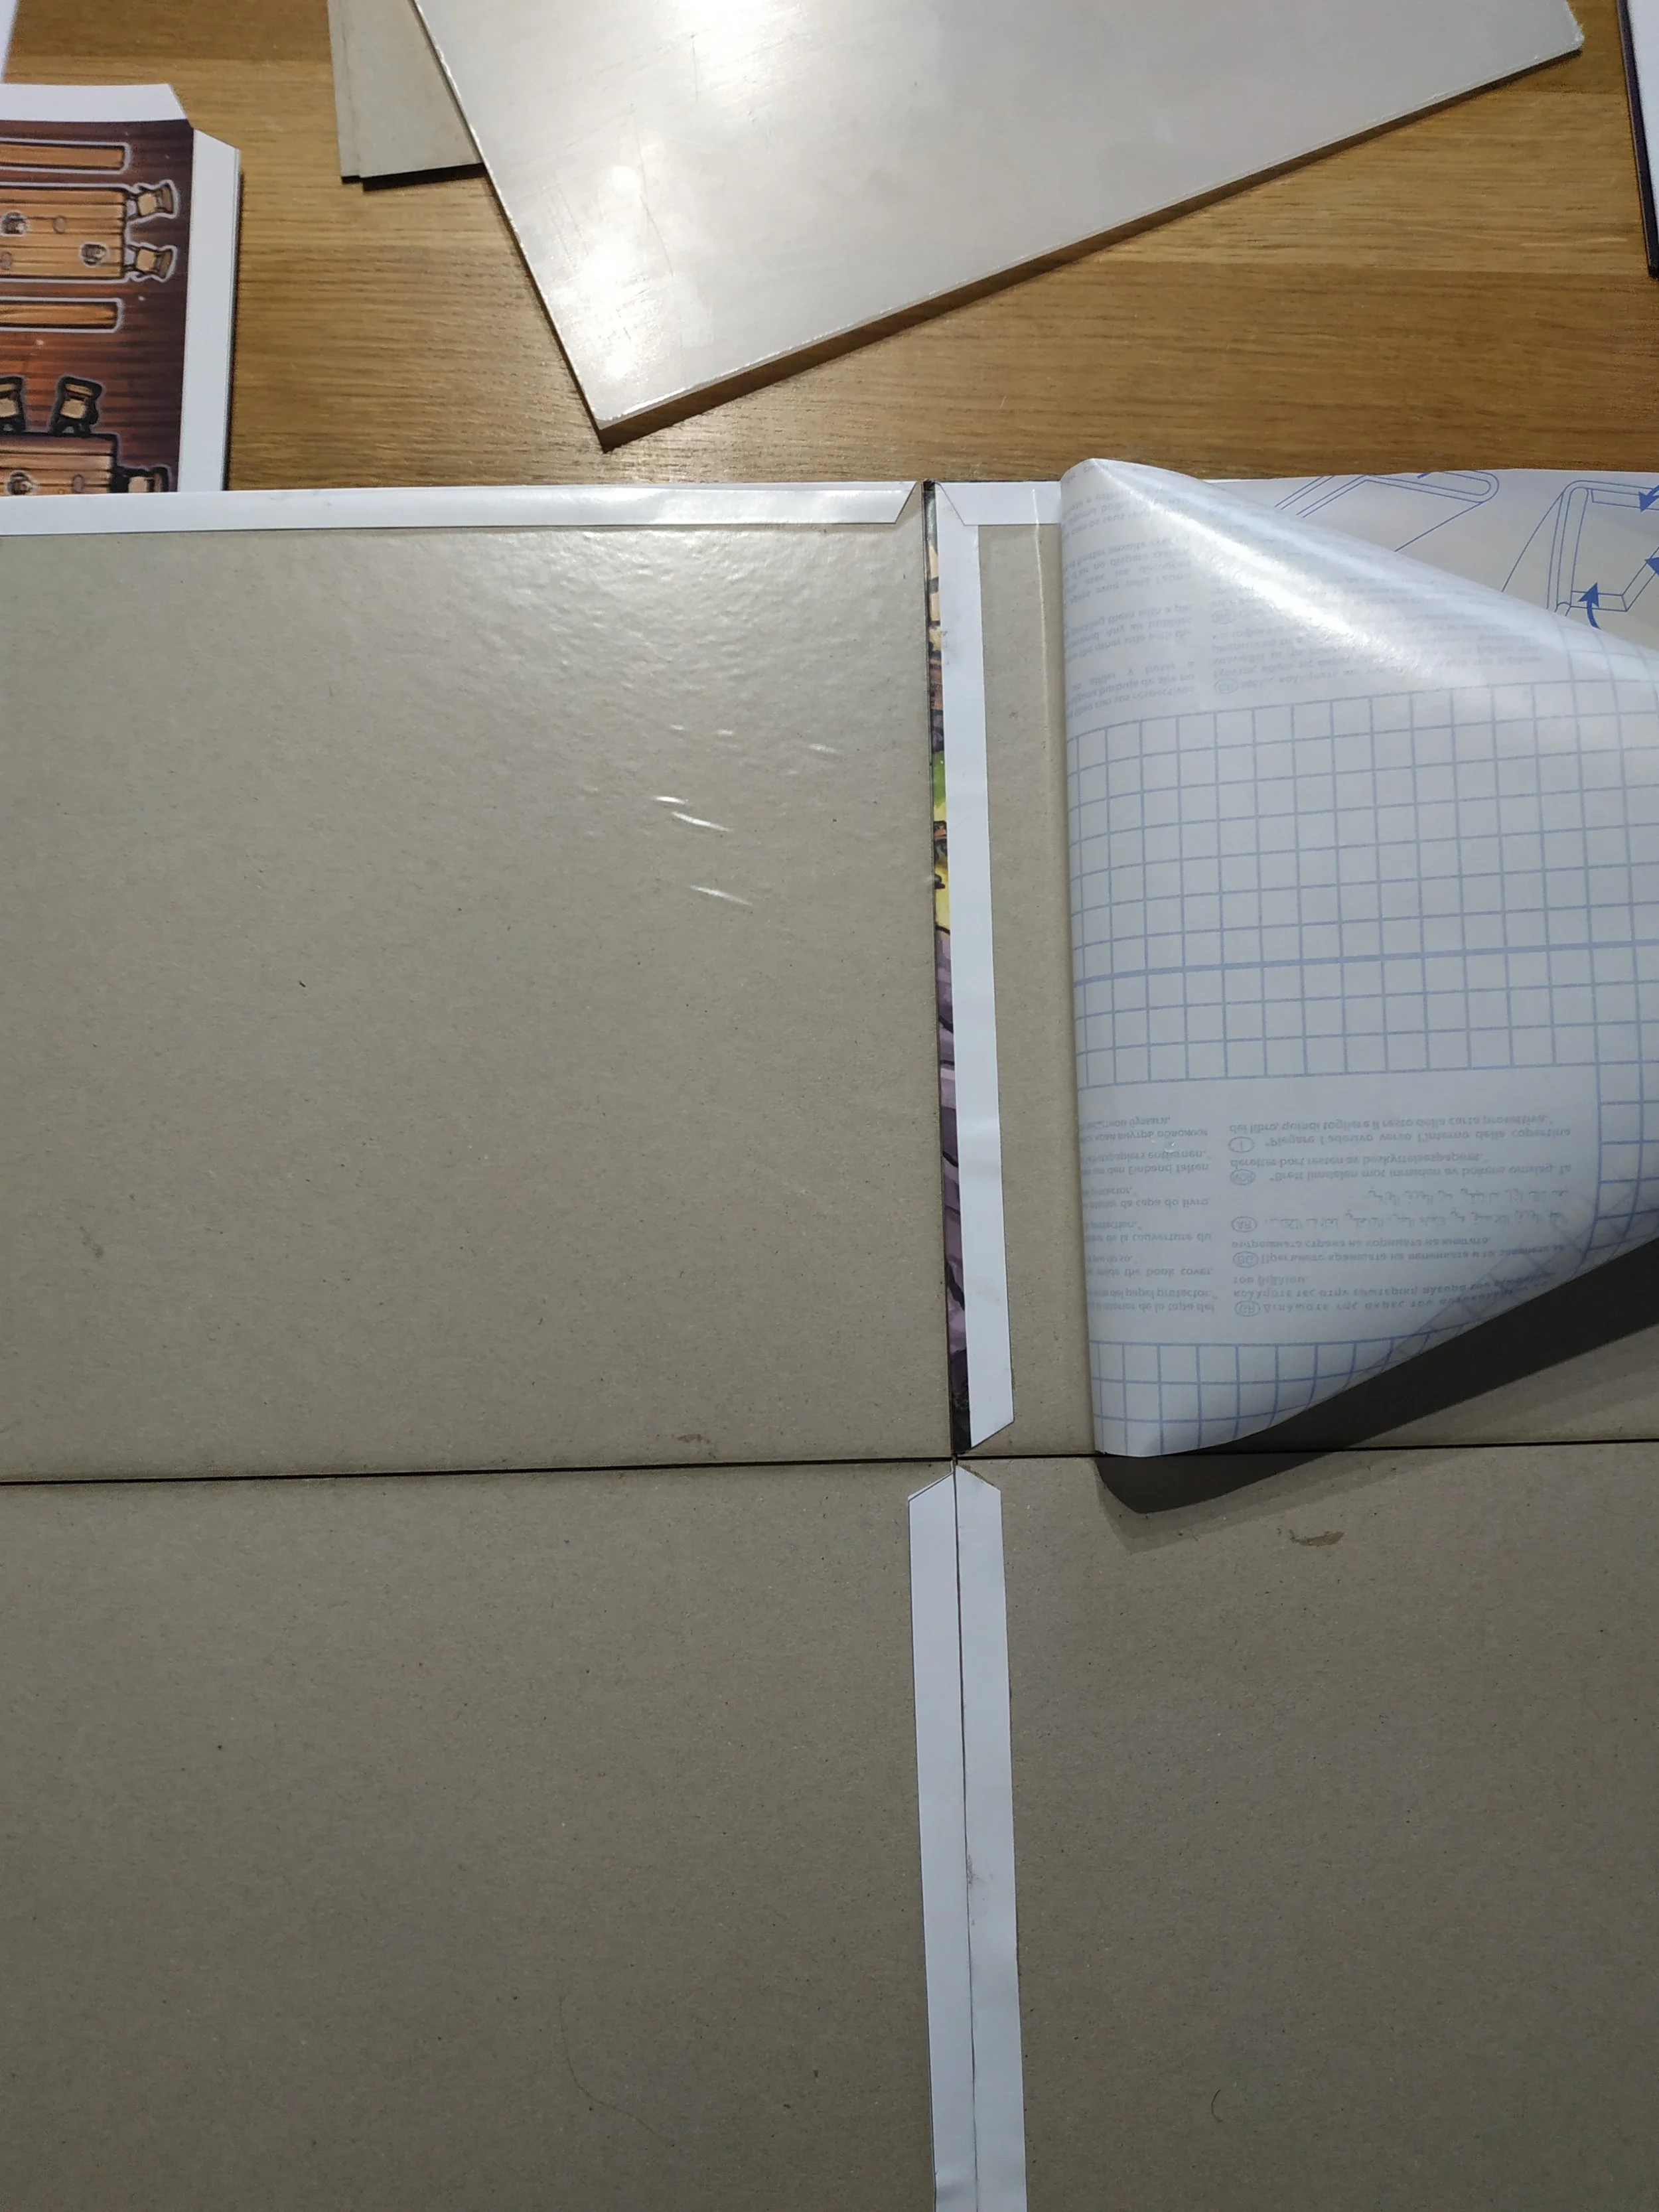
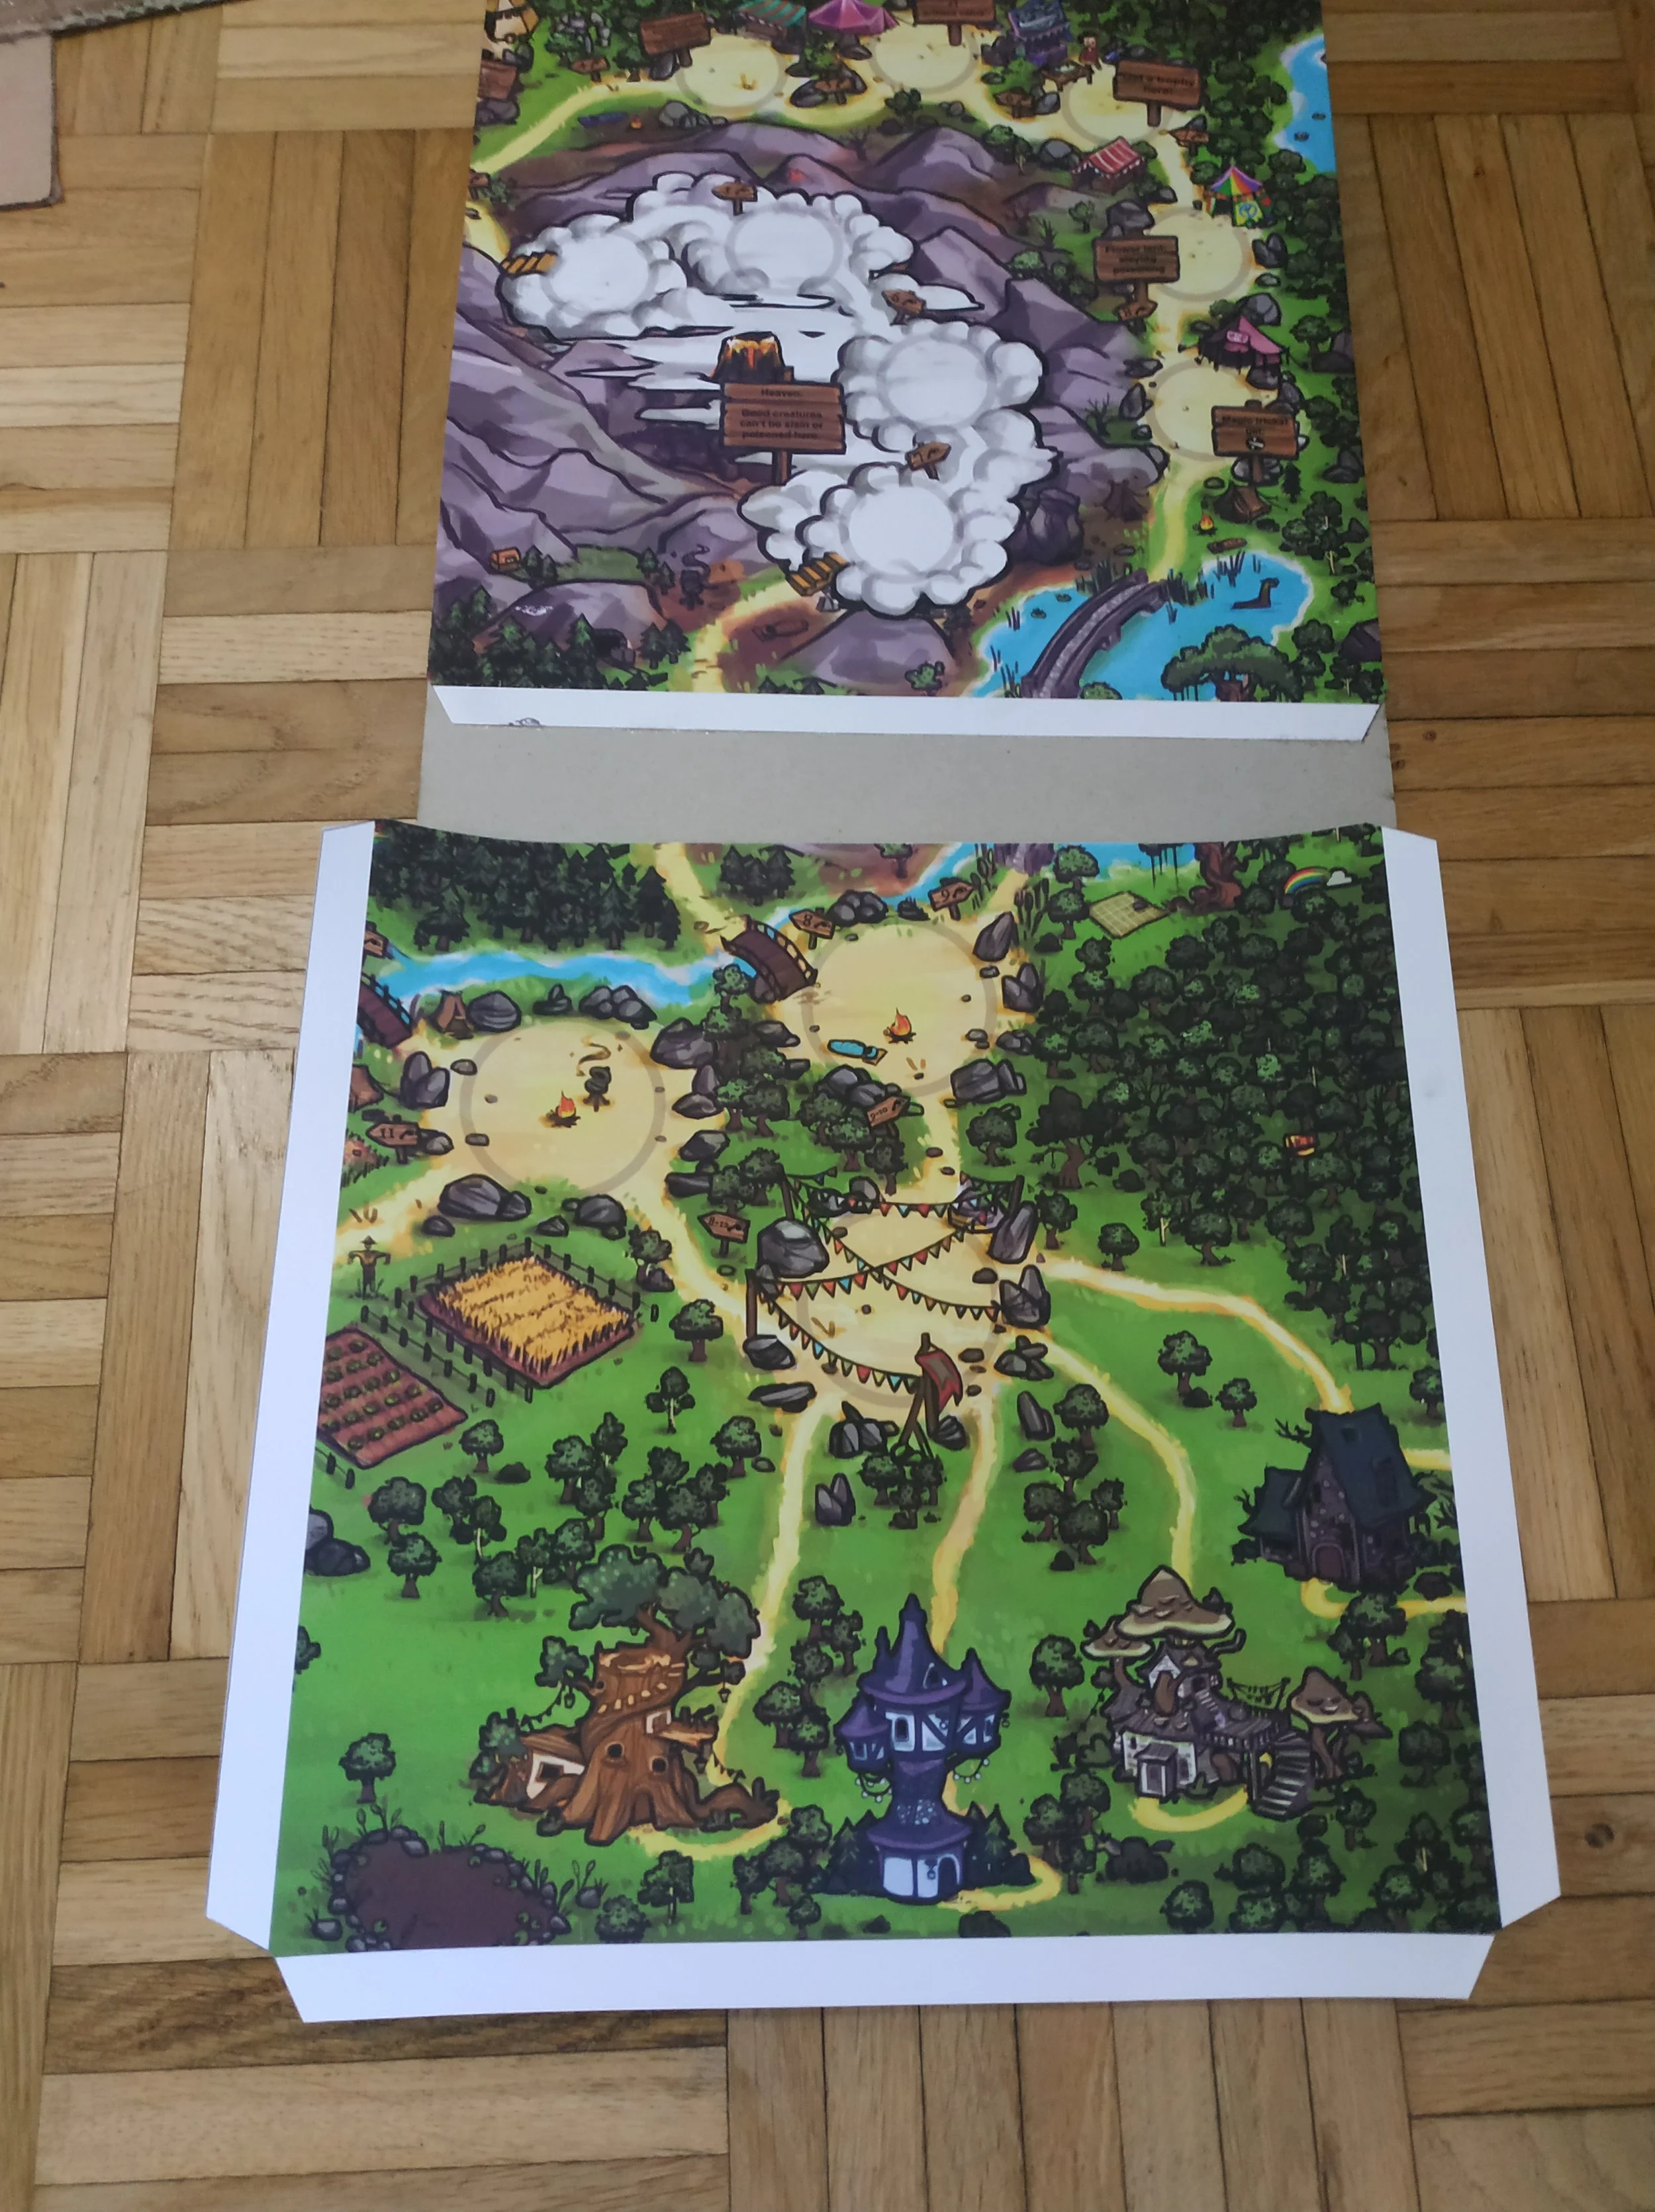
There are certainly several ways to print and mount a game board. For some reason, I wanted to make mine in four parts so that every edge would be overlapped and therefore more stable.
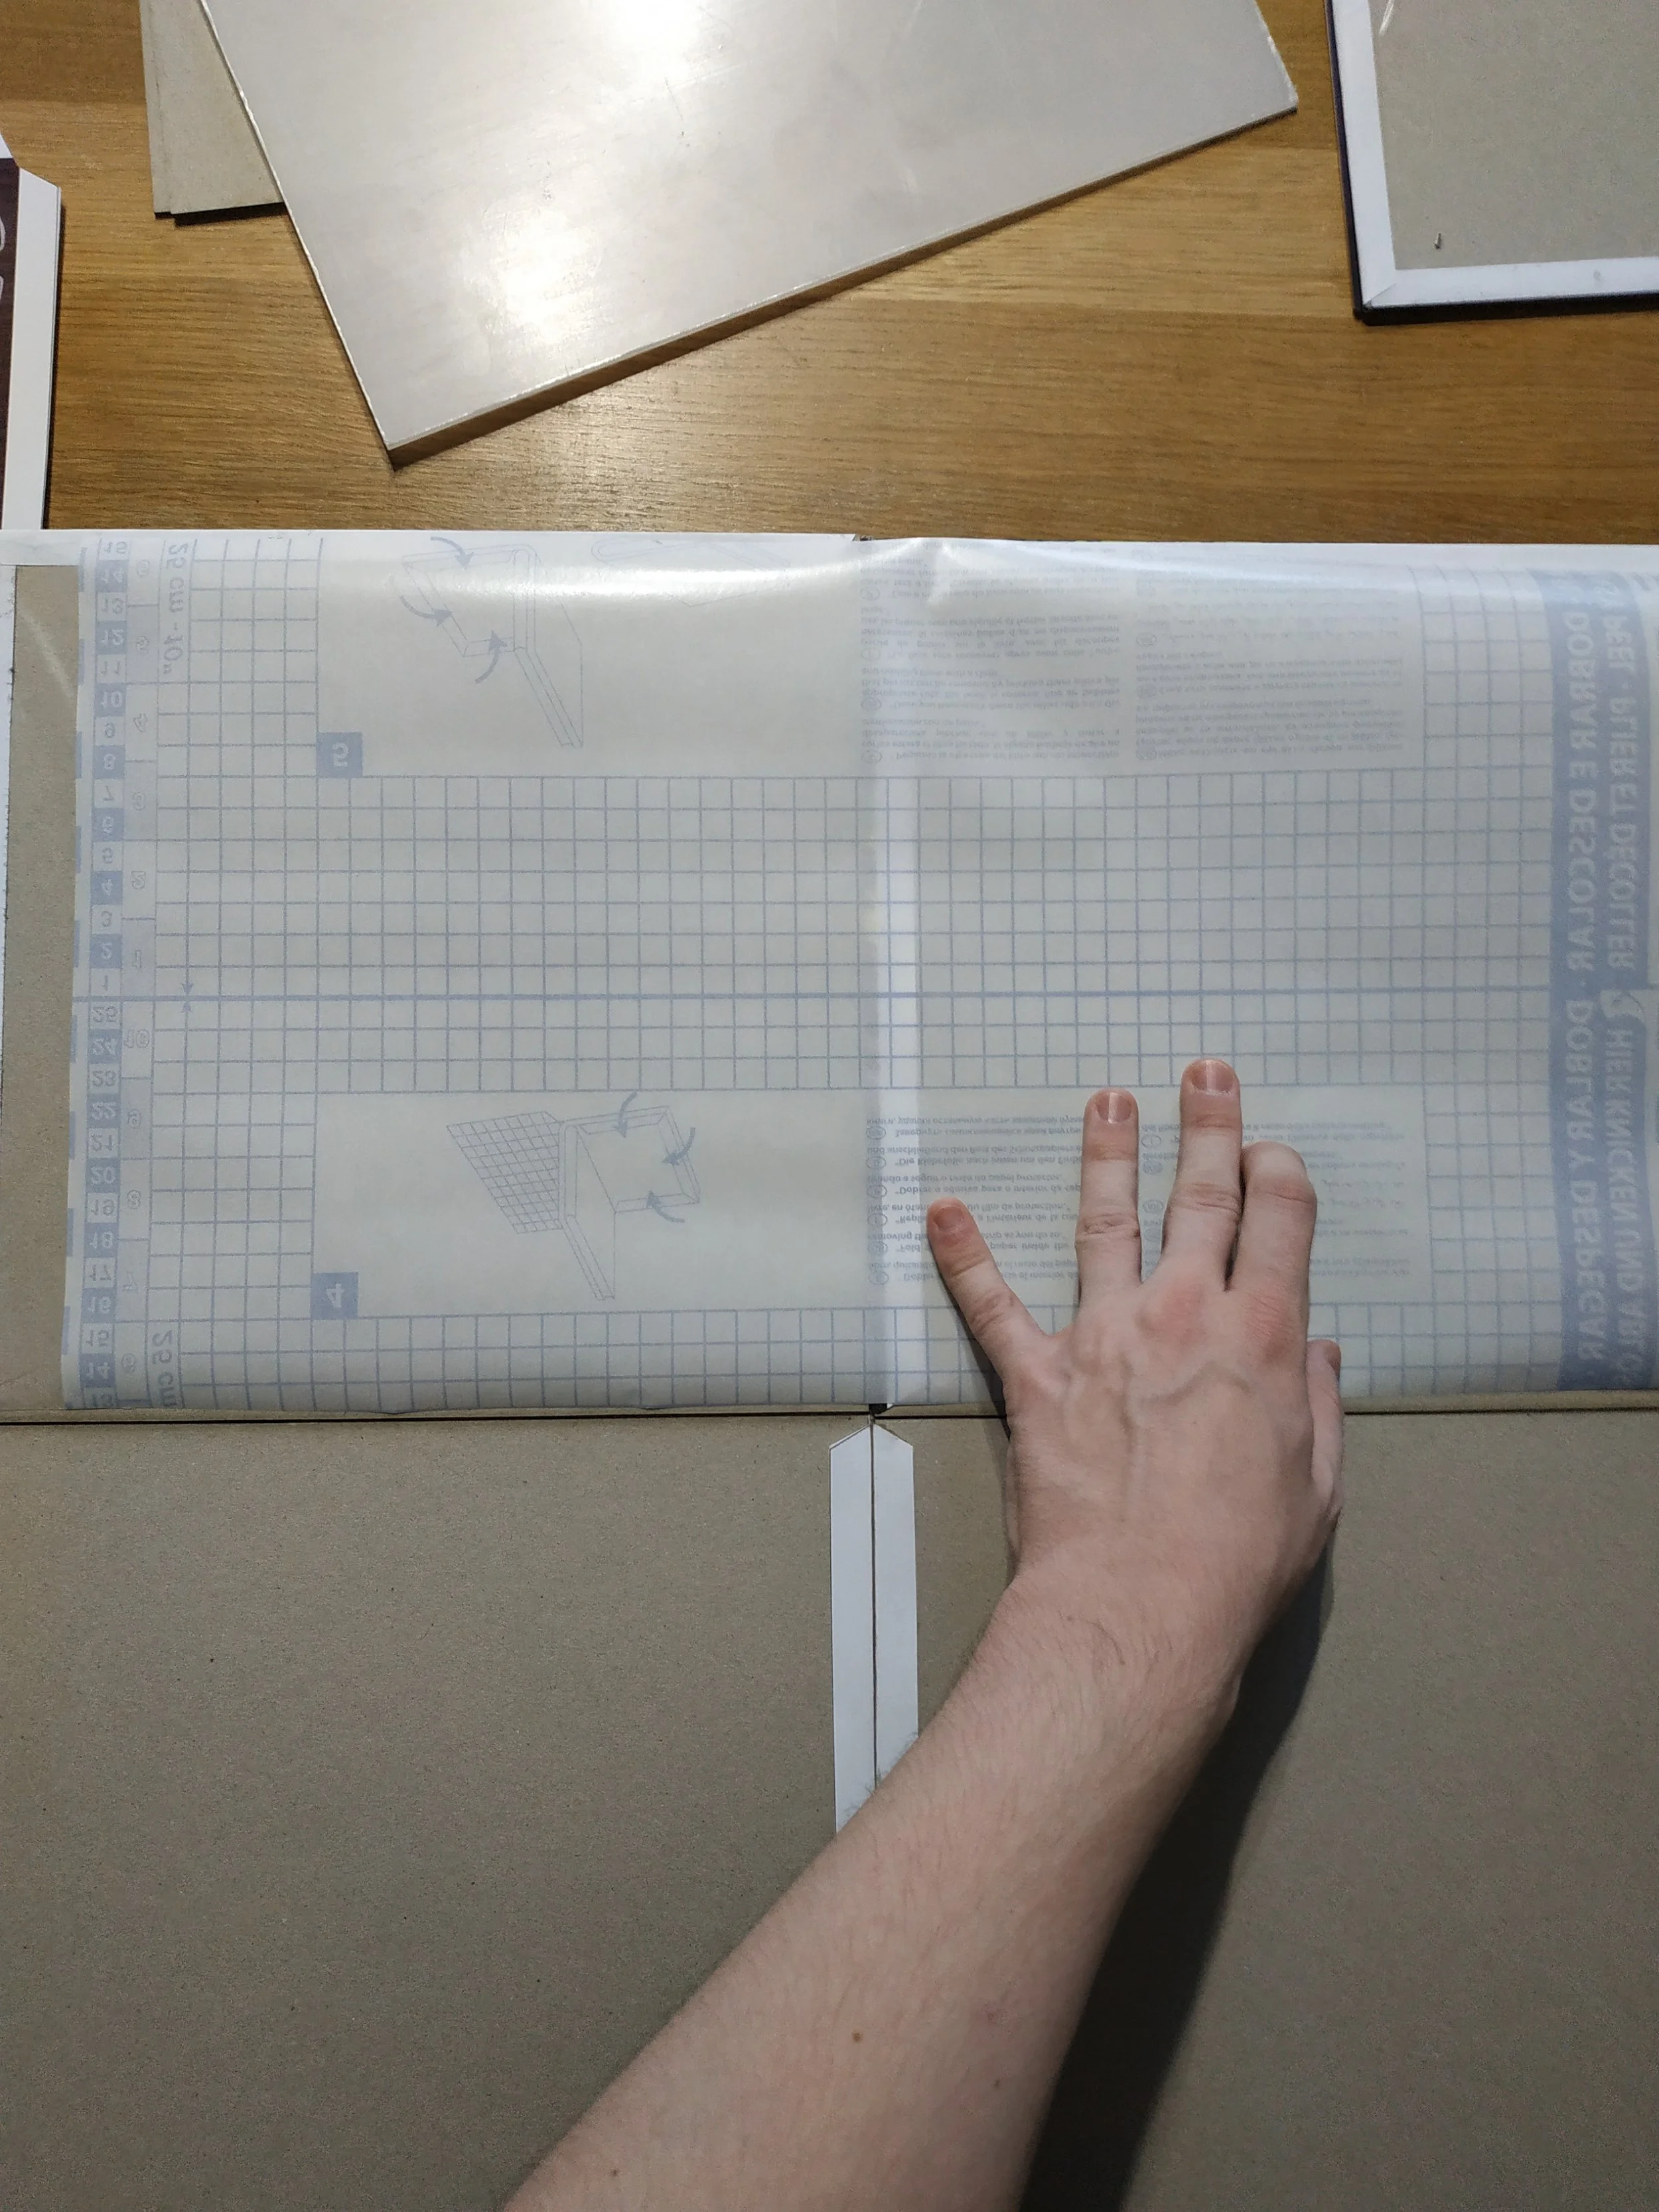
If you do it the way I did, you really need to think carefully about where and in which direction the board will fold. On the edges where the board sections connect, I extended the flap to create more gluing surface. When dividing the artwork, I also had to make sure the images lined up cleanly at the edges. The artwork should always extend slightly beyond the cut line (I used 1–2 mm). If you don’t manage to glue the artwork on perfectly, you’ll end up with white edges — and that doesn’t look very nice. As far as I know, preparing files for actual production is much easier.
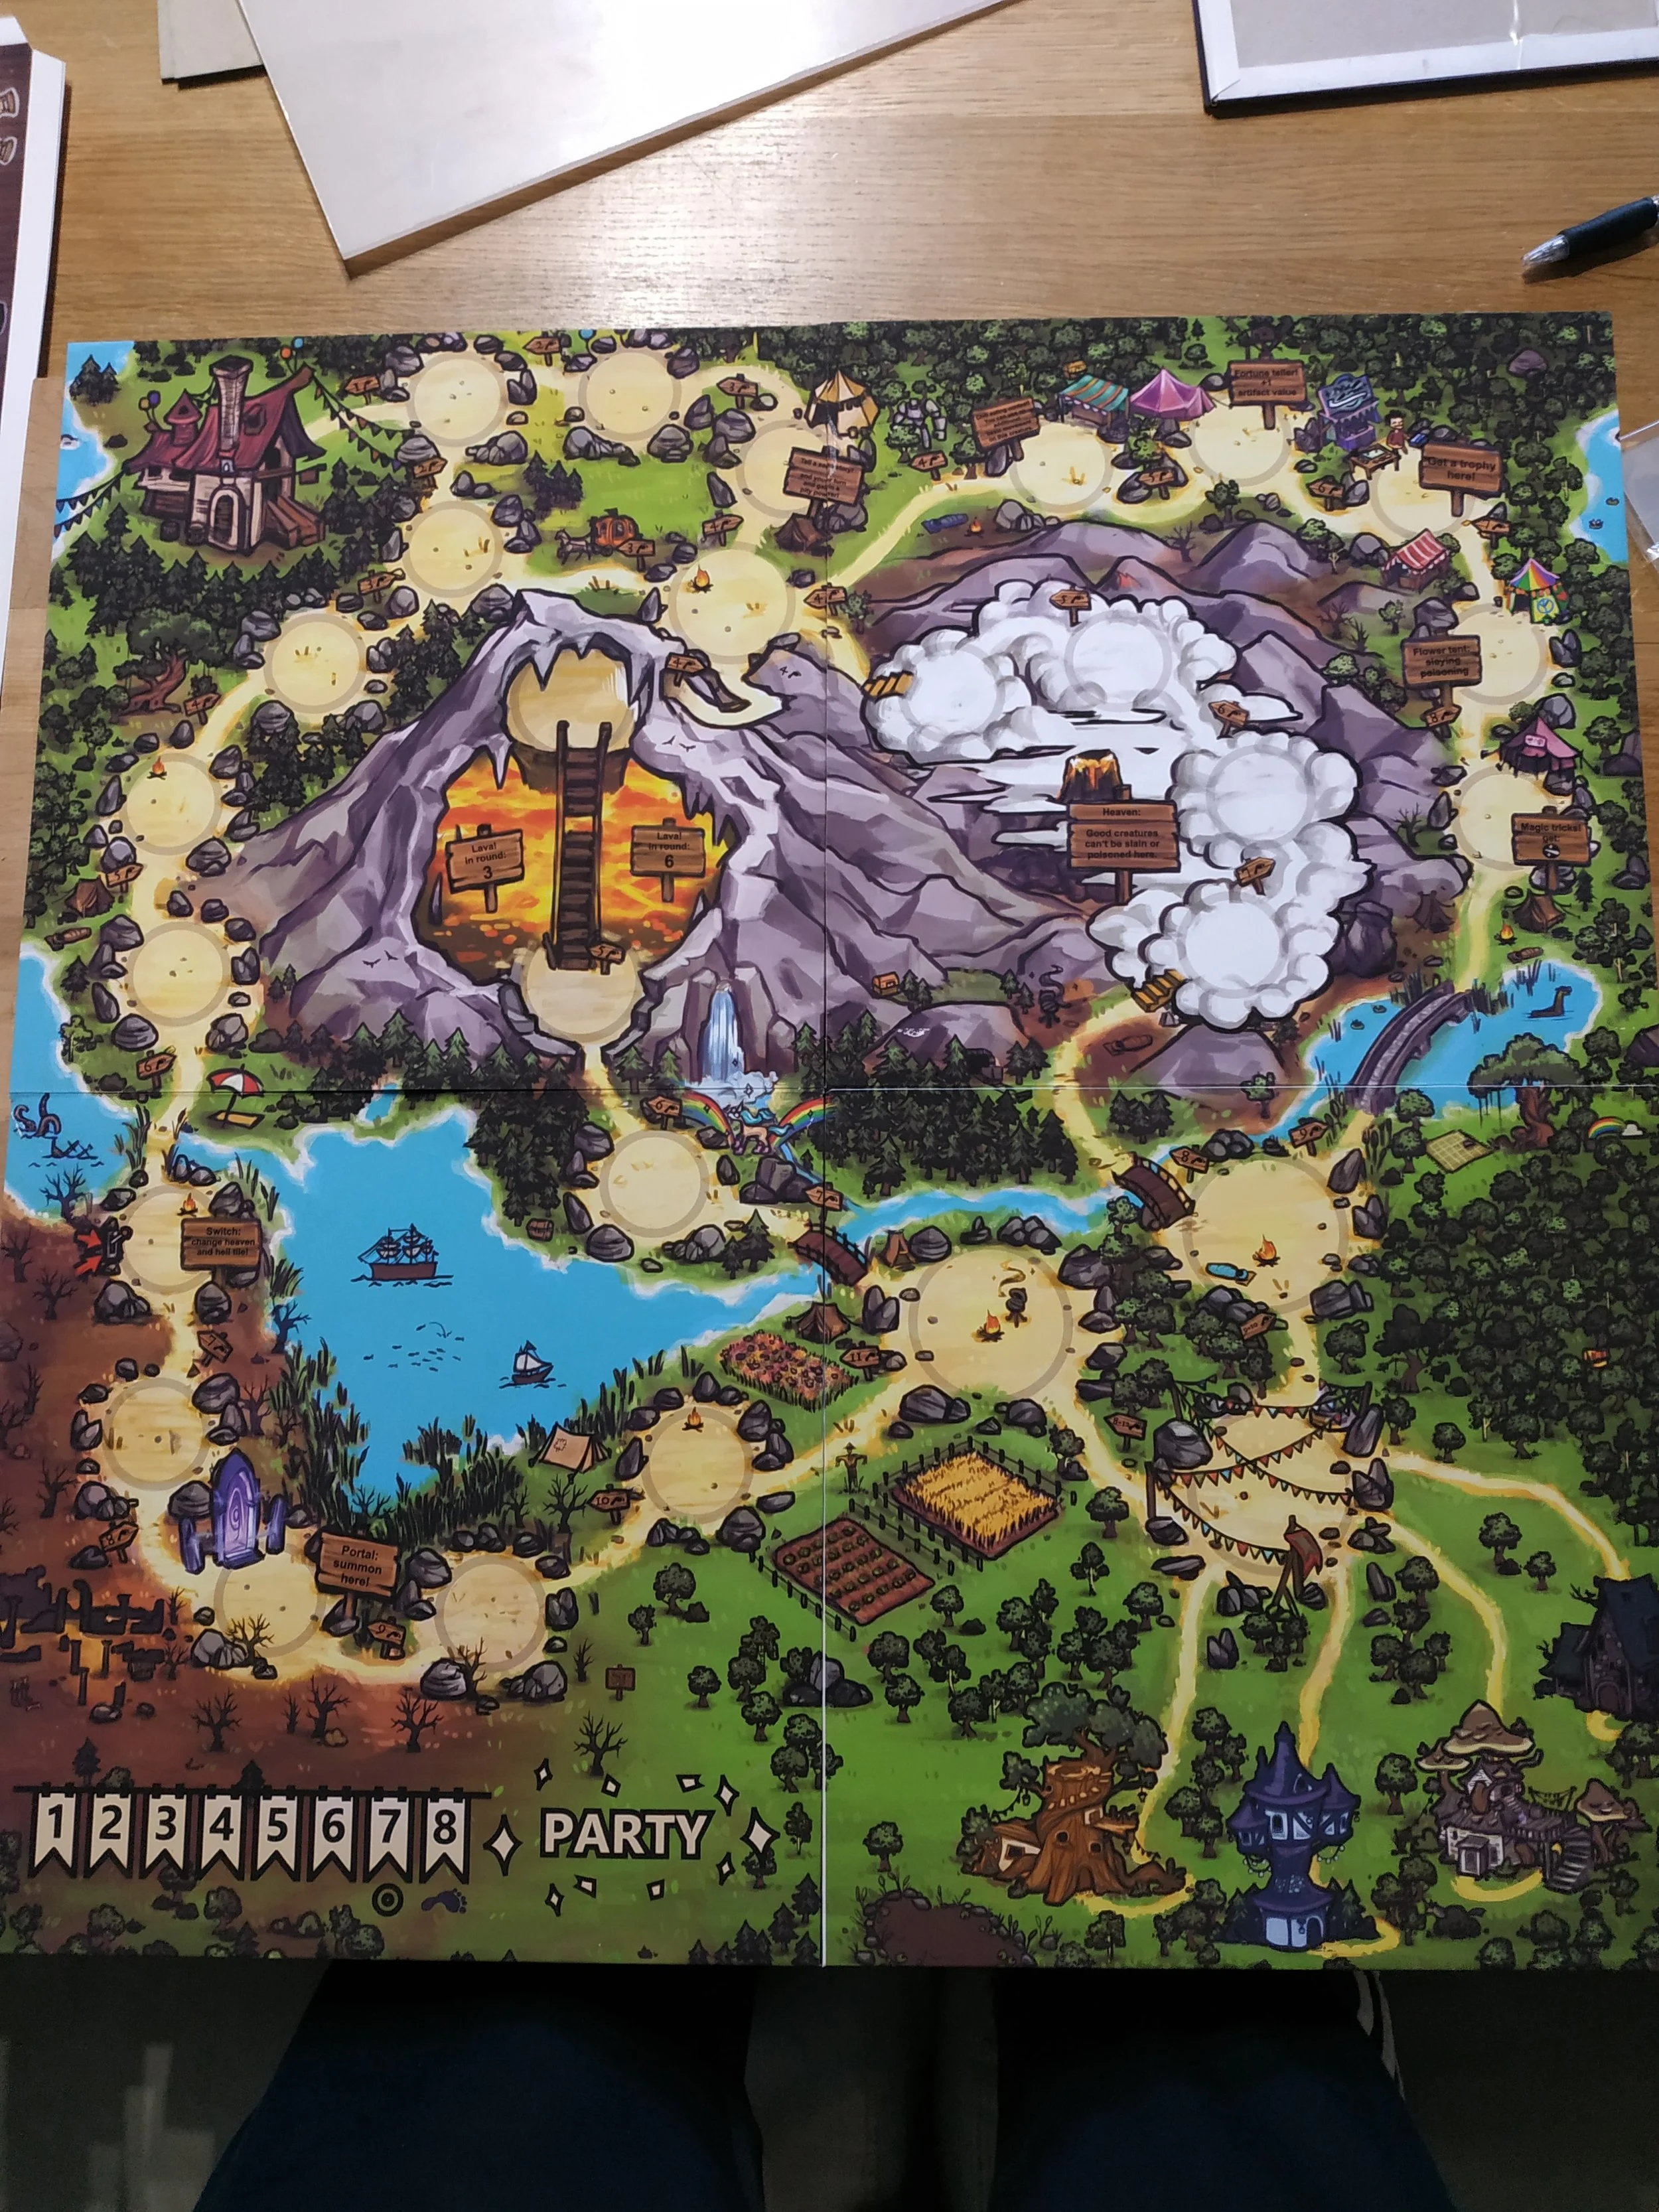
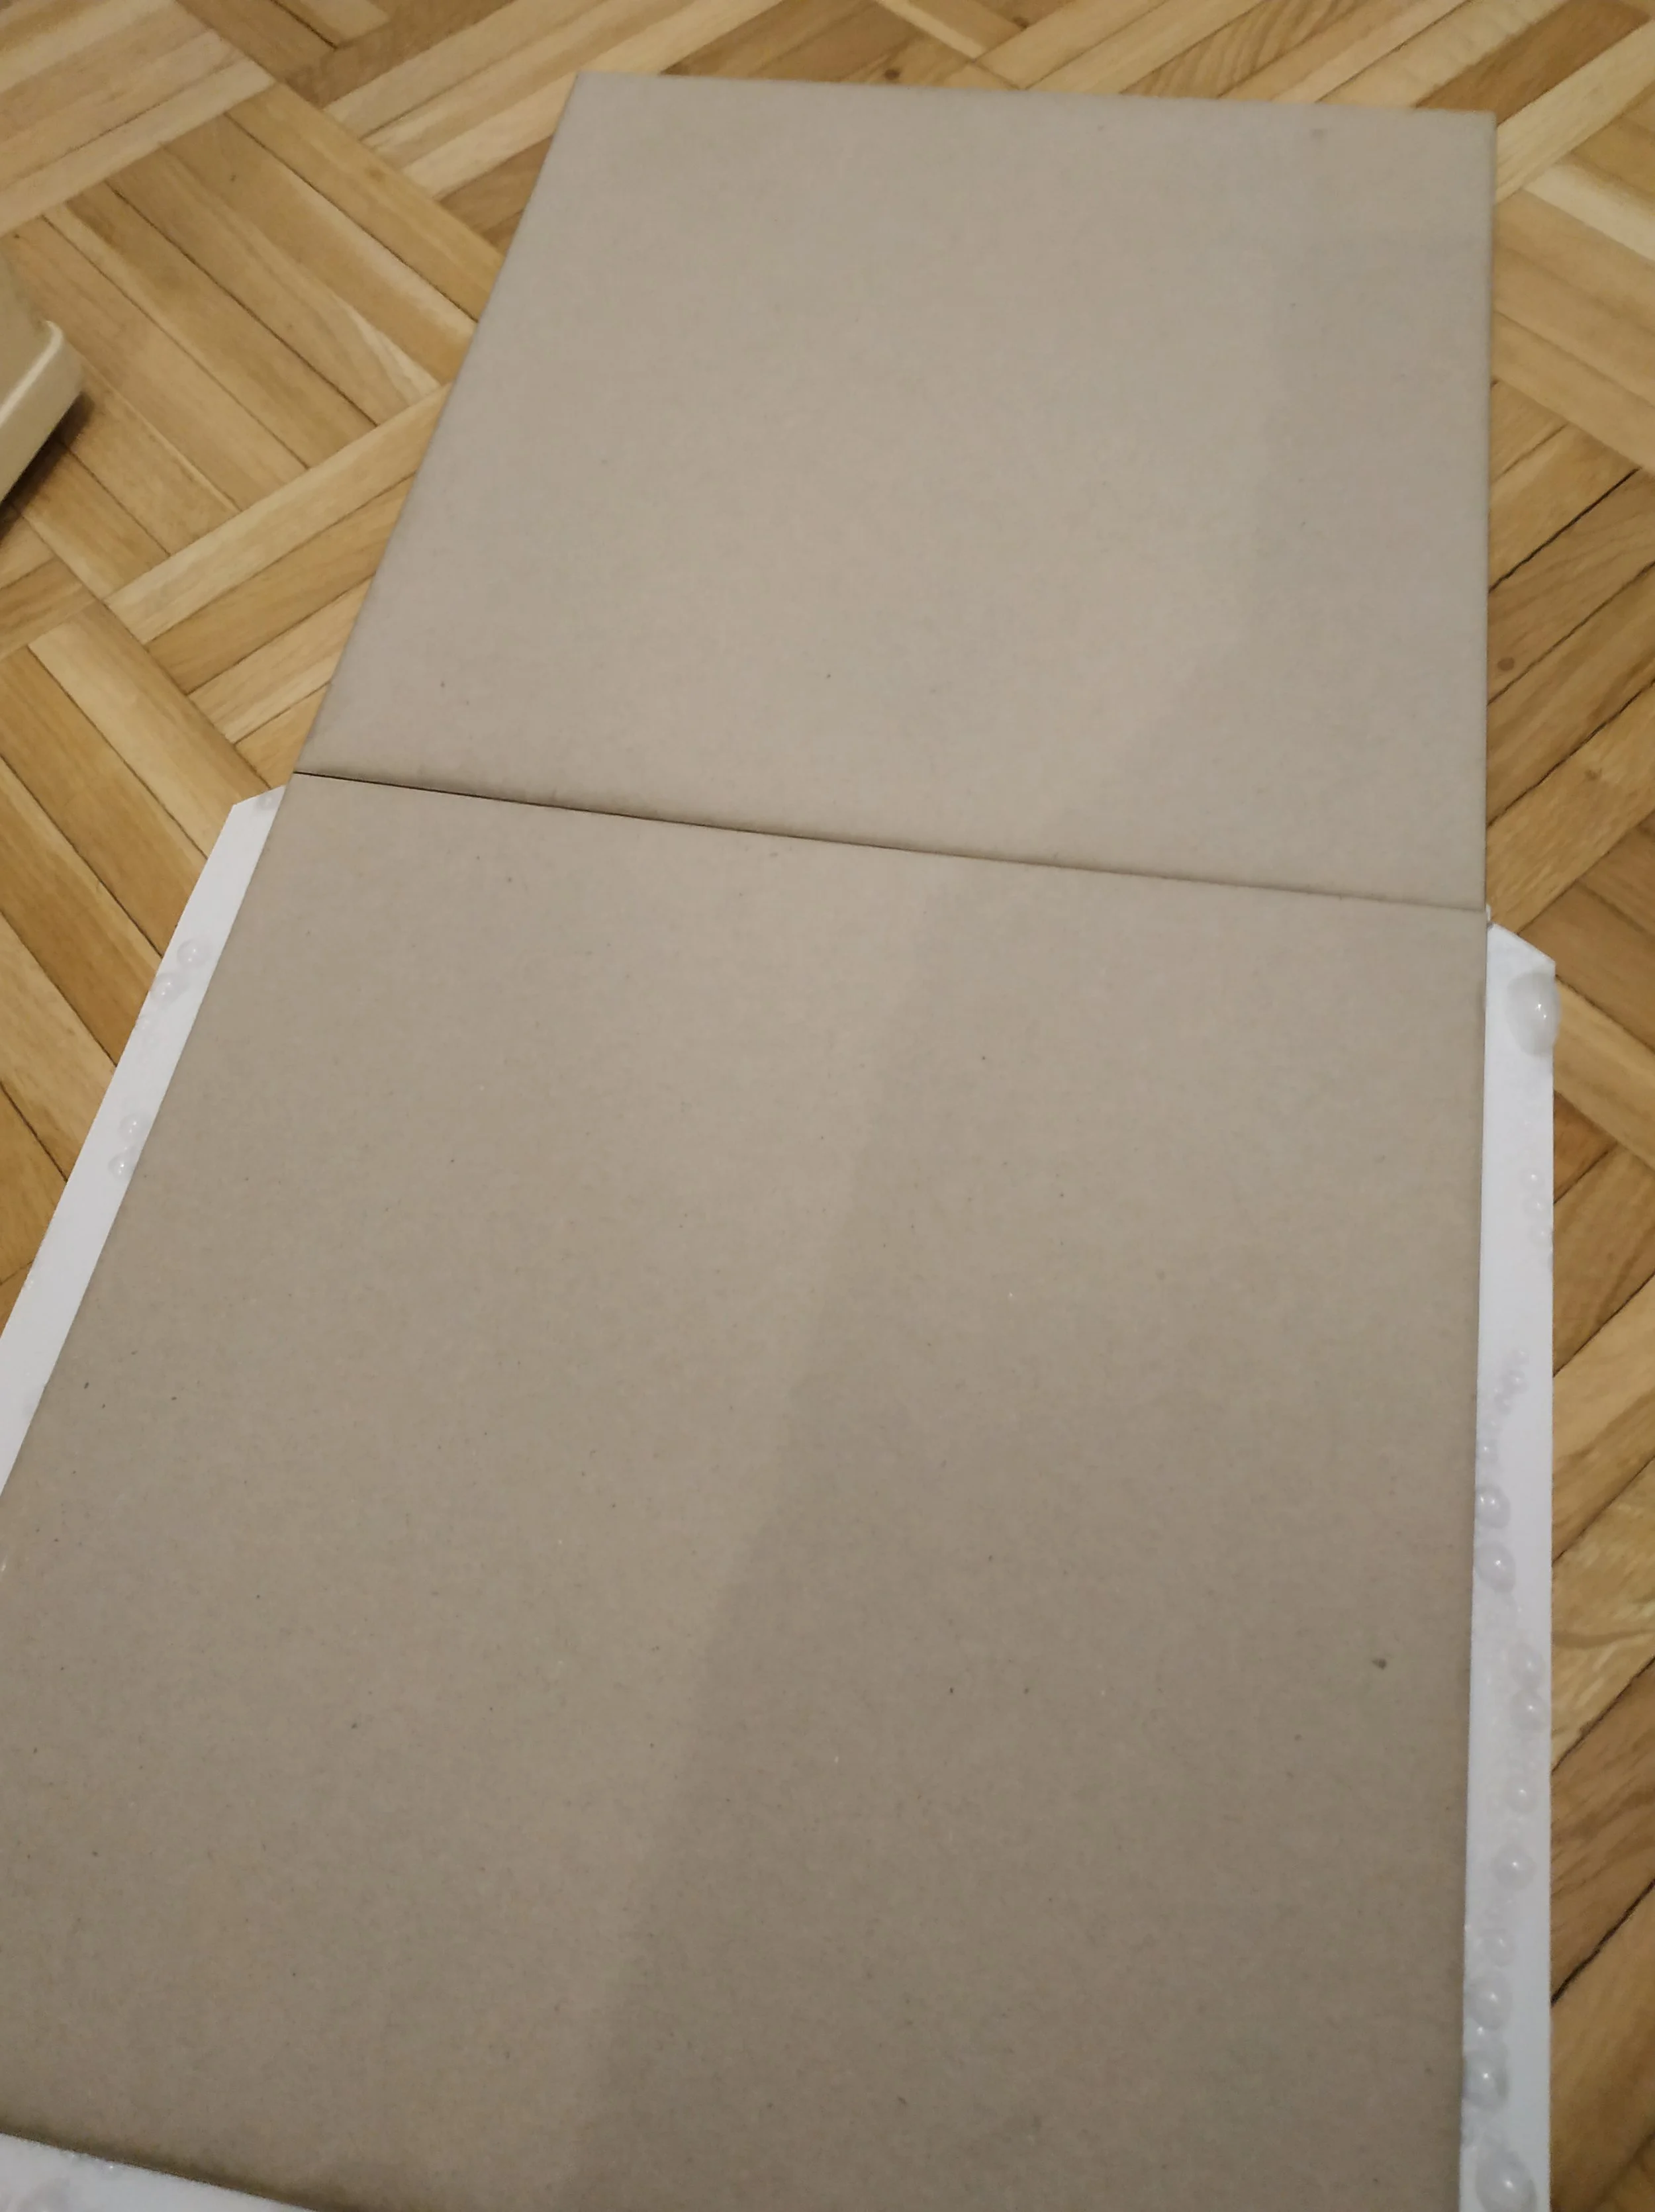
I sprayed the back of the prints with spray adhesive again and carefully glued the first cardboard piece in place. Then I aligned the next piece along the correct edge, glued it down, and let it dry. After that, I glued the next print over it. For later prototypes, I switched to bookbinding glue, and both the process and the results were much better.
On the back, I reinforced the board with book-cover film. This strengthens the folding edges and also supports the edge that folds in the opposite direction. Otherwise, the board wouldn’t hold together. It’s important to glue the edges correctly — if a section is meant to fold, the film must be glued across the fold (see image 3).
Overall, I’m very happy with the result. If you look closely, you can tell the board is handmade, but it looks good, is sturdy, and feels nice. You get a reliable impression of the material, which was the whole point.
I’m sure you can think of other ways to build a game board like
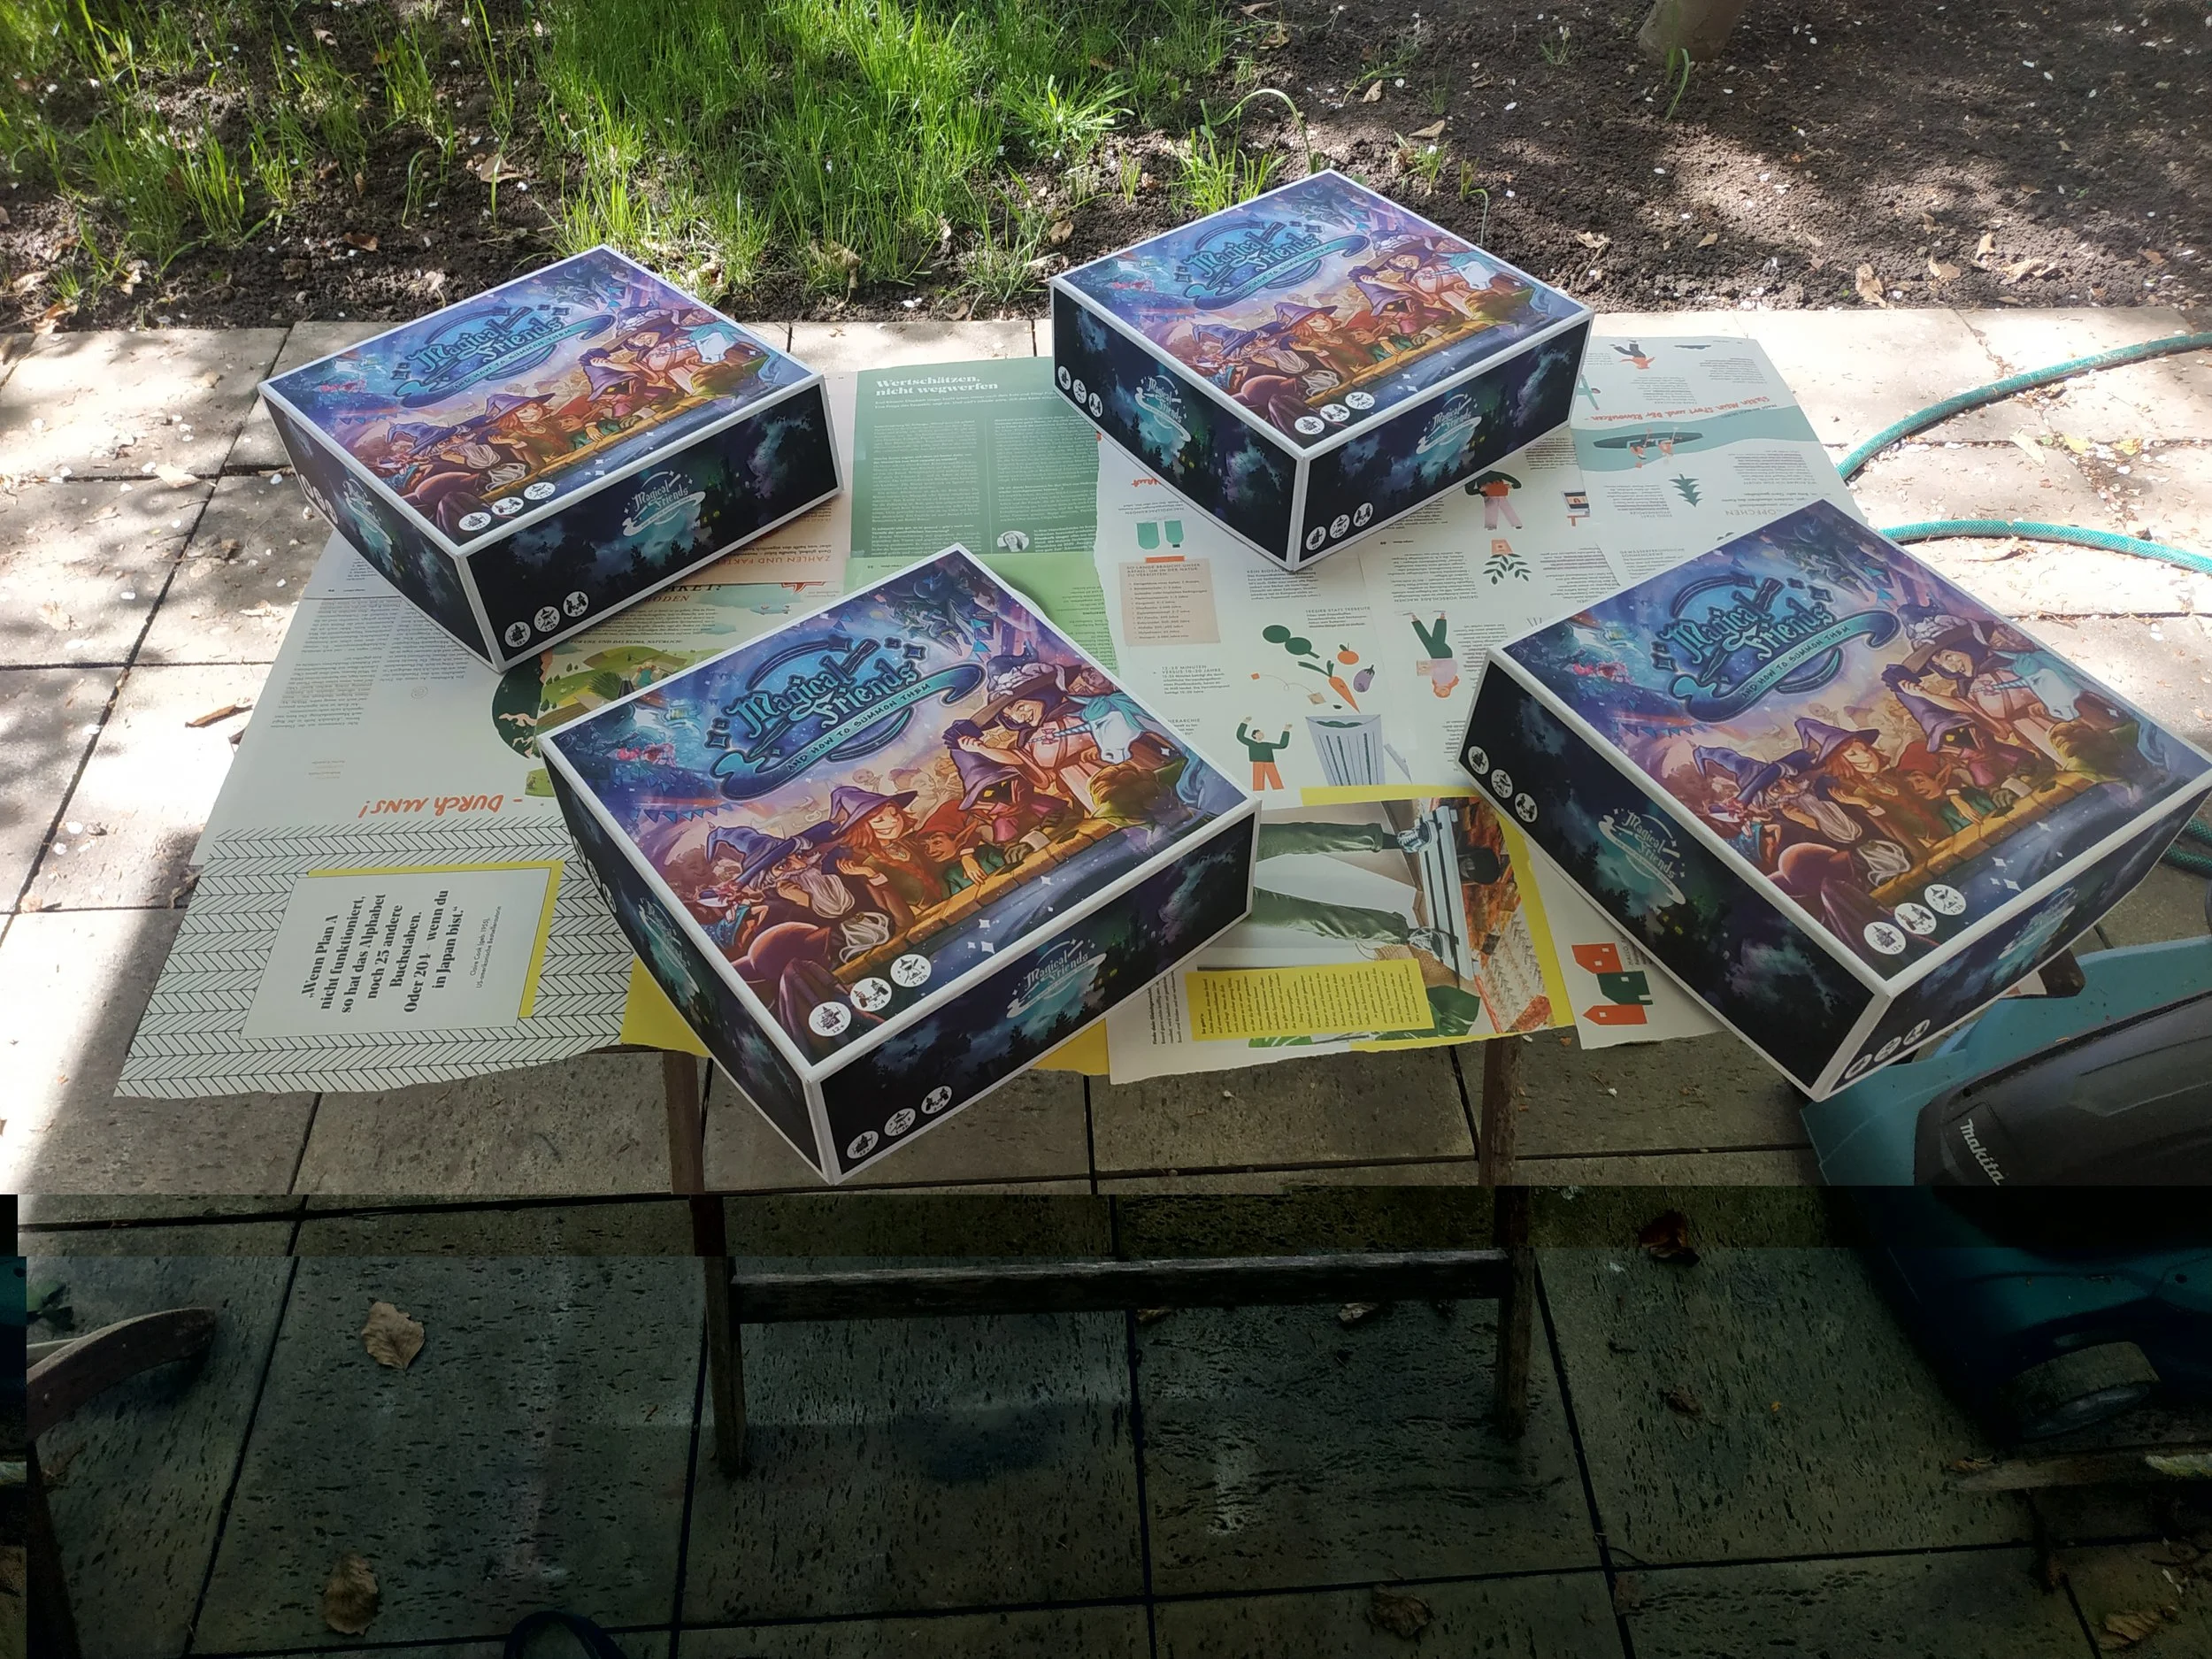
26 - When You Want the Prototype to Look Pretty … (Part 3: The Box)
26 - When You Want the Prototype to Look Pretty … (Part 3: The Box)
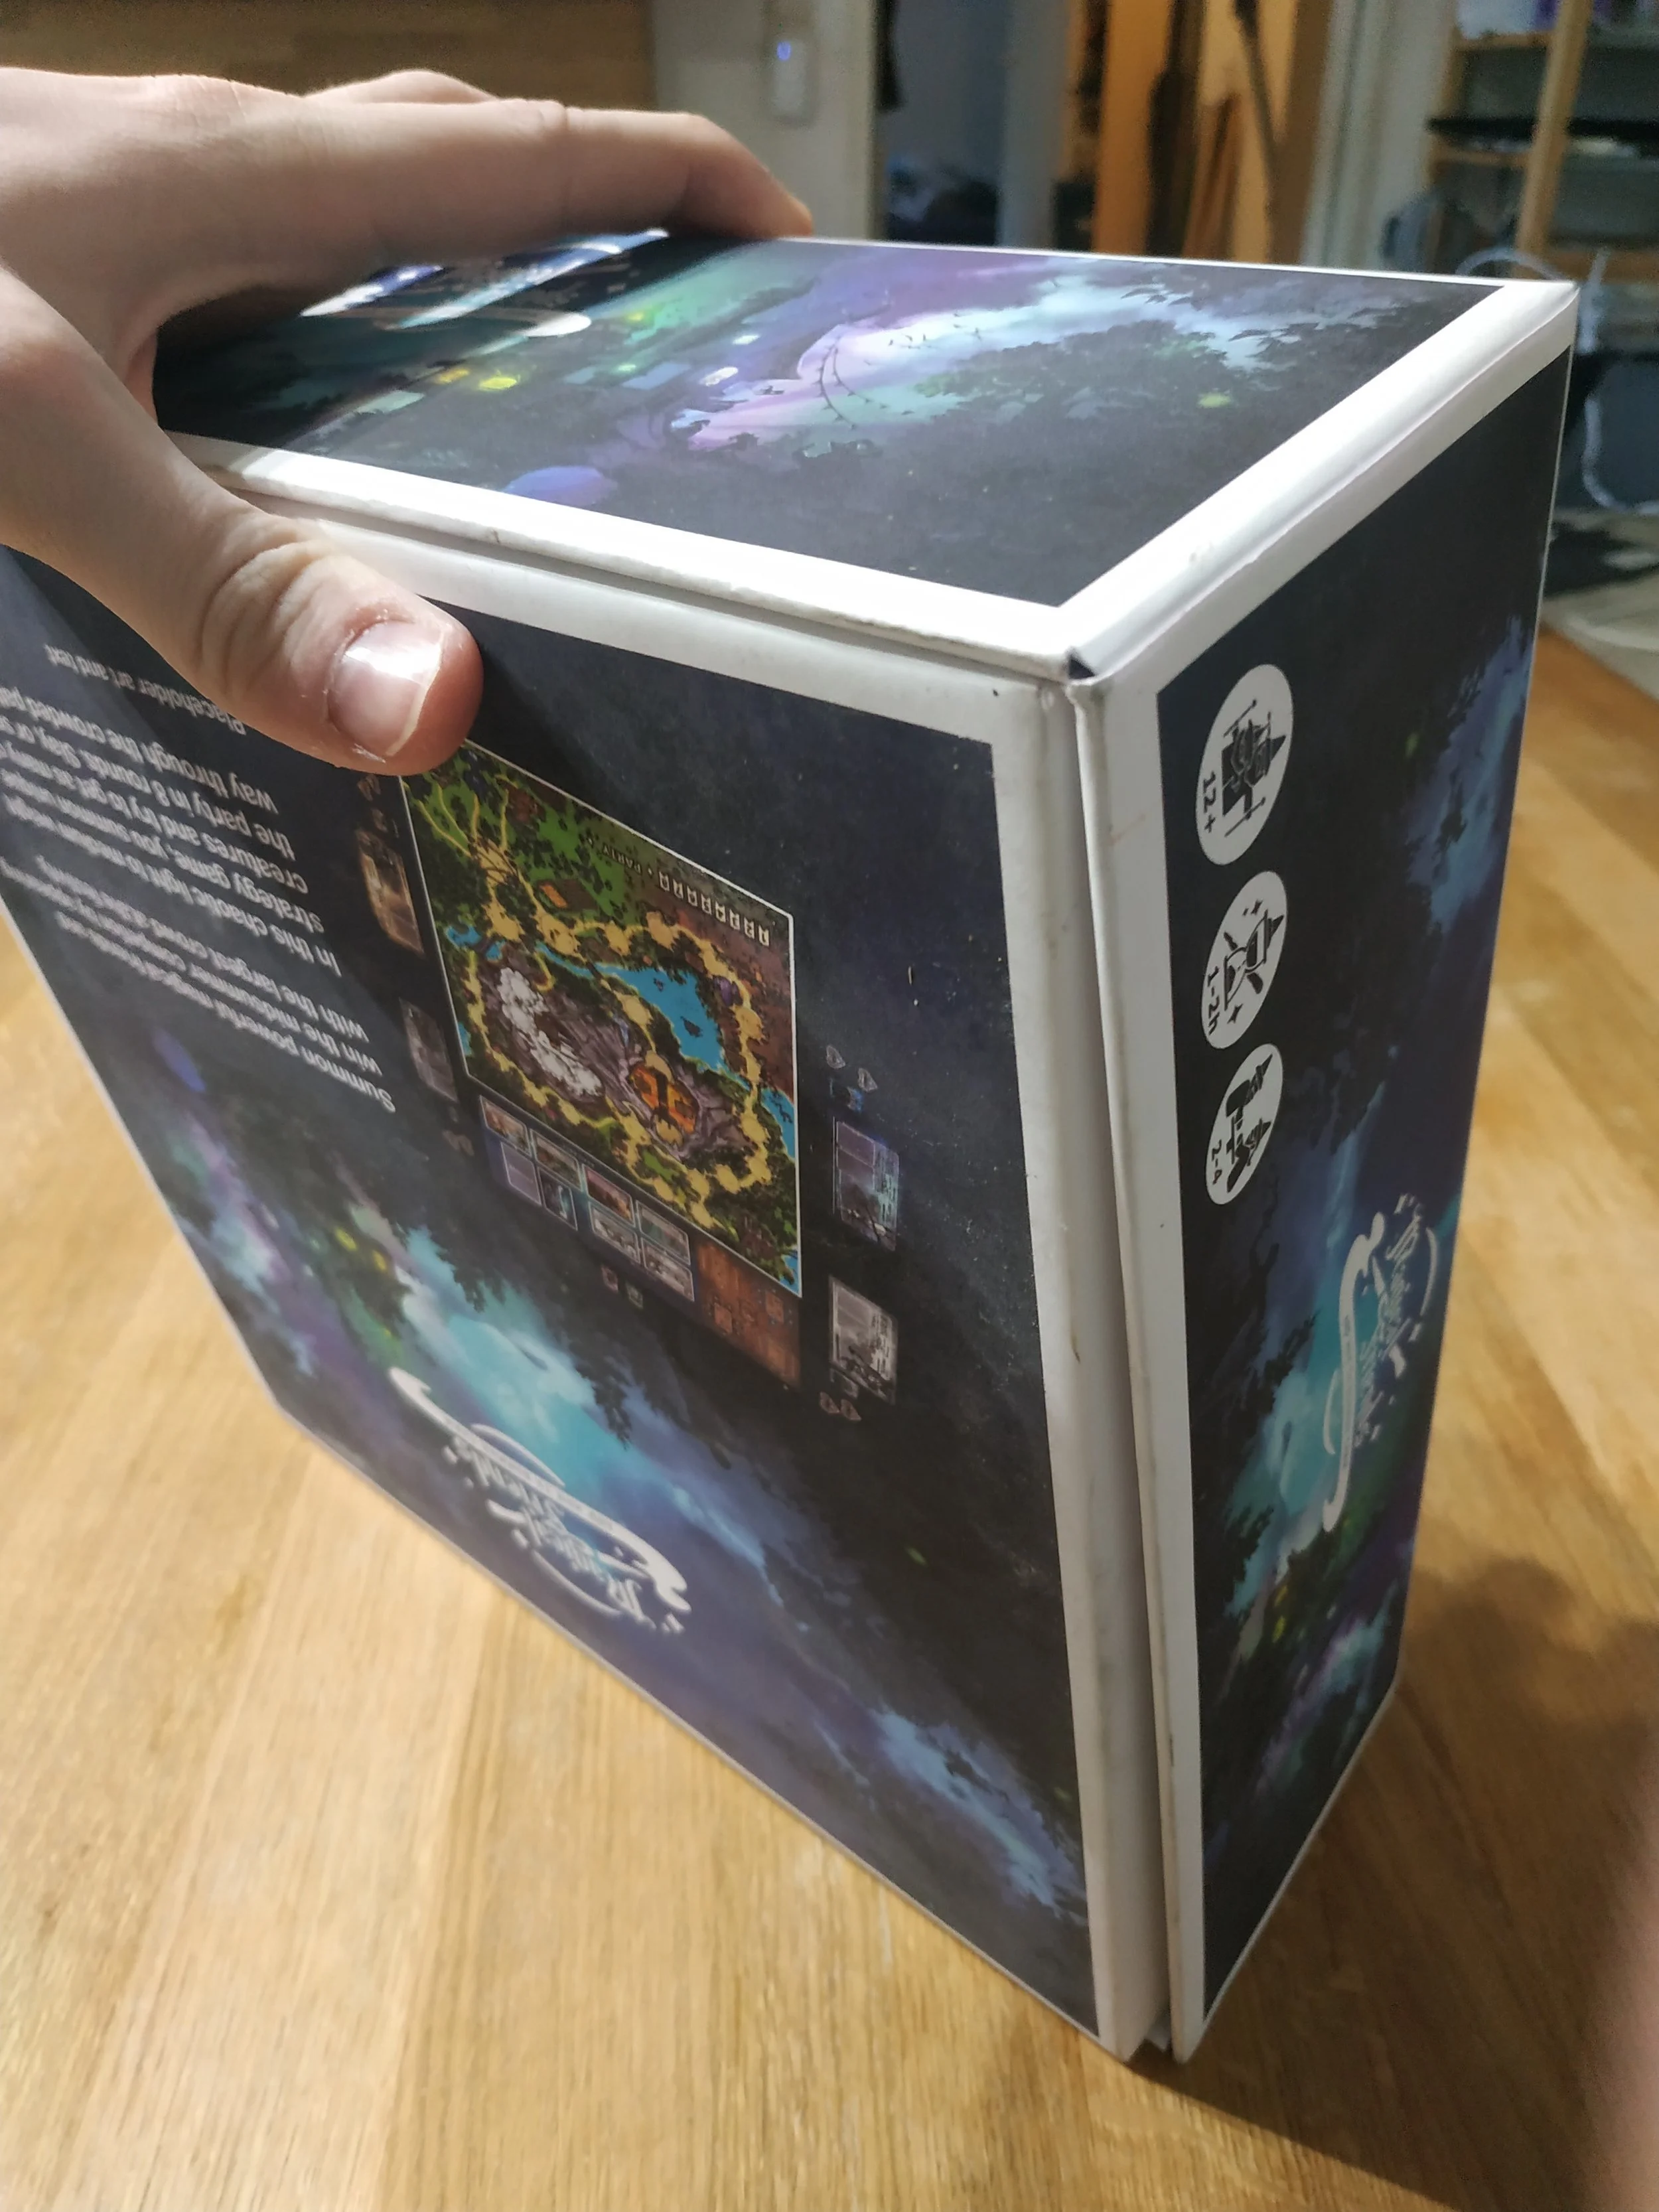
Crafting a nice box is definitely more difficult than cutting out playing cards. But once you finally hold it in your hands, it’s an amazing feeling.
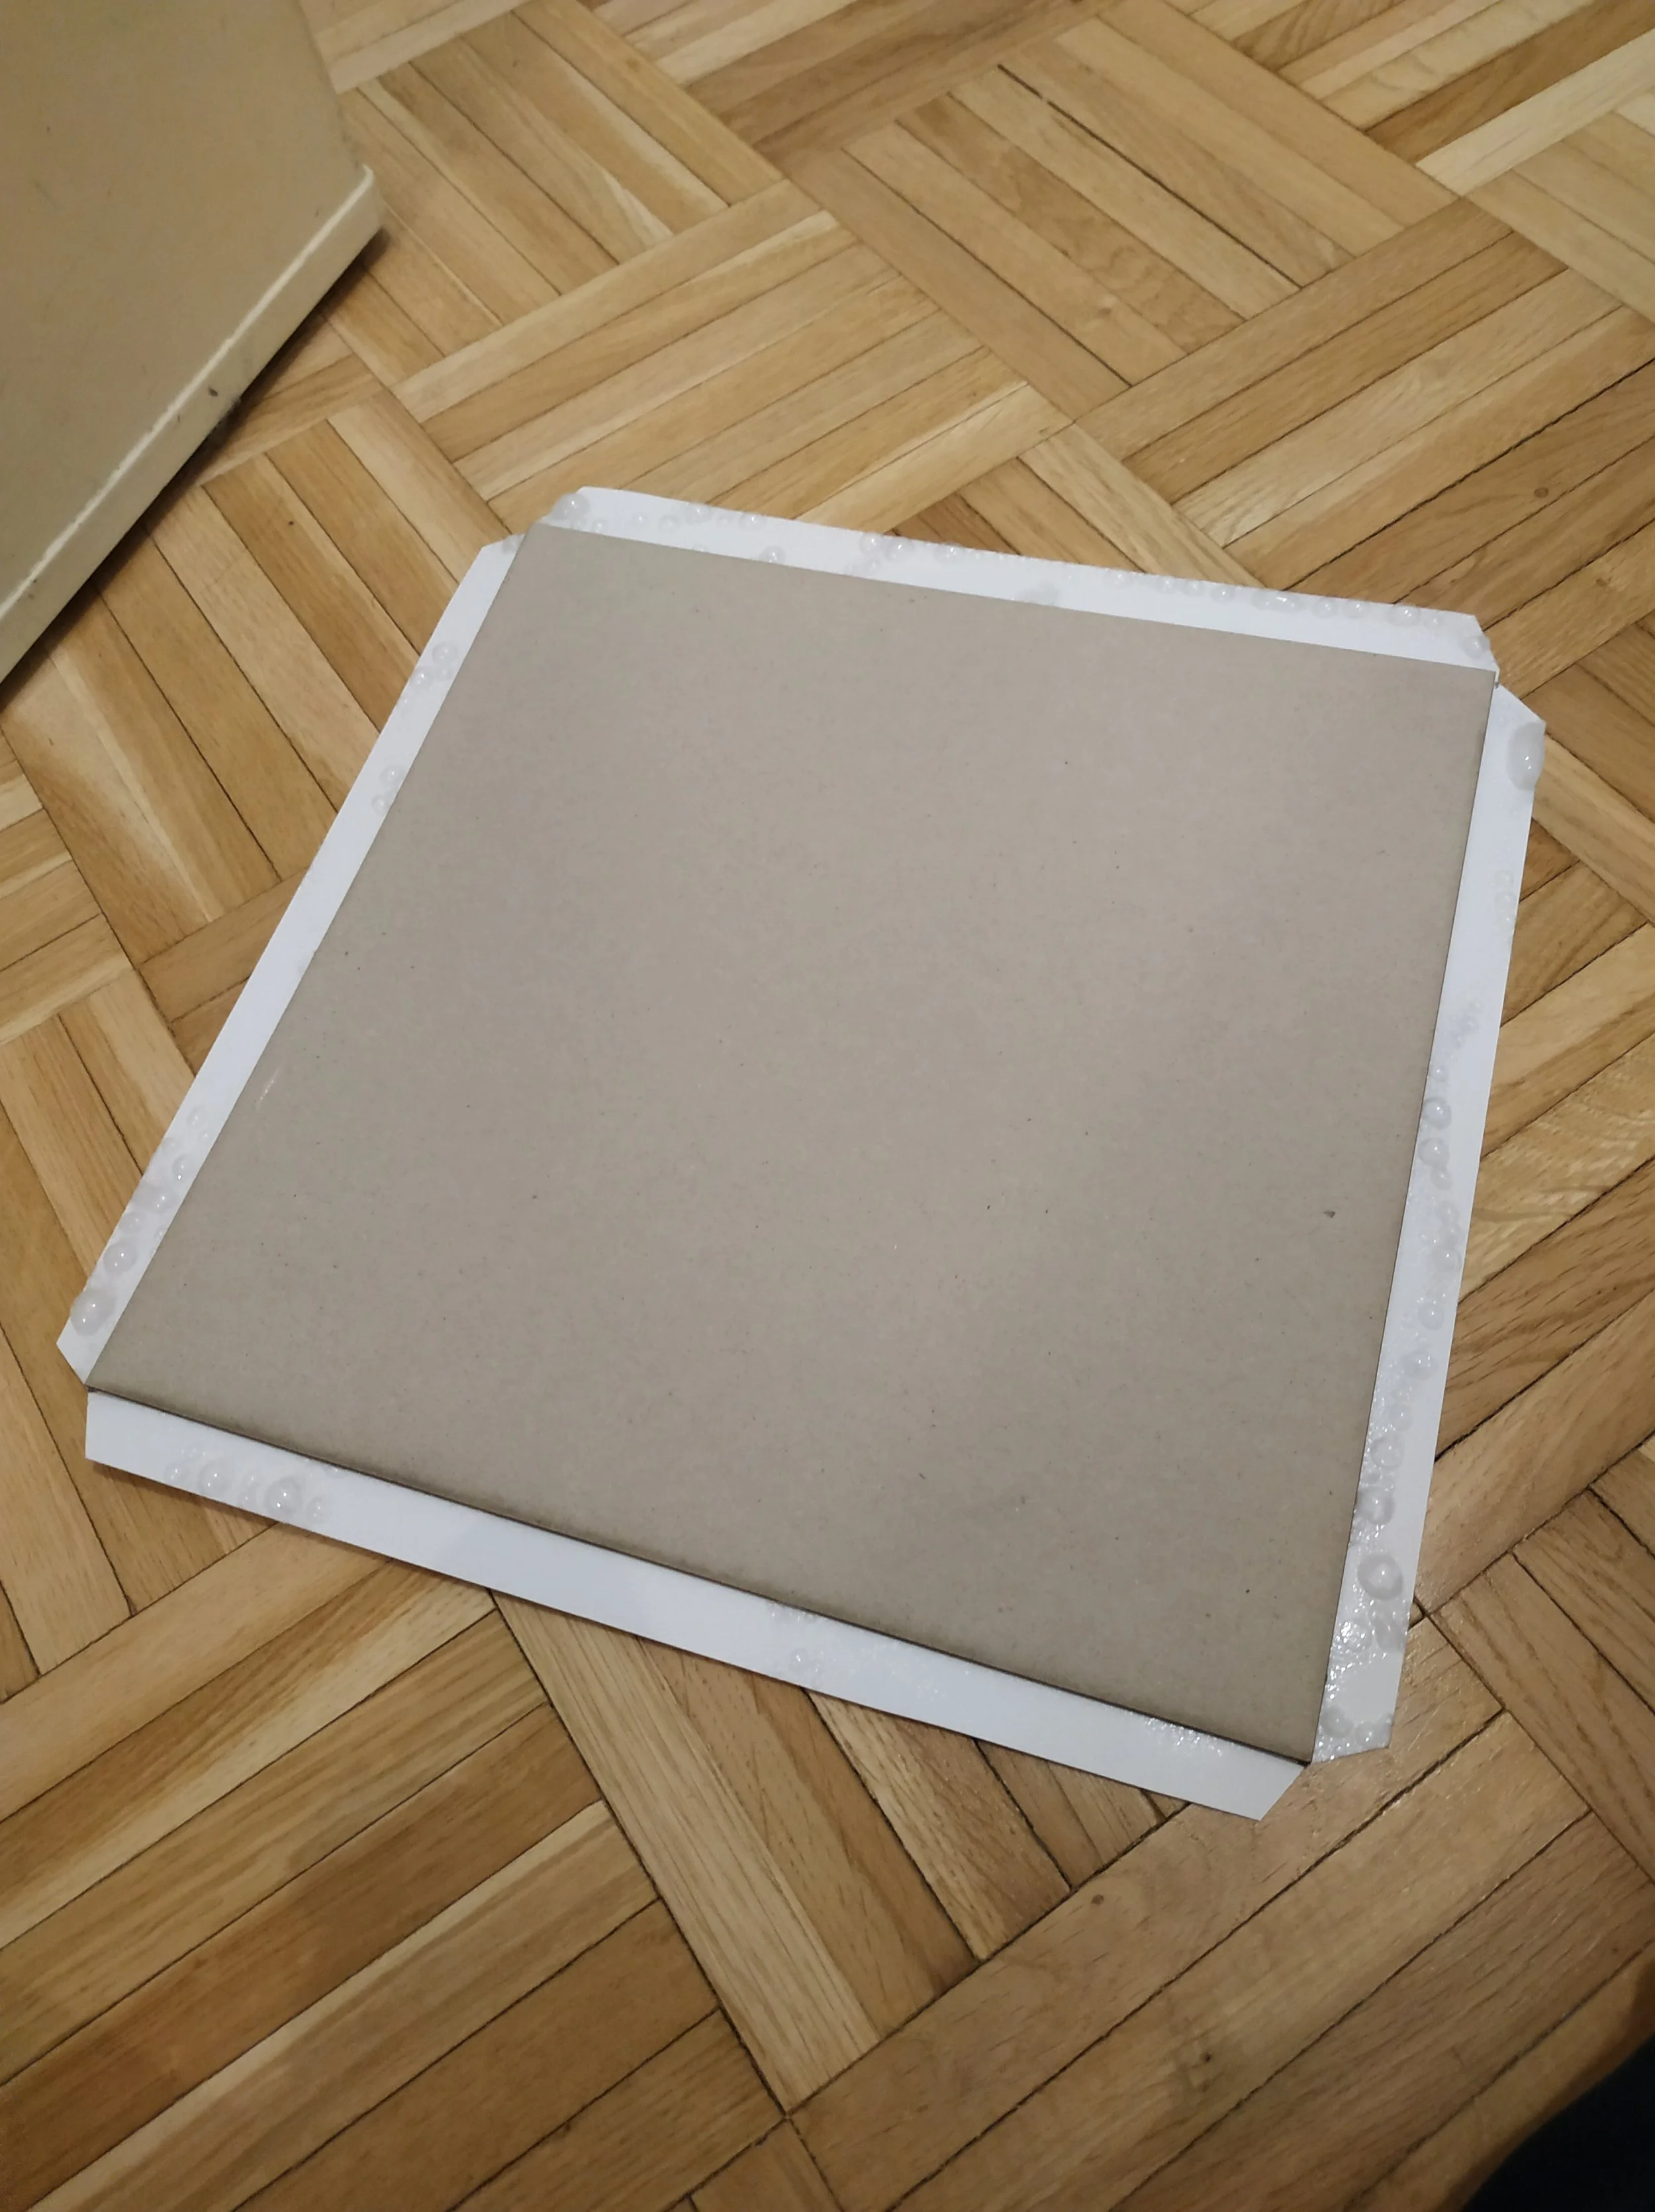
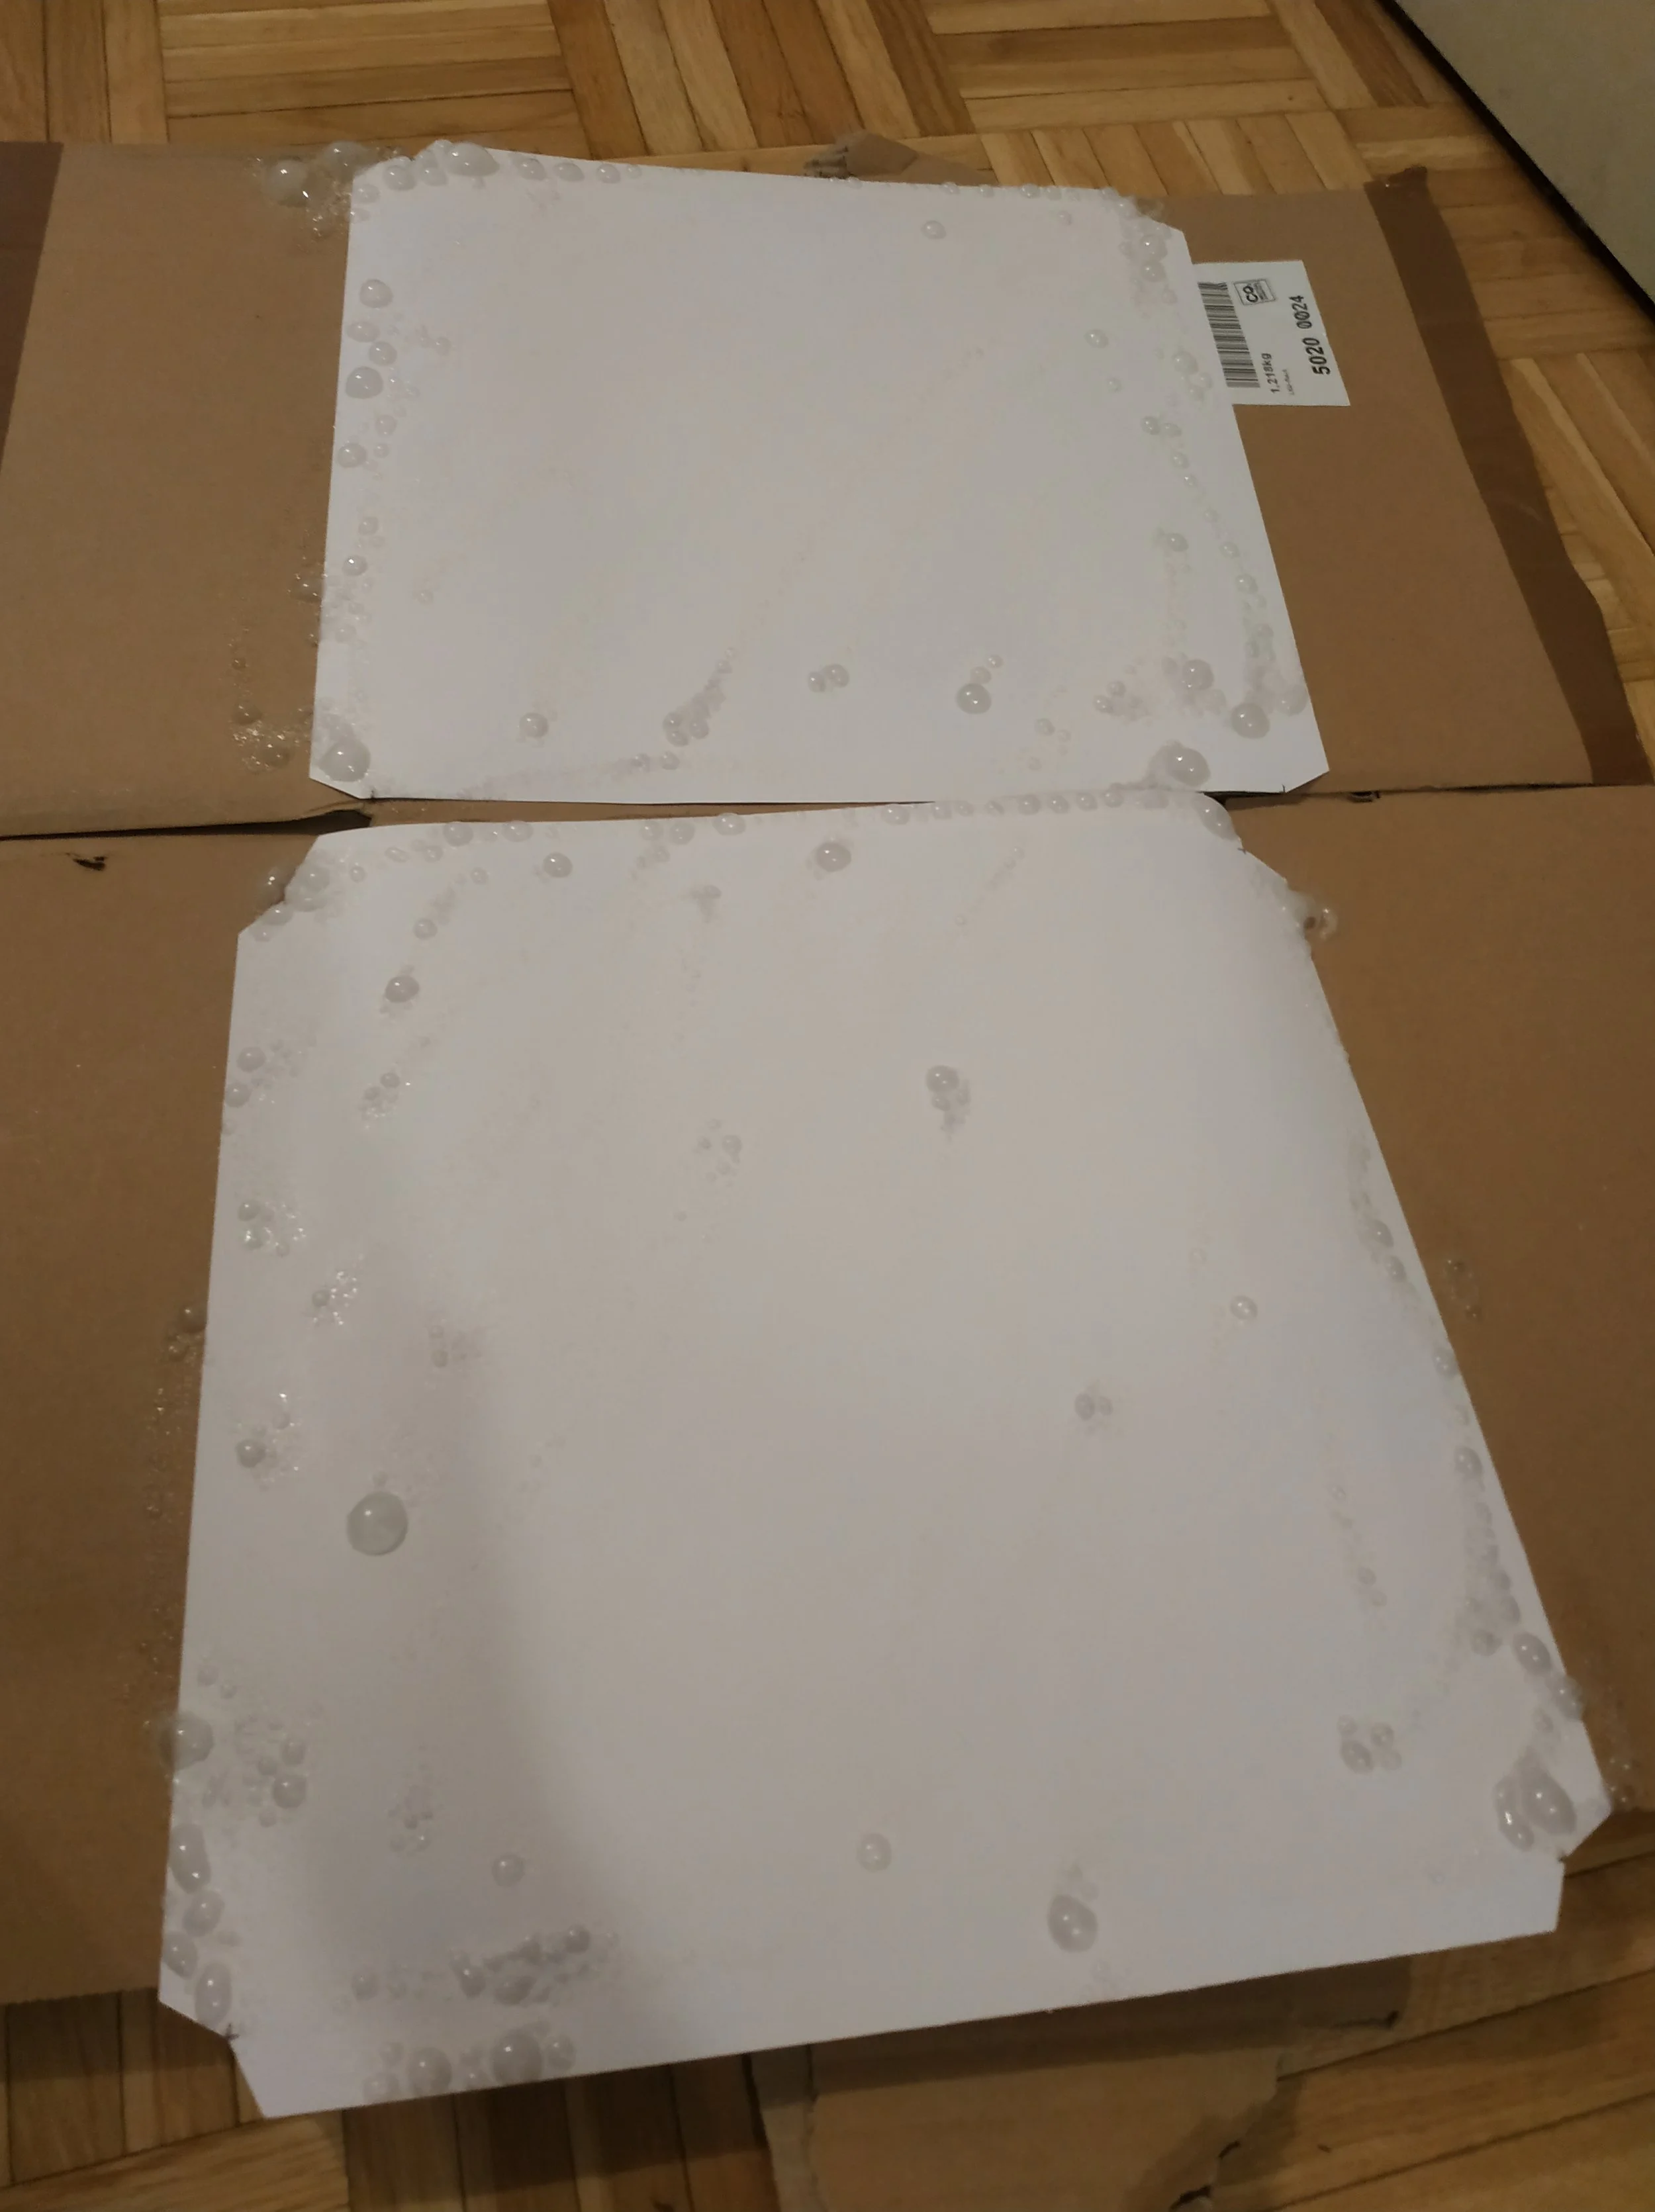
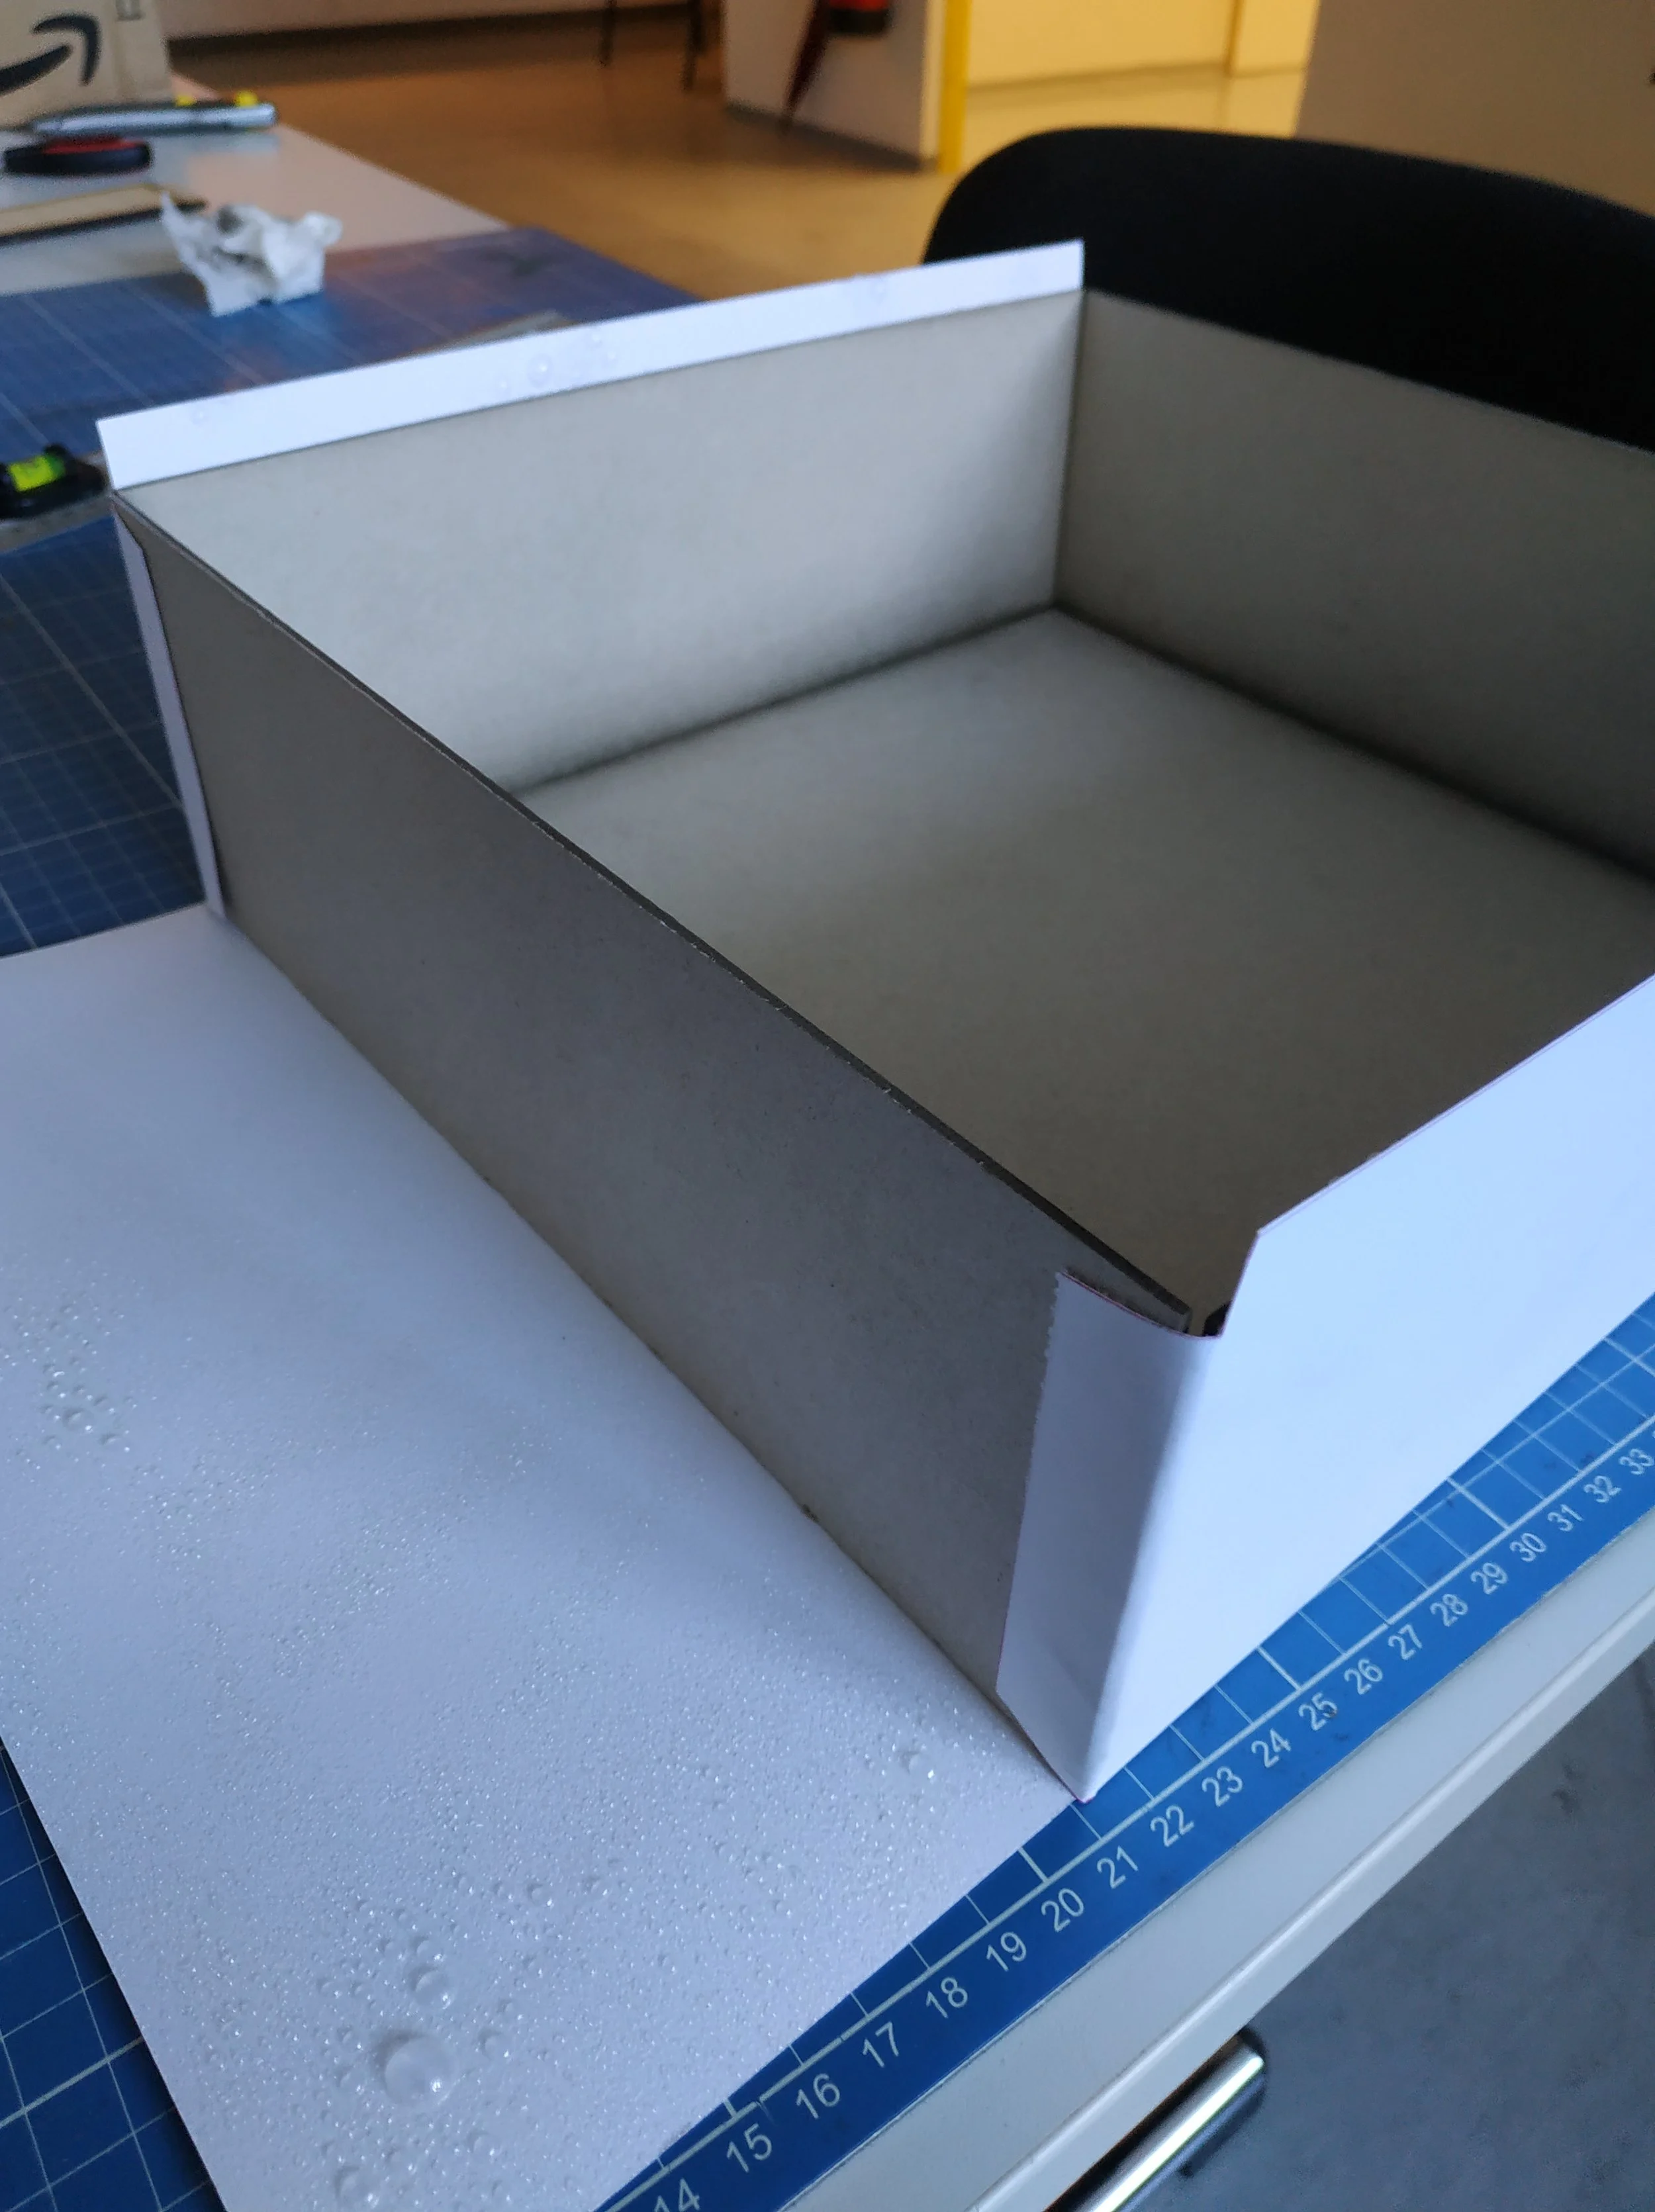
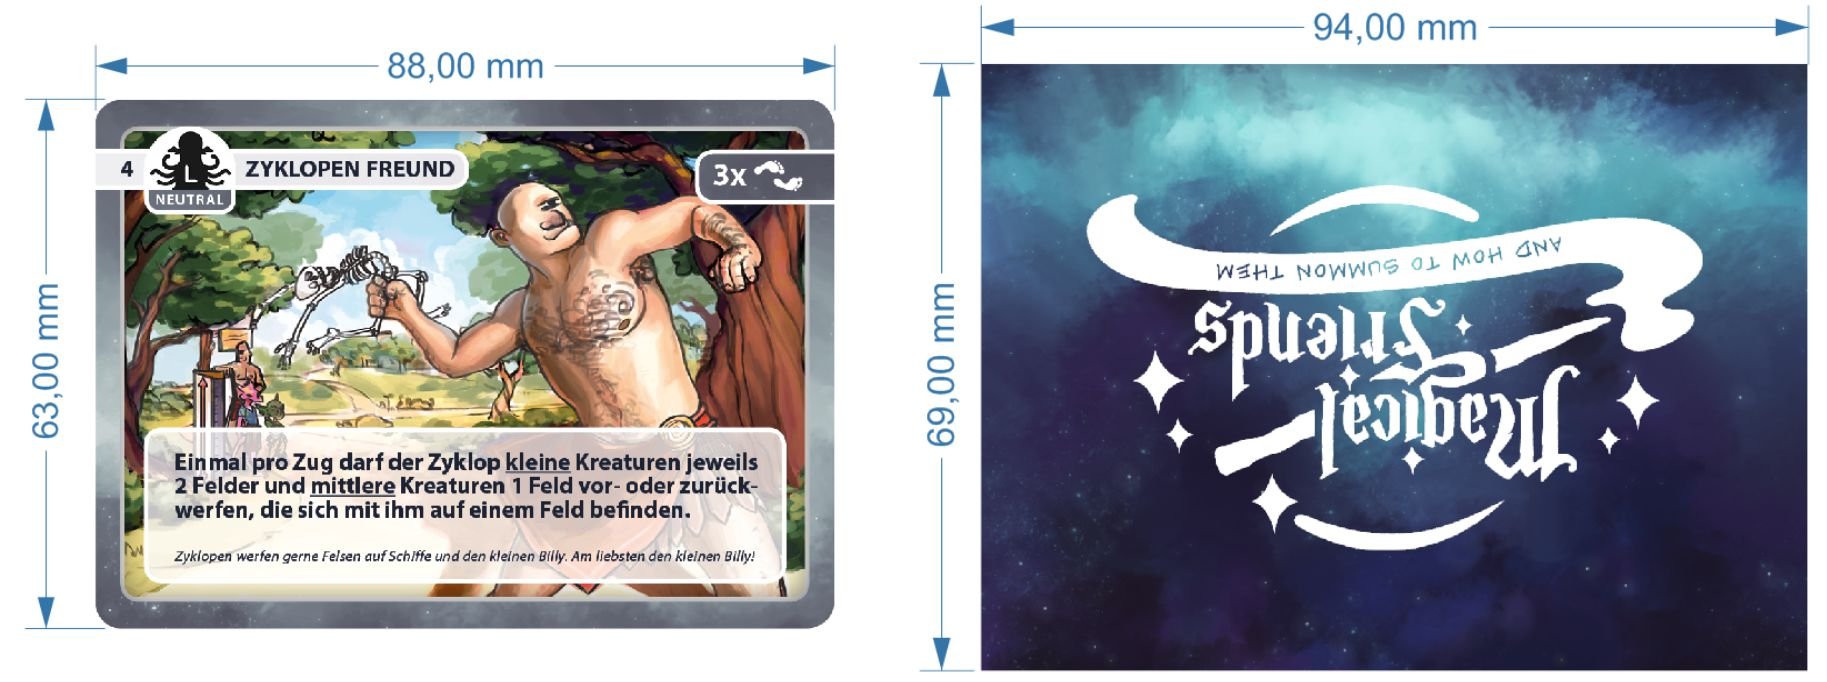
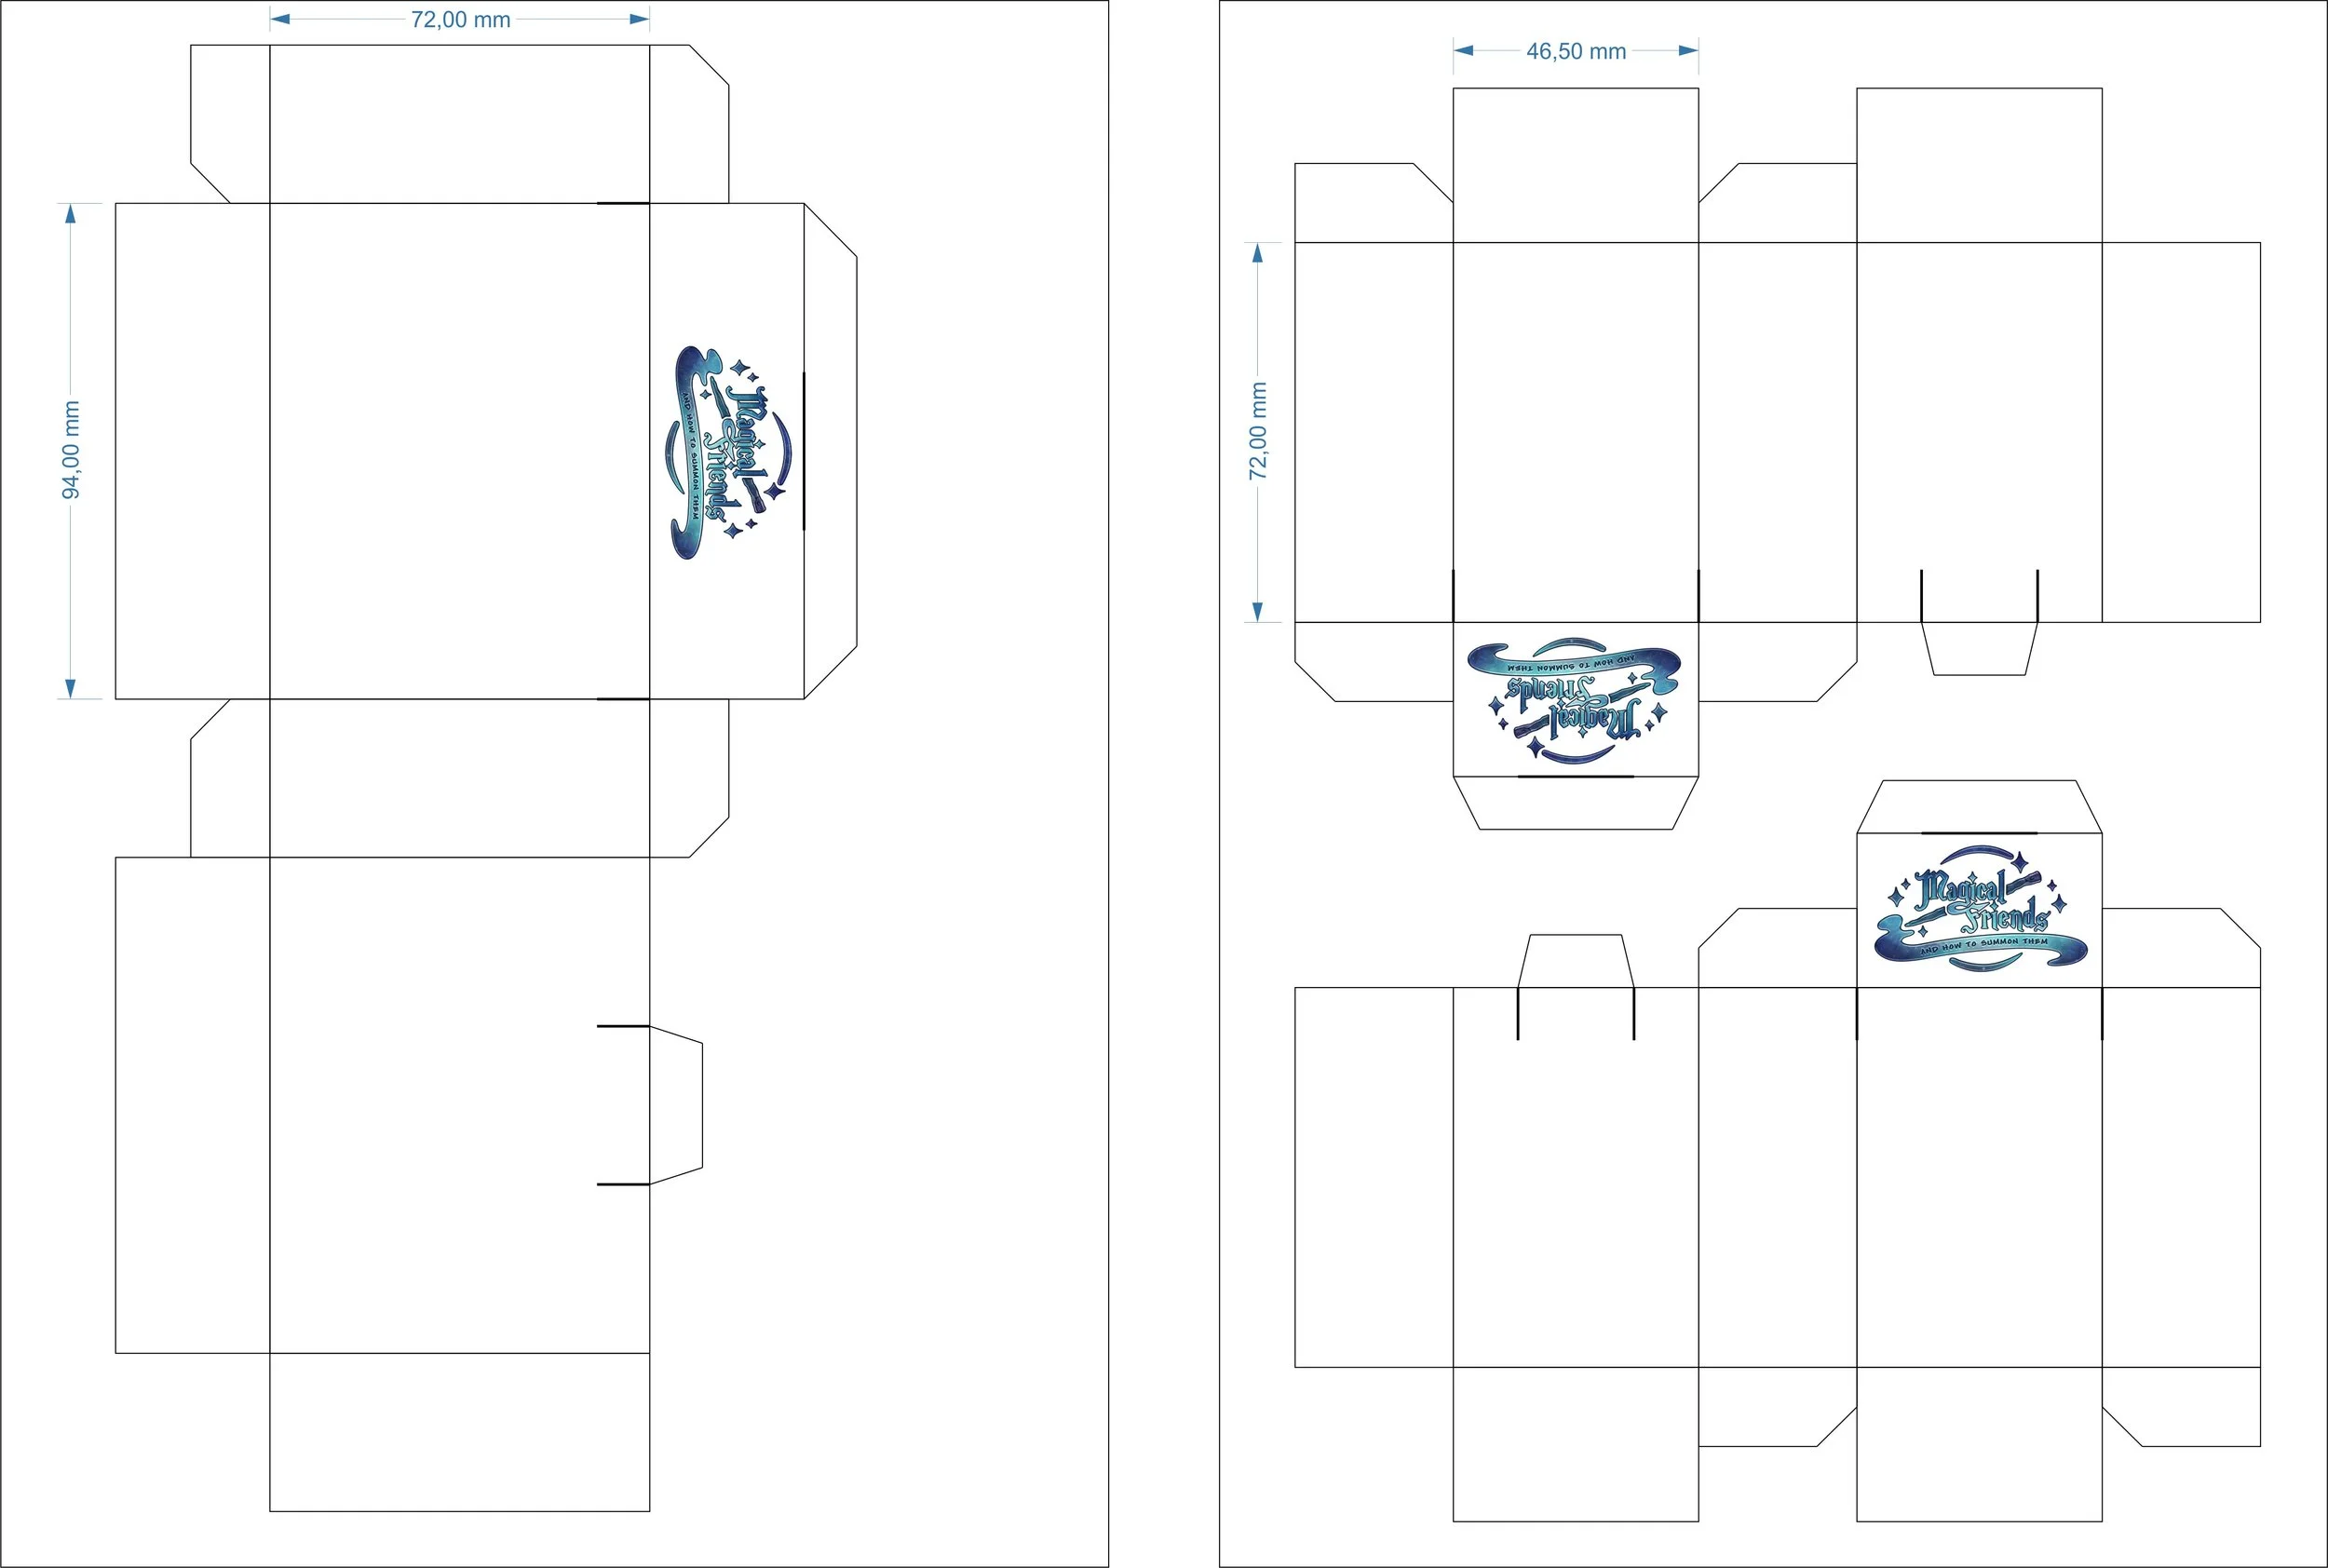
Usually, a game box is made by gluing printed paper onto cardboard. As mentioned in the first part of this series, I used 160 g poster paper for this. Slightly heavier paper is important because the corners of the box are held together only by the glued paper. The lid should be larger than the bottom. With 2 mm cardboard plus 160 g paper, I added a total of 7 mm to the lid’s dimensions.
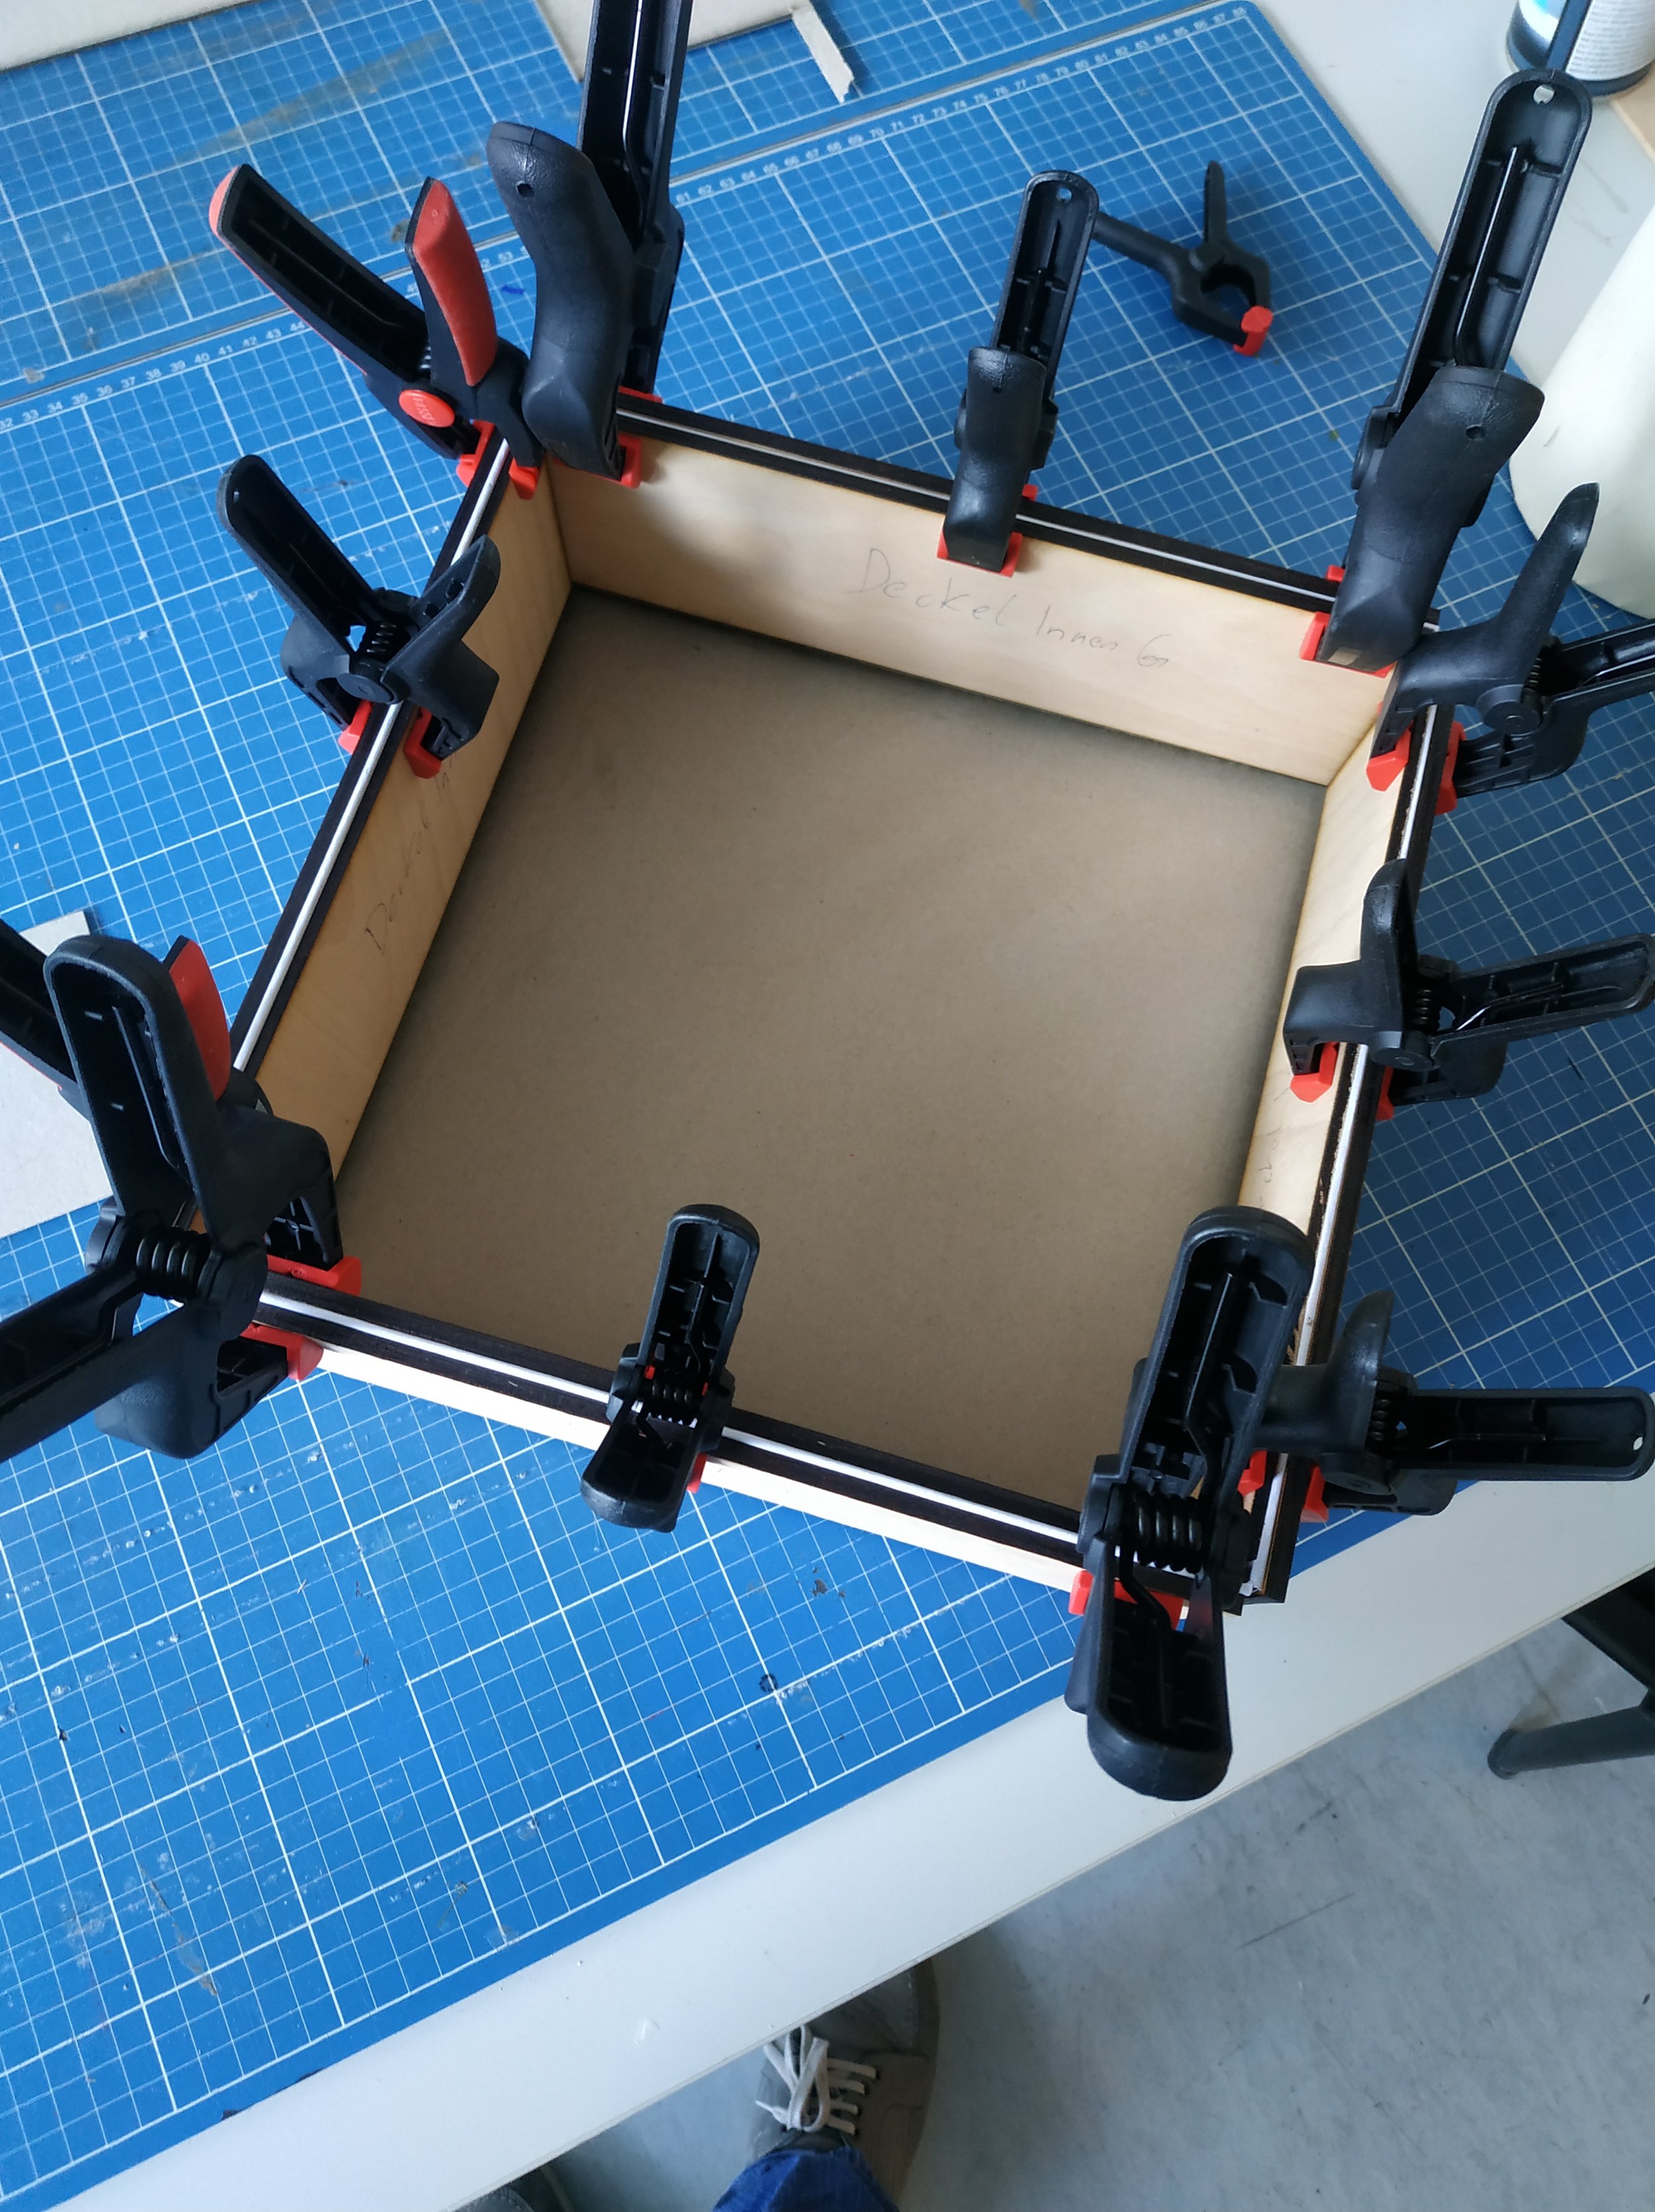
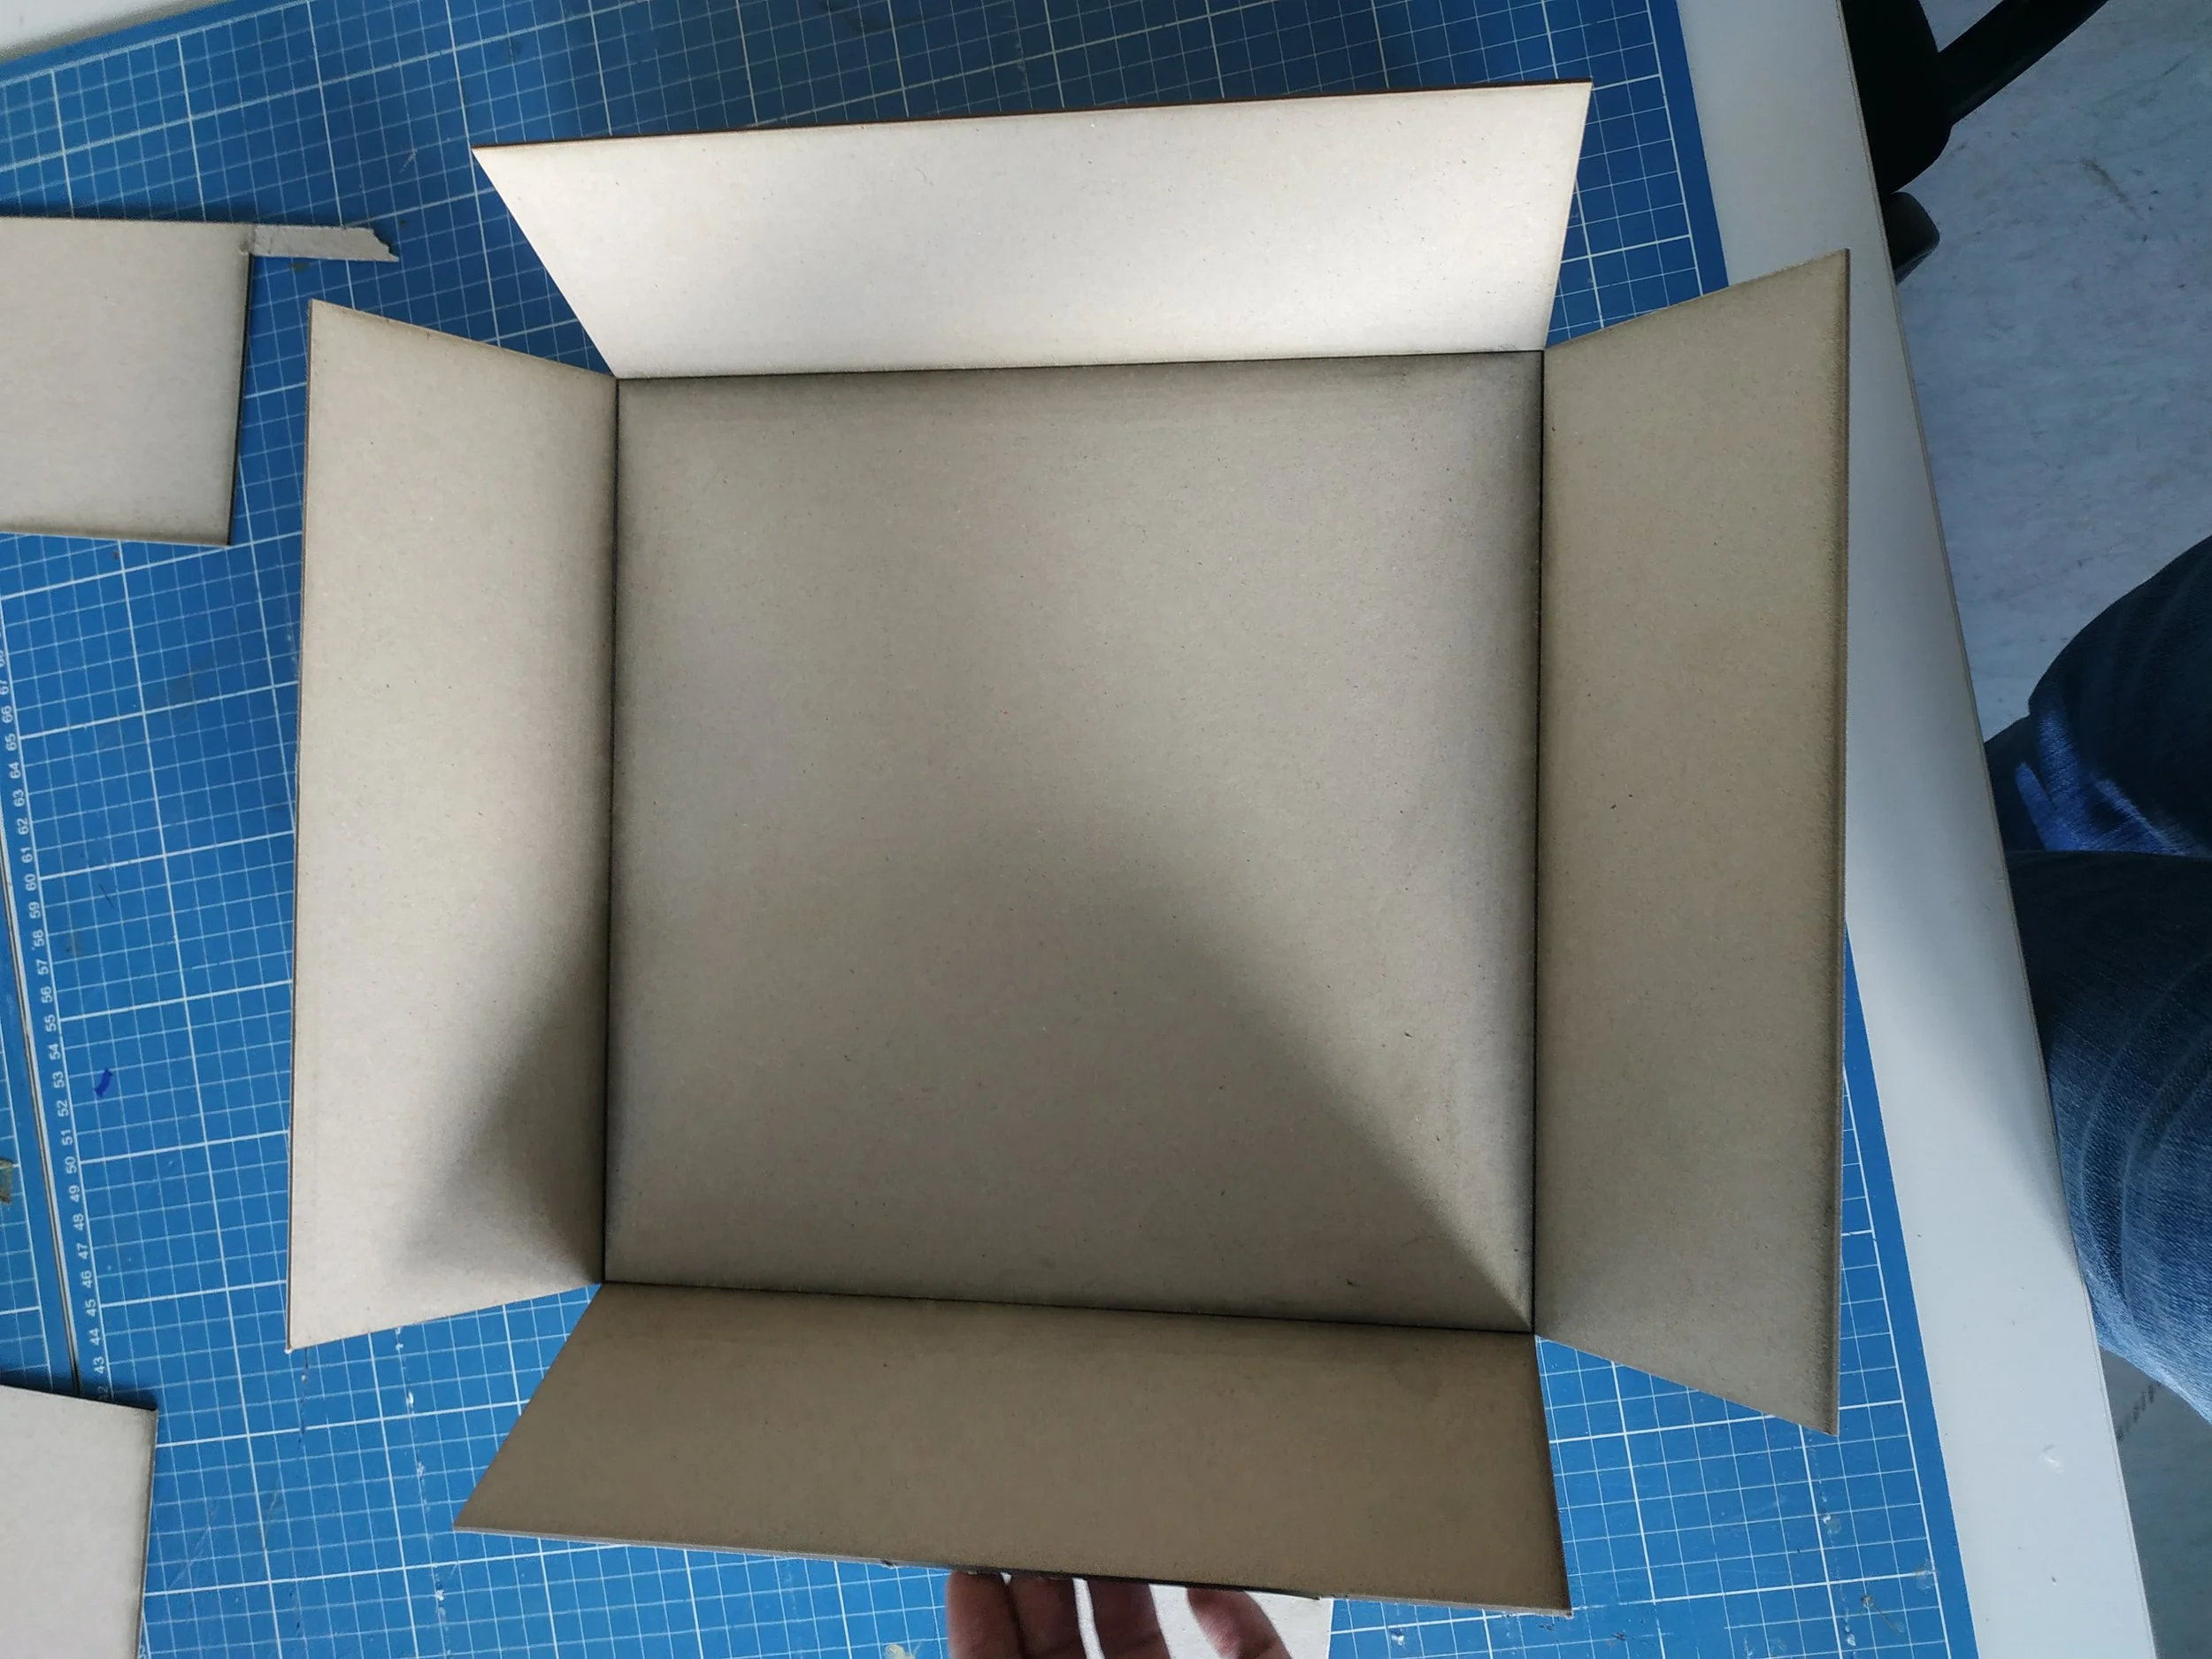

I use 2 mm greyboard. I cut the cardboard using a laser cutter at an open workshop in Salzburg. Along the fold lines, I lightly engraved the material so the board could be bent 90°. Of course, I know not everyone has access to a laser cutter. The cardboard can also be cut with a sharp knife. The box flaps can be cut out and glued manually as well — the paper will hold the flaps together.
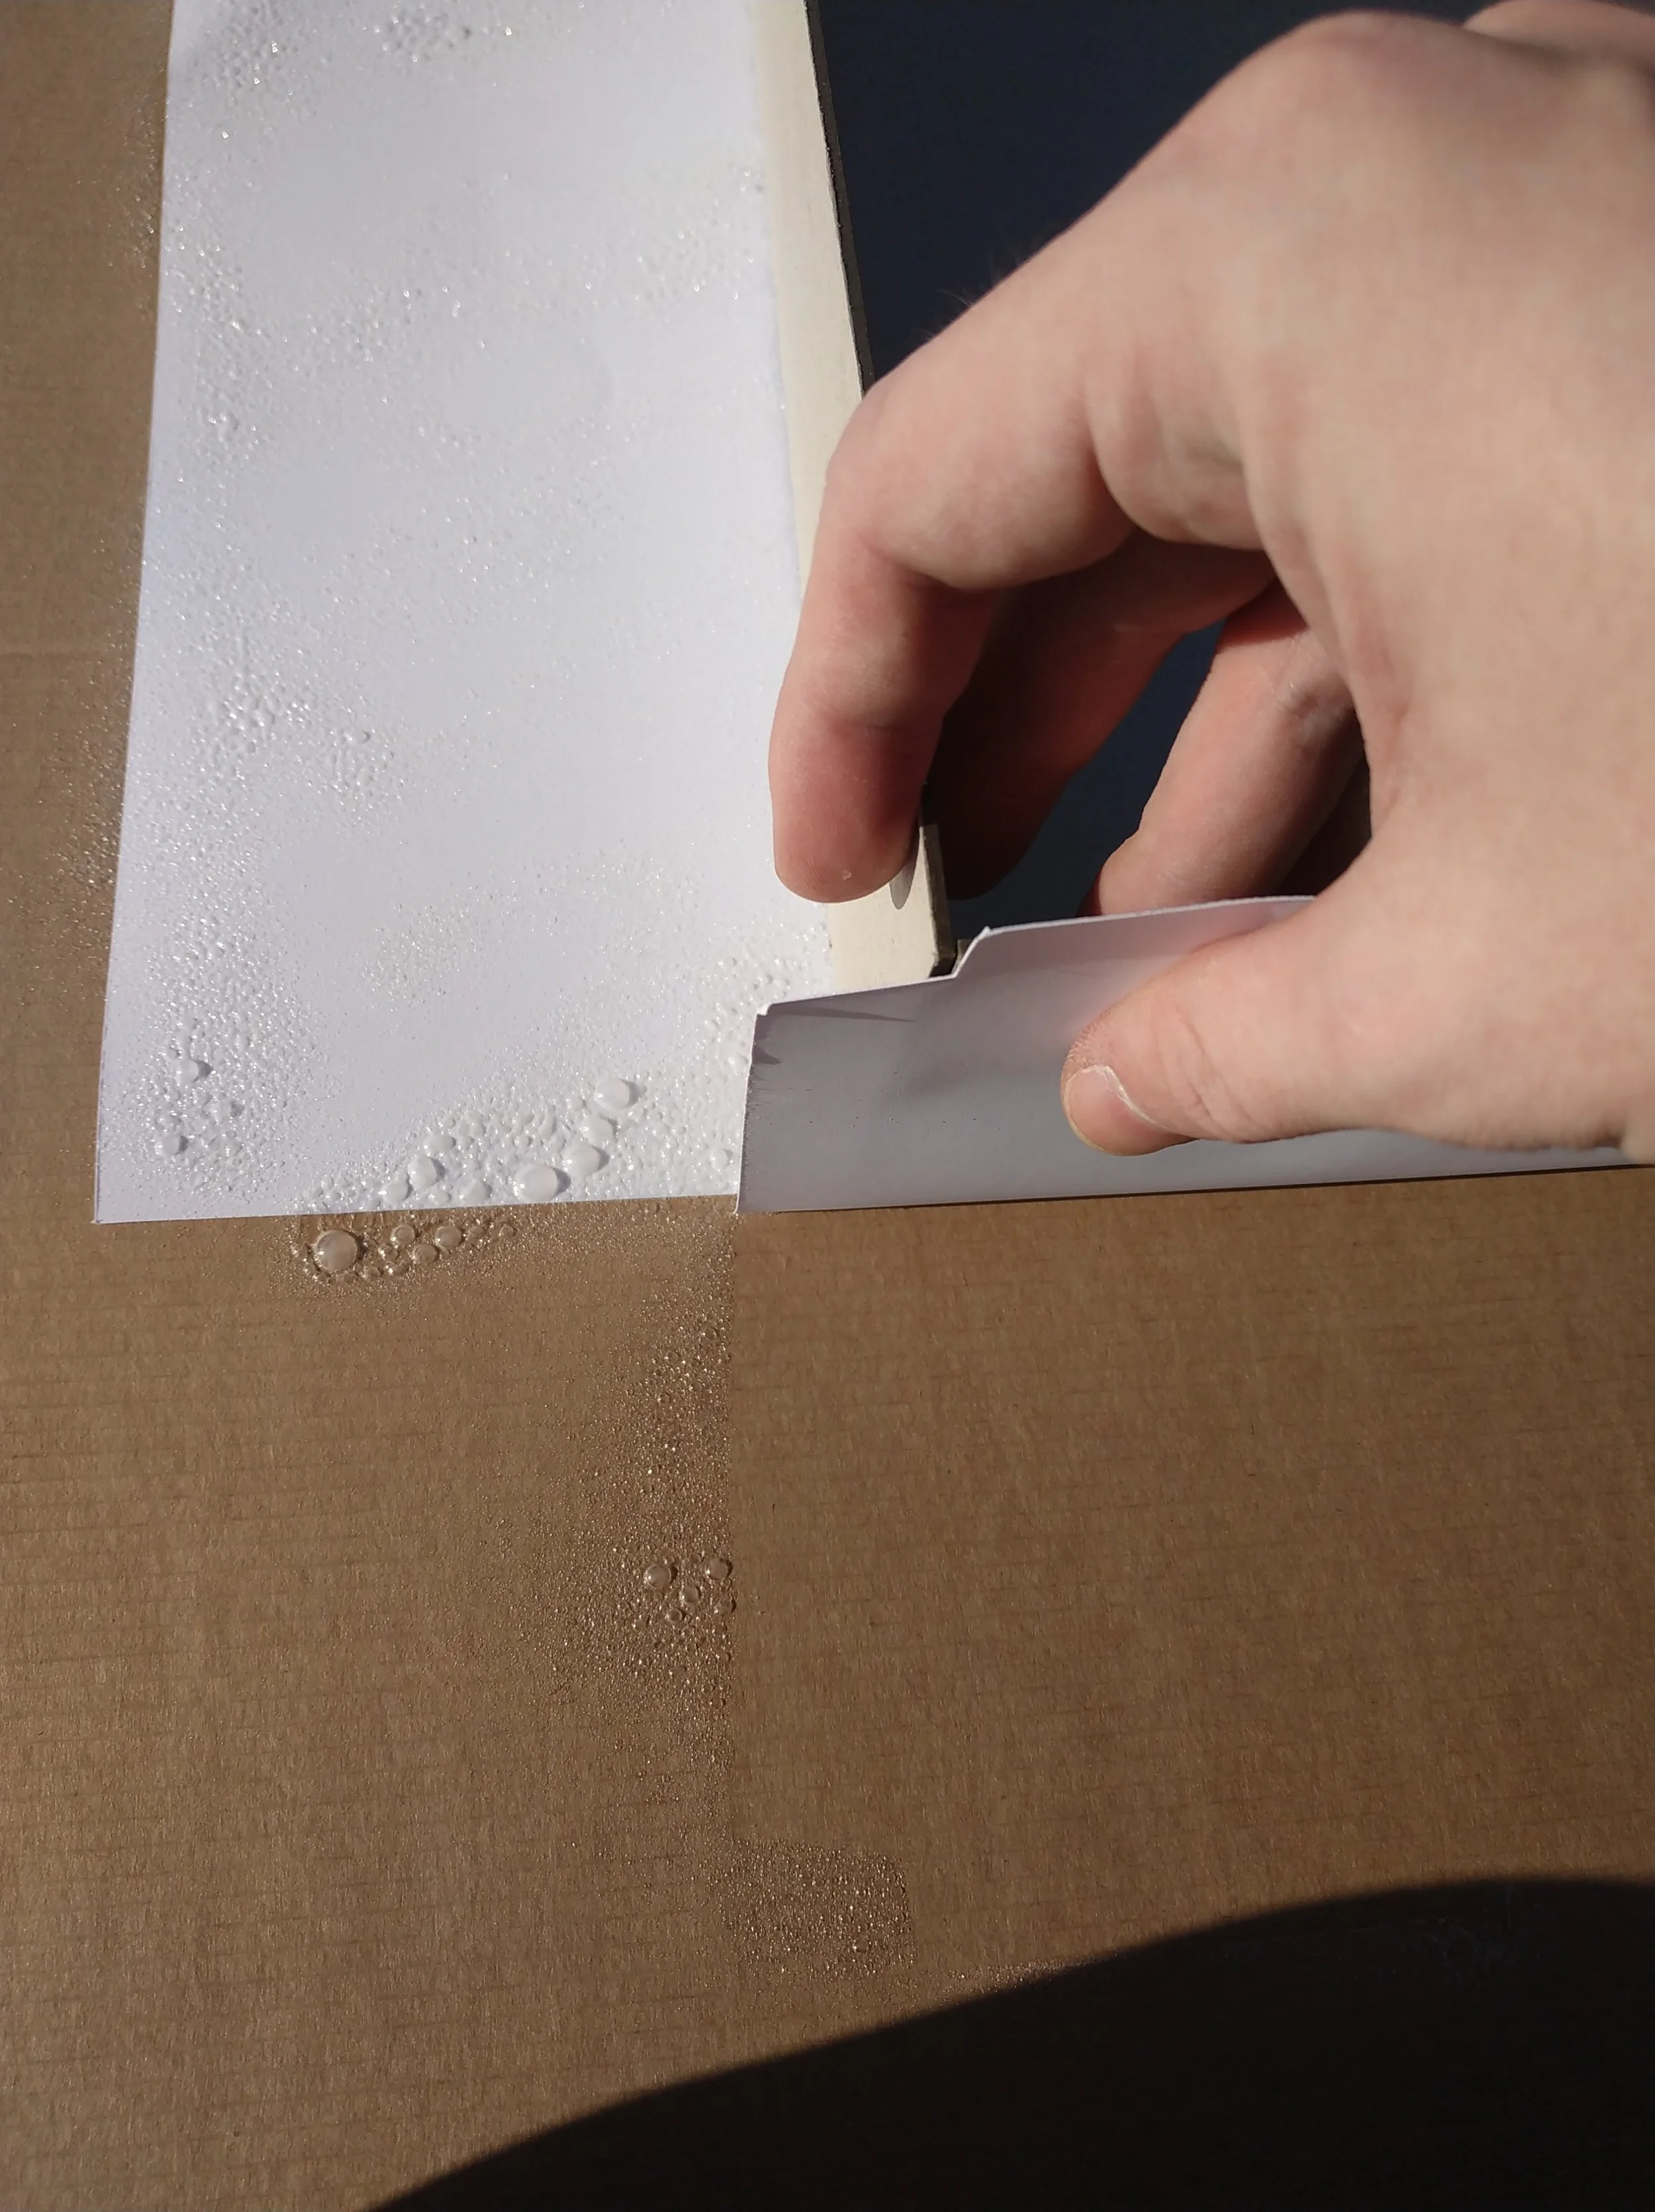
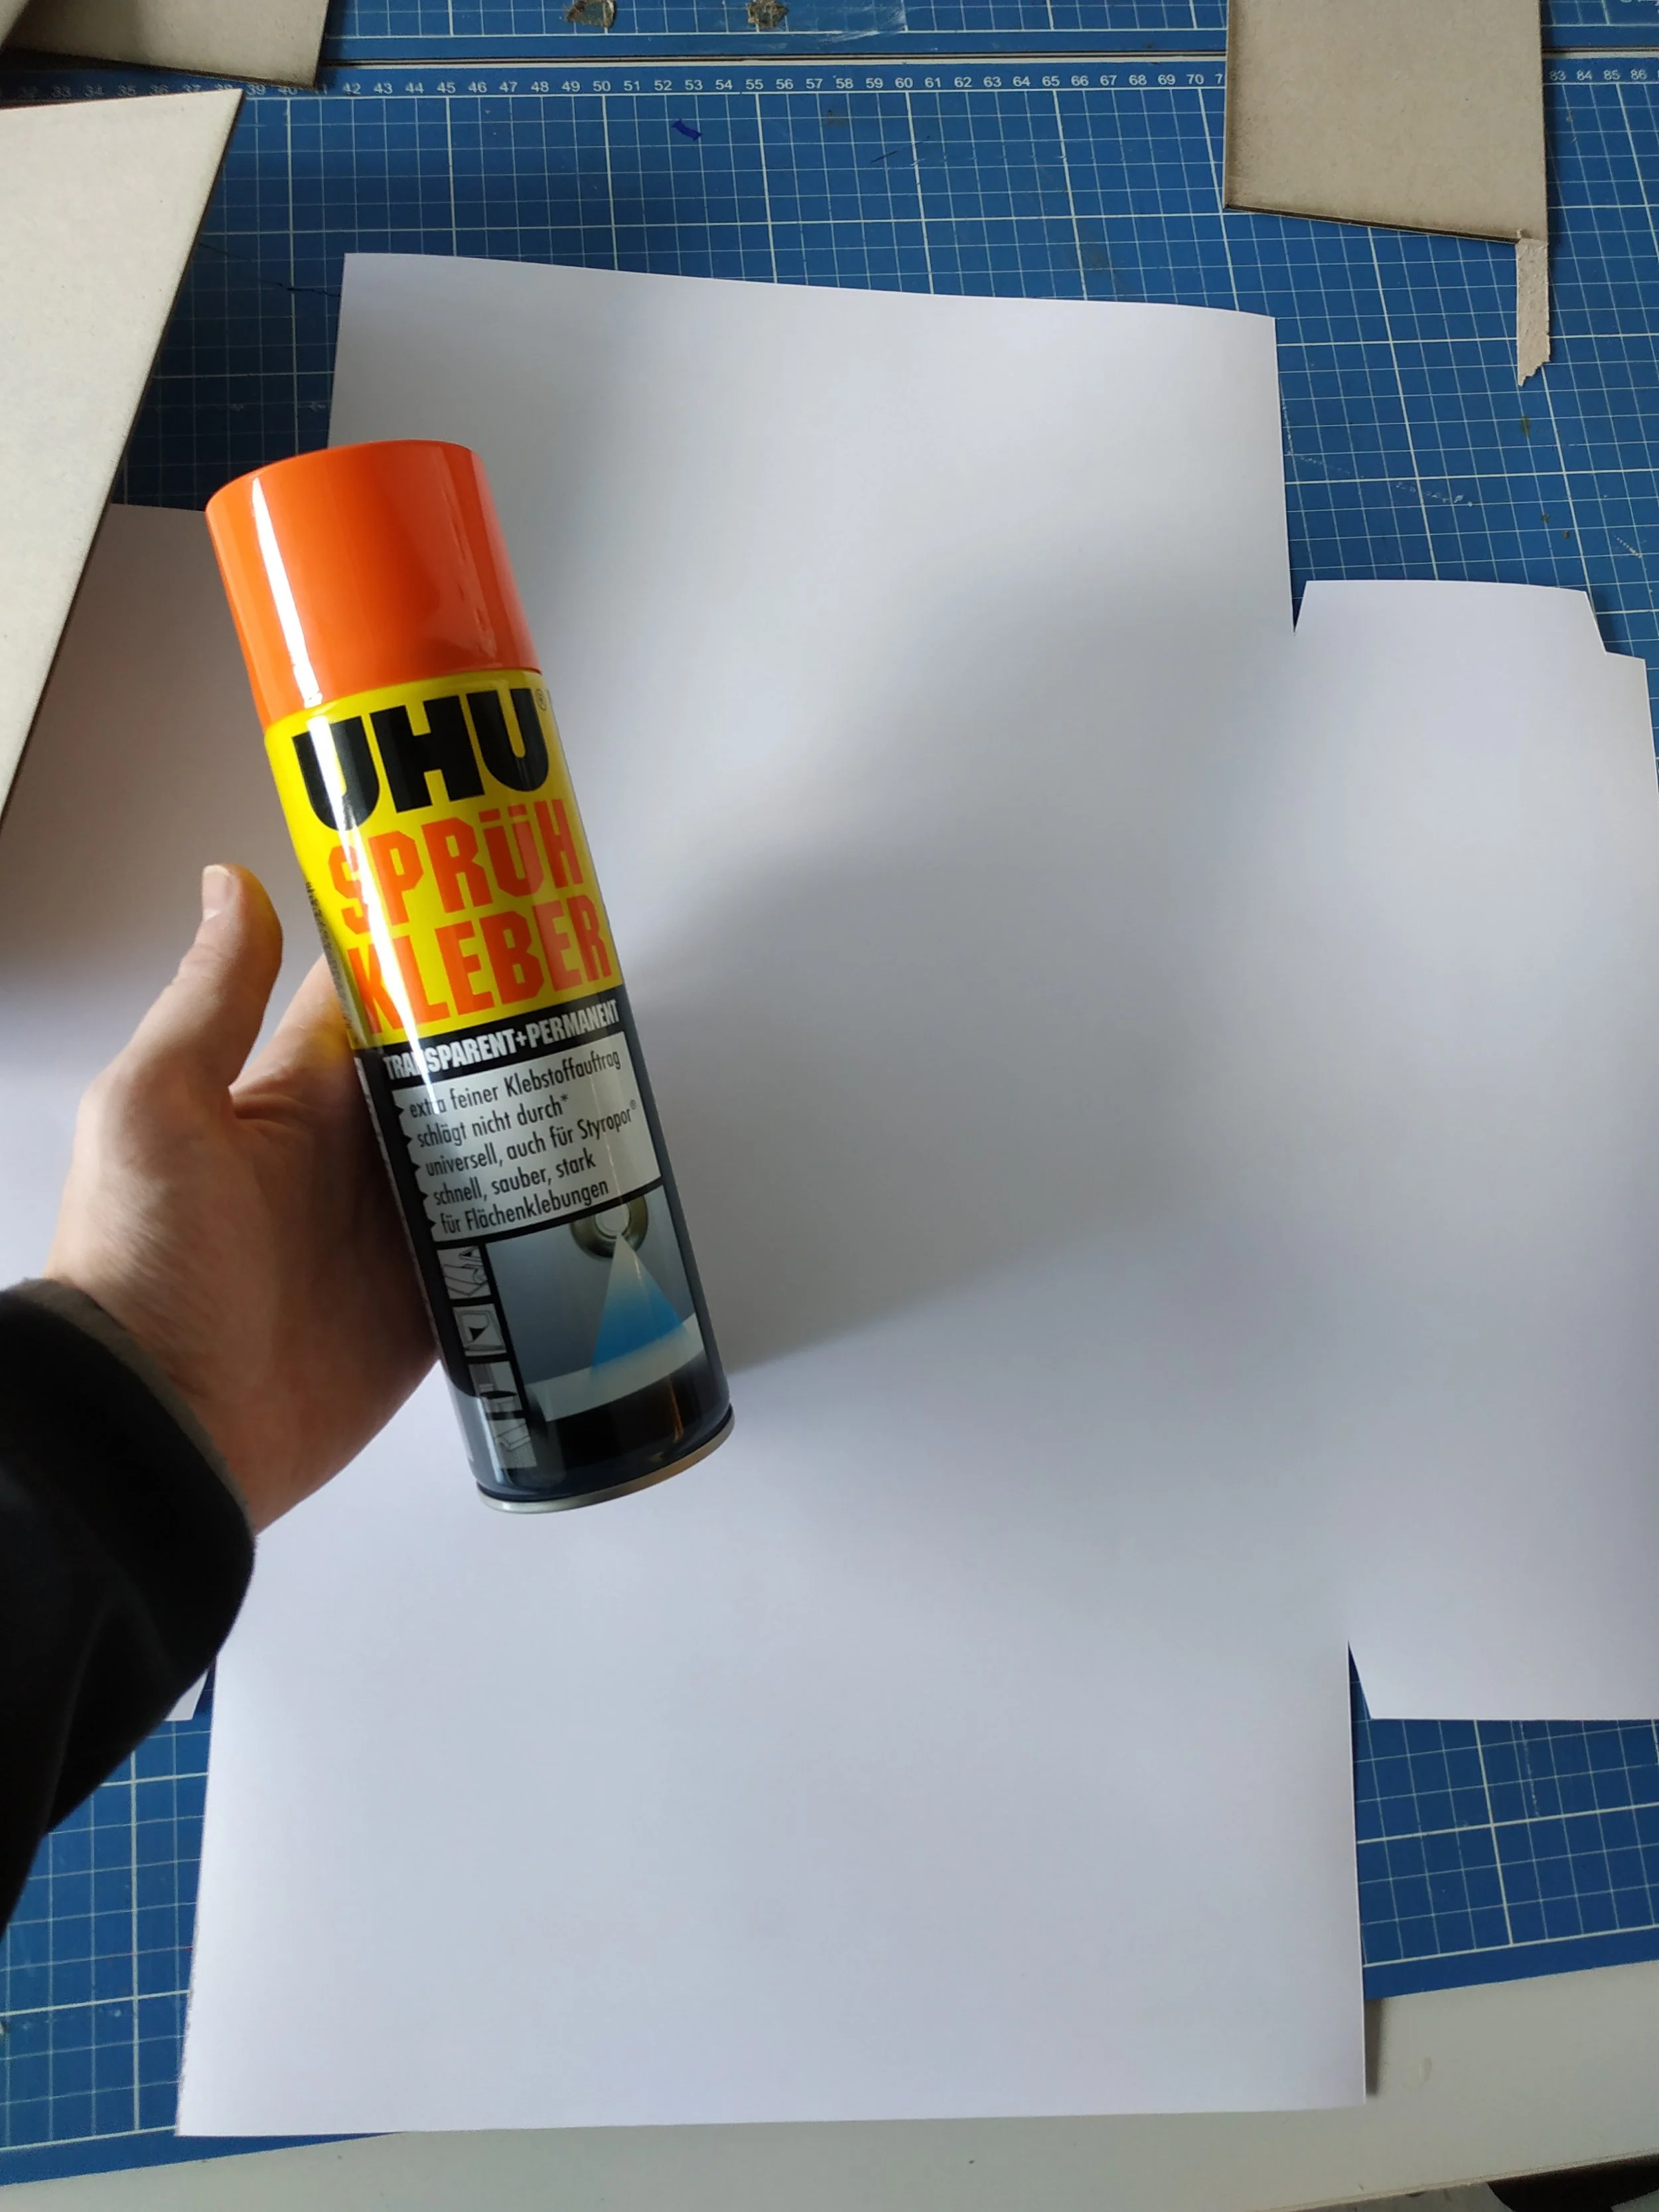
I sprayed the back of the cover paper with spray adhesive, placed the cardboard in the center, and pressed it down firmly. I used the corners of the cardboard as alignment points. You need to be careful here, because not all flaps should touch the glued paper immediately. First, press down the sides where the corner‑flaps are attached. These corner‑flaps should be glued to the adjacent sides at a 90° angle before being glued down under the outer paper layer. After that, the sides should be pressed well and left to dry.
I’m very happy with how the box turned out, but spray adhesive is not pleasant to work with. You have to be careful not to get glue residue on the print, and it takes a long time to dry. Spray adhesive is also not ideal during winter months, since it shouldn’t be used in cold environments. For the remaining eight prototypes I made for shipping, I used bookbinding glue instead. Using bookbinding glue was much more pleasant, and the results were far better. Press once firmly, and the bond holds very quickly. If you ever make your own boxes, I would absolutely recommend bookbinding glue!
I made my special insert for the cardboard standees the same way as the box, but additionally engraved and cut it with the laser cutter. I’m afraid that part would be difficult to do without one. But not everyone needs such an insert. I didn’t pre‑print and cut it because I couldn’t align the print cleanly with the cutouts otherwise.

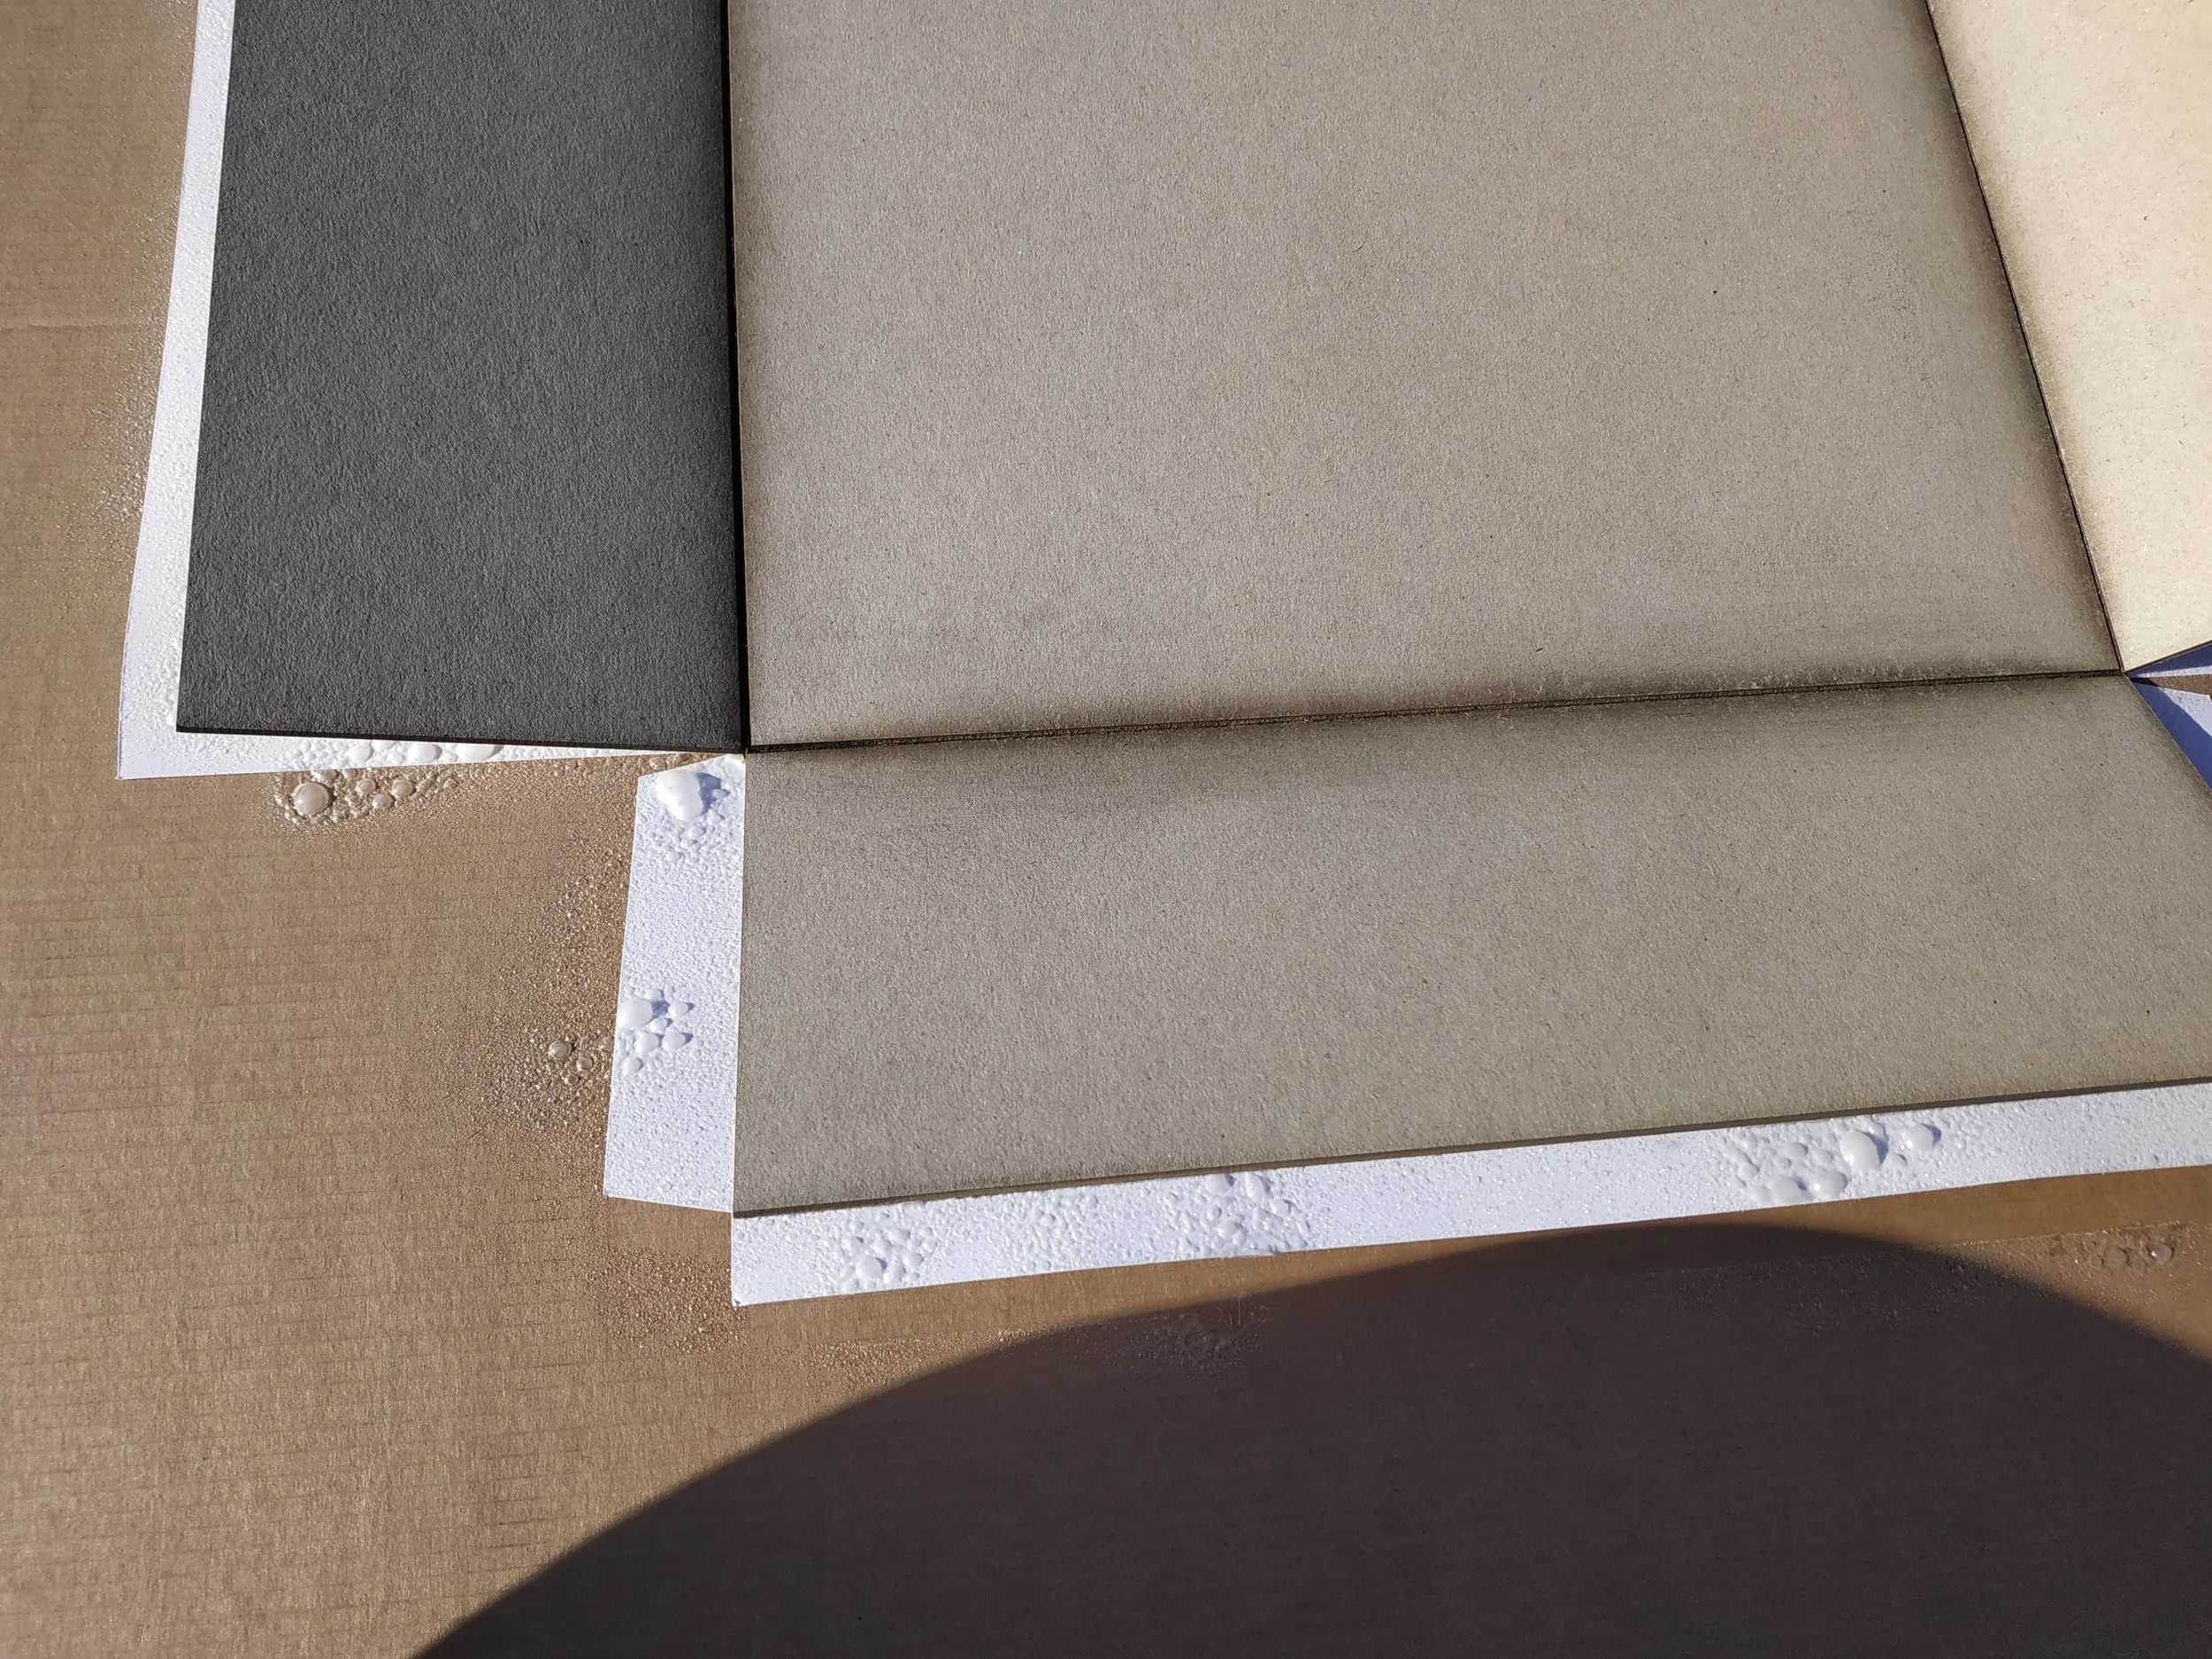
A word of caution: at least with my print, the surface is not very water‑resistant. A single drop is enough to make the colors run. I sprayed a thin layer of clear matte varnish over the box so that a splash of water wouldn’t immediately ruin the artwork.
There are certainly many different ways to build boxes like this, even if you use the same materials. I’m always open to tips and suggestions for improvement. Just leave me a comment.
25 - When You Want the Prototype to Look Pretty … (Part 2: Cards)
25 - When You Want the Prototype to Look Pretty … (Part 2: Cards)
Handmade playing cards can look surprisingly professional very quickly. There’s not much magic behind it. What you’ll notice most are poor print quality and paper that’s too thin — which is why I went to the copy shop.
For my cards, I only added bleed to the back side, since I cut the fronts by hand anyway. That way, the front stays nicely centered. If it’s important in your game that card backs are indistinguishable, I would definitely do it the other way around.
And don’t forget to rotate the card backs correctly!
As mentioned before, I cut the cards by hand. Whether you use scissors or a knife, it needs to be sharp. With my paper and print quality, the color can sometimes crack along the edges if the blade isn’t sharp enough, and that doesn’t look good.
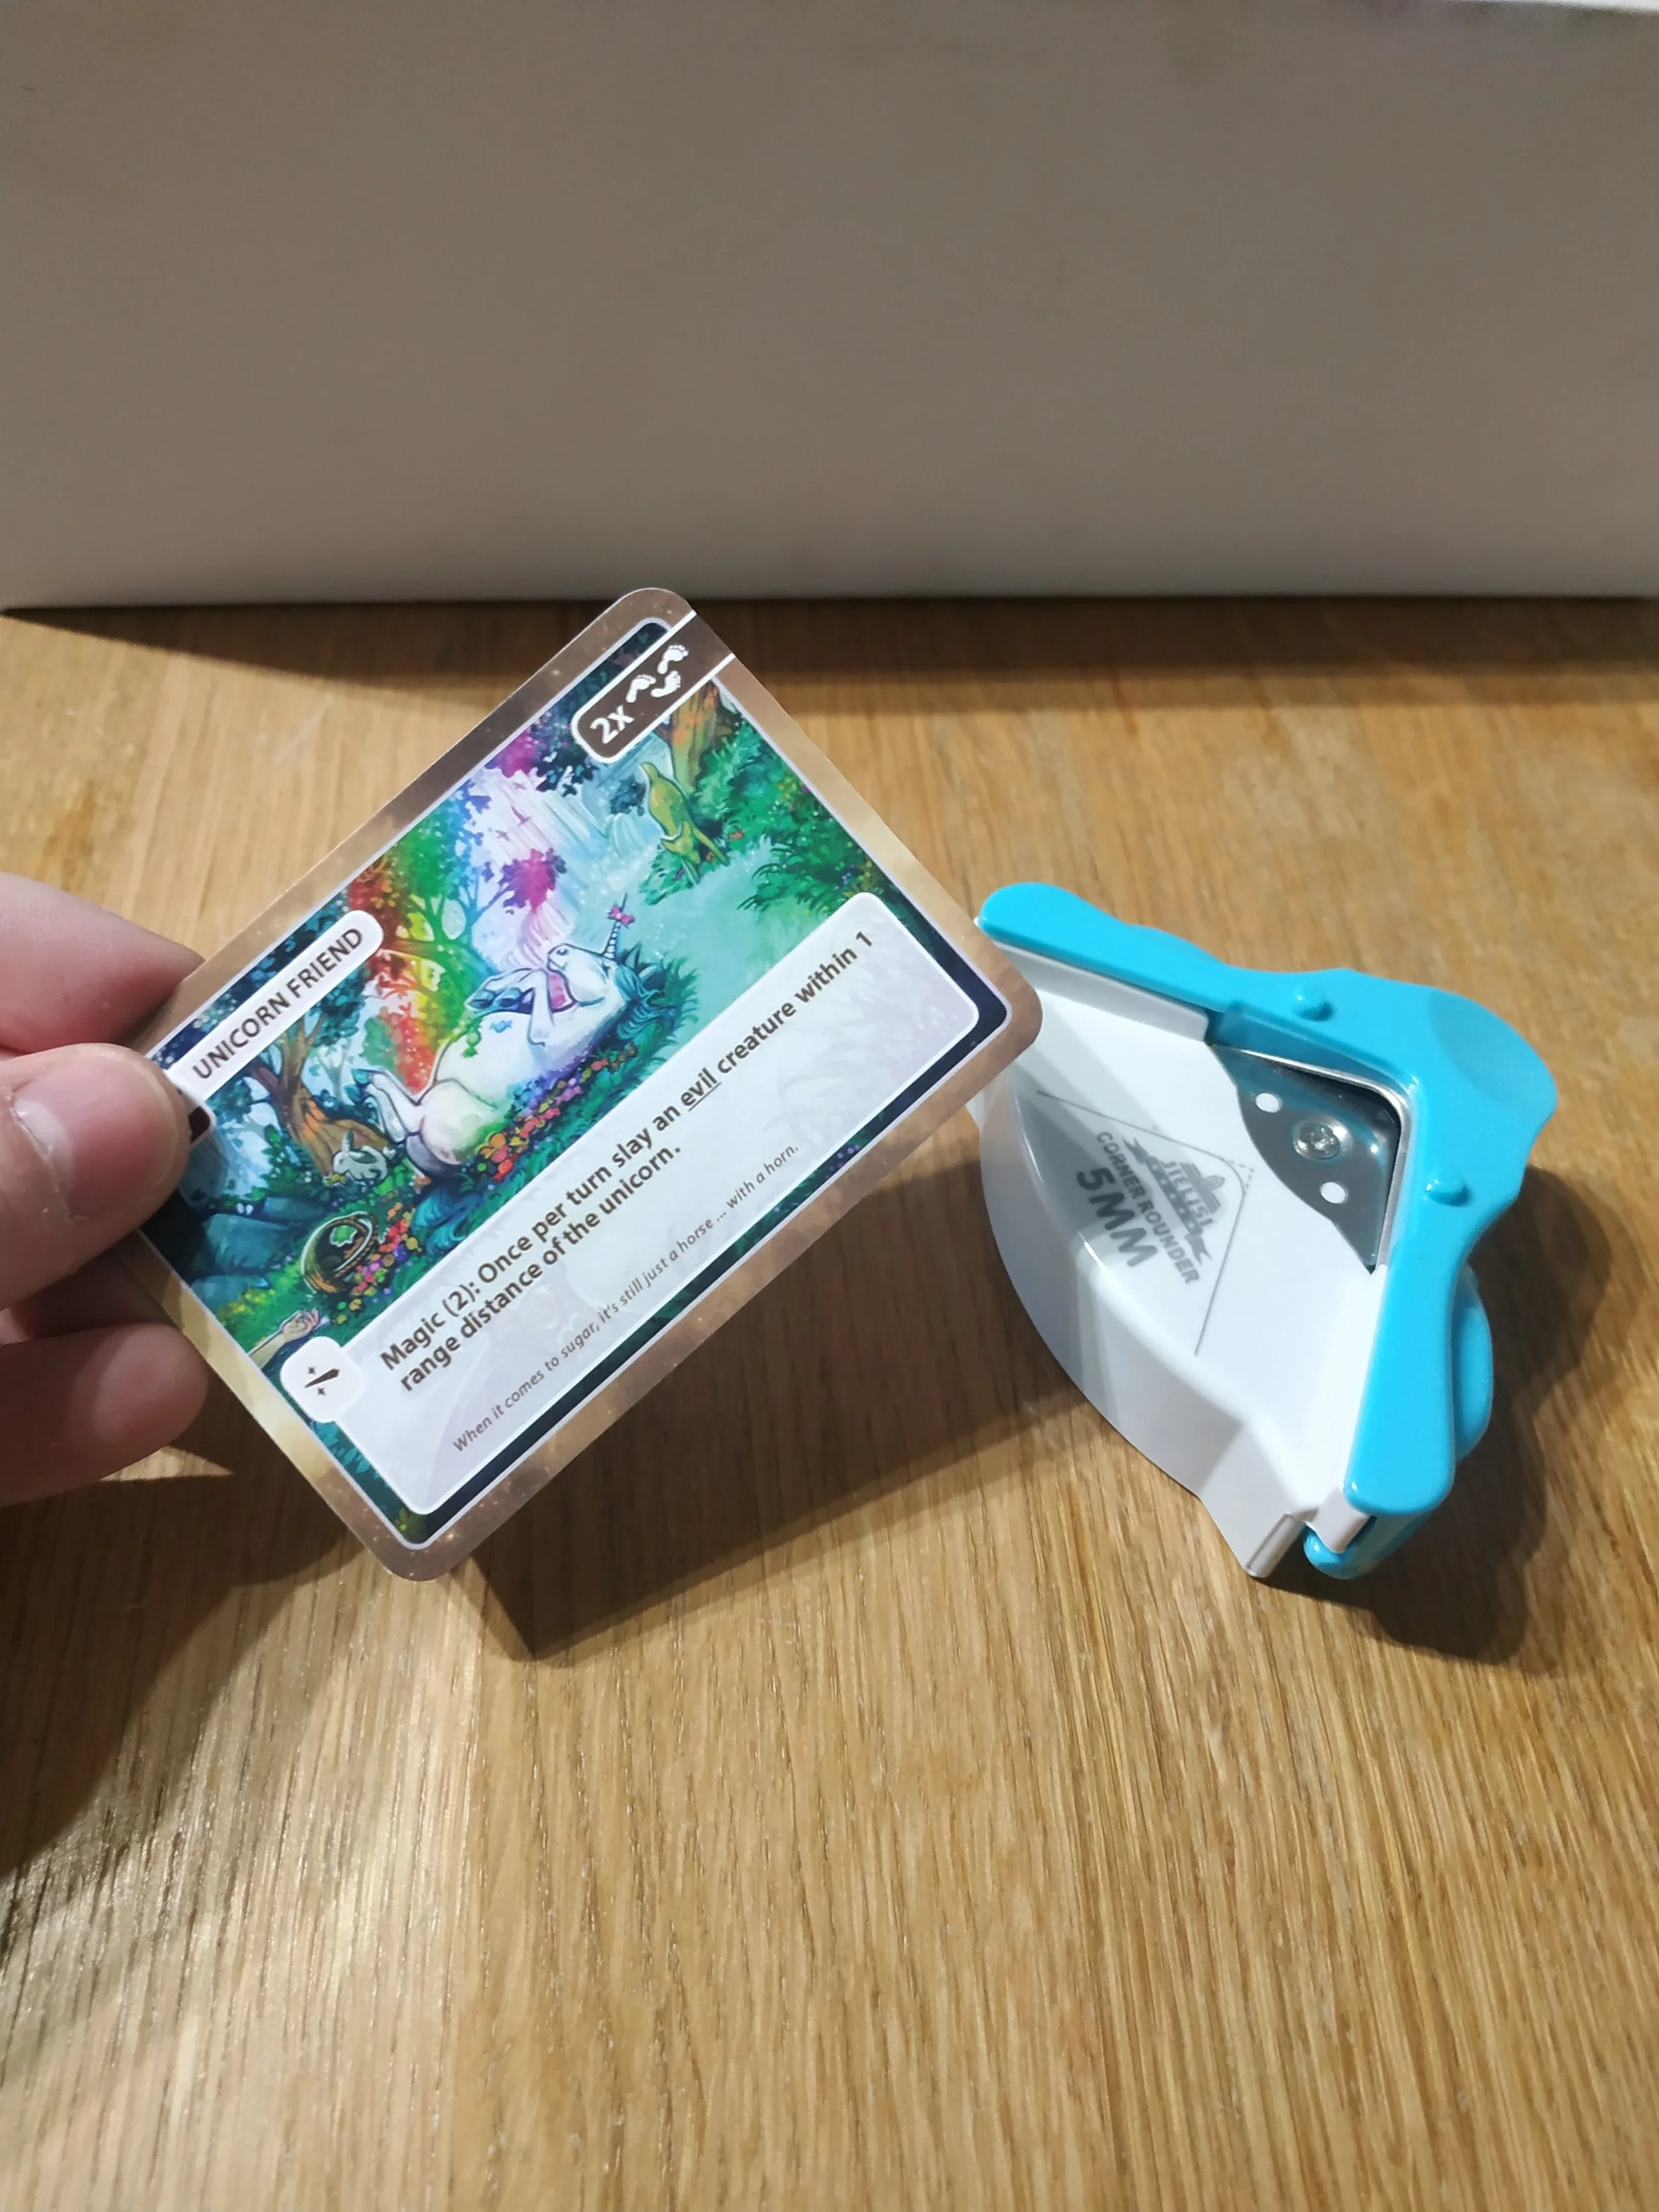
For the corners, I used a corner rounder. It makes the rounded edges look much nicer. These tools aren’t expensive (though I wouldn’t buy the same model again).
Normally, cards would also get a coating — a finish to fix the colors and sometimes add effects. Instead, I simply put my cards into sleeves. That way, the missing finish isn’t noticeable, and the prototype lasts longer.
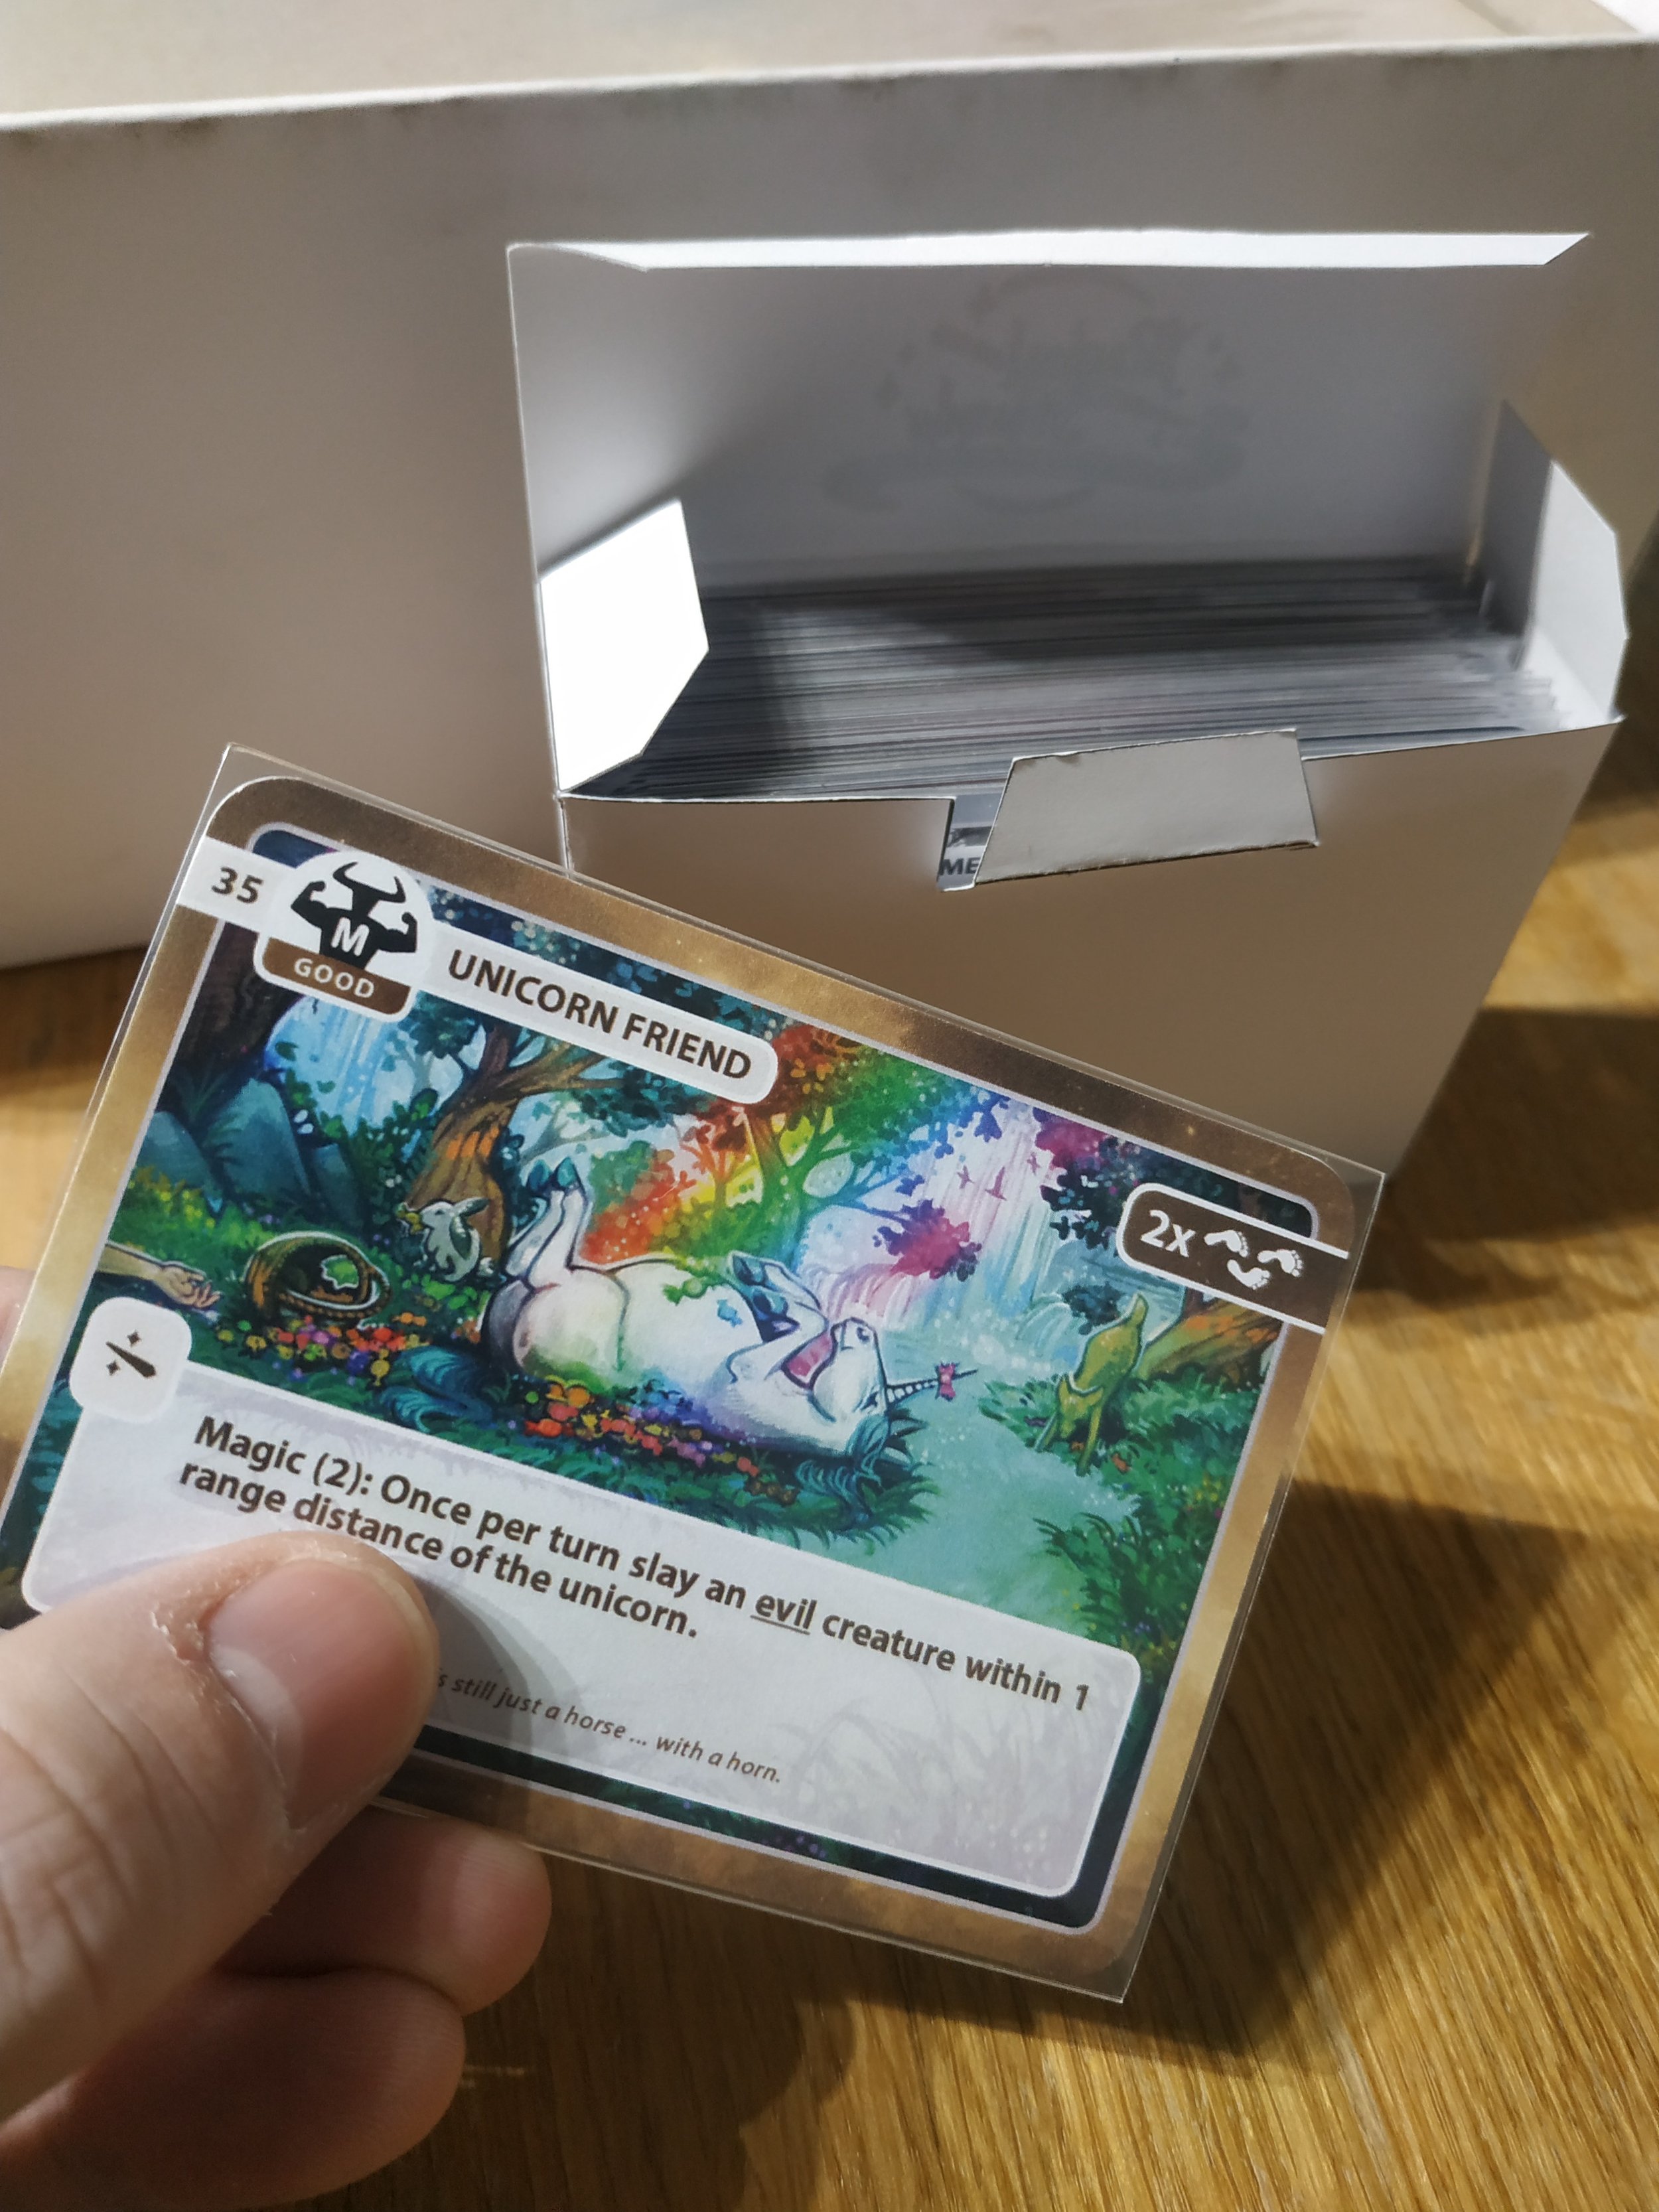
For storing the cards, I made simple boxes. A sheet of A4 paper (200 g) and a home printer for the template are enough. These boxes are very practical because they can hold both sleeved and unsleeved cards. This template worked very well for me.
Have you ever made playing cards yourself and have experiences you’d like to share? I’d love to hear your thoughts in the comments.
24 - When You Want the Prototype to Look Pretty … (Part 1: Copy Shop)
24 - When You Want the Prototype to Look Pretty … (Part 1: Copy Shop)
… the best option is usually to have someone else make it for you! However, that becomes difficult when your game has many special components. That’s why I ended up doing everything myself. The amount of work is enormous, and my approach is certainly not ideal. I’ll explain as clearly as I can how I build my review prototype by hand. There are definitely steps that could be done better. Since I still have several prototypes ahead of me, I’m very grateful for creative suggestions on how I could improve or simplify things without losing quality or adding significantly more effort.
The first step takes me to the copy shop.
Game cards can still be printed reasonably well on a home printer. But since the color quality of my printer isn’t great, I had them printed at the copy shop. For cards, I recommend using 300 g or 350 g paper, as this roughly matches standard card stock. Thickness isn’t the only factor that matters for cards, but for a nice prototype it’s definitely sufficient.

The player aids were also printed on 350 g paper. Even though they’re just information sheets, they simply feel better that way. For a final version, however, I would still choose a more durable material that doesn’t warp as easily.
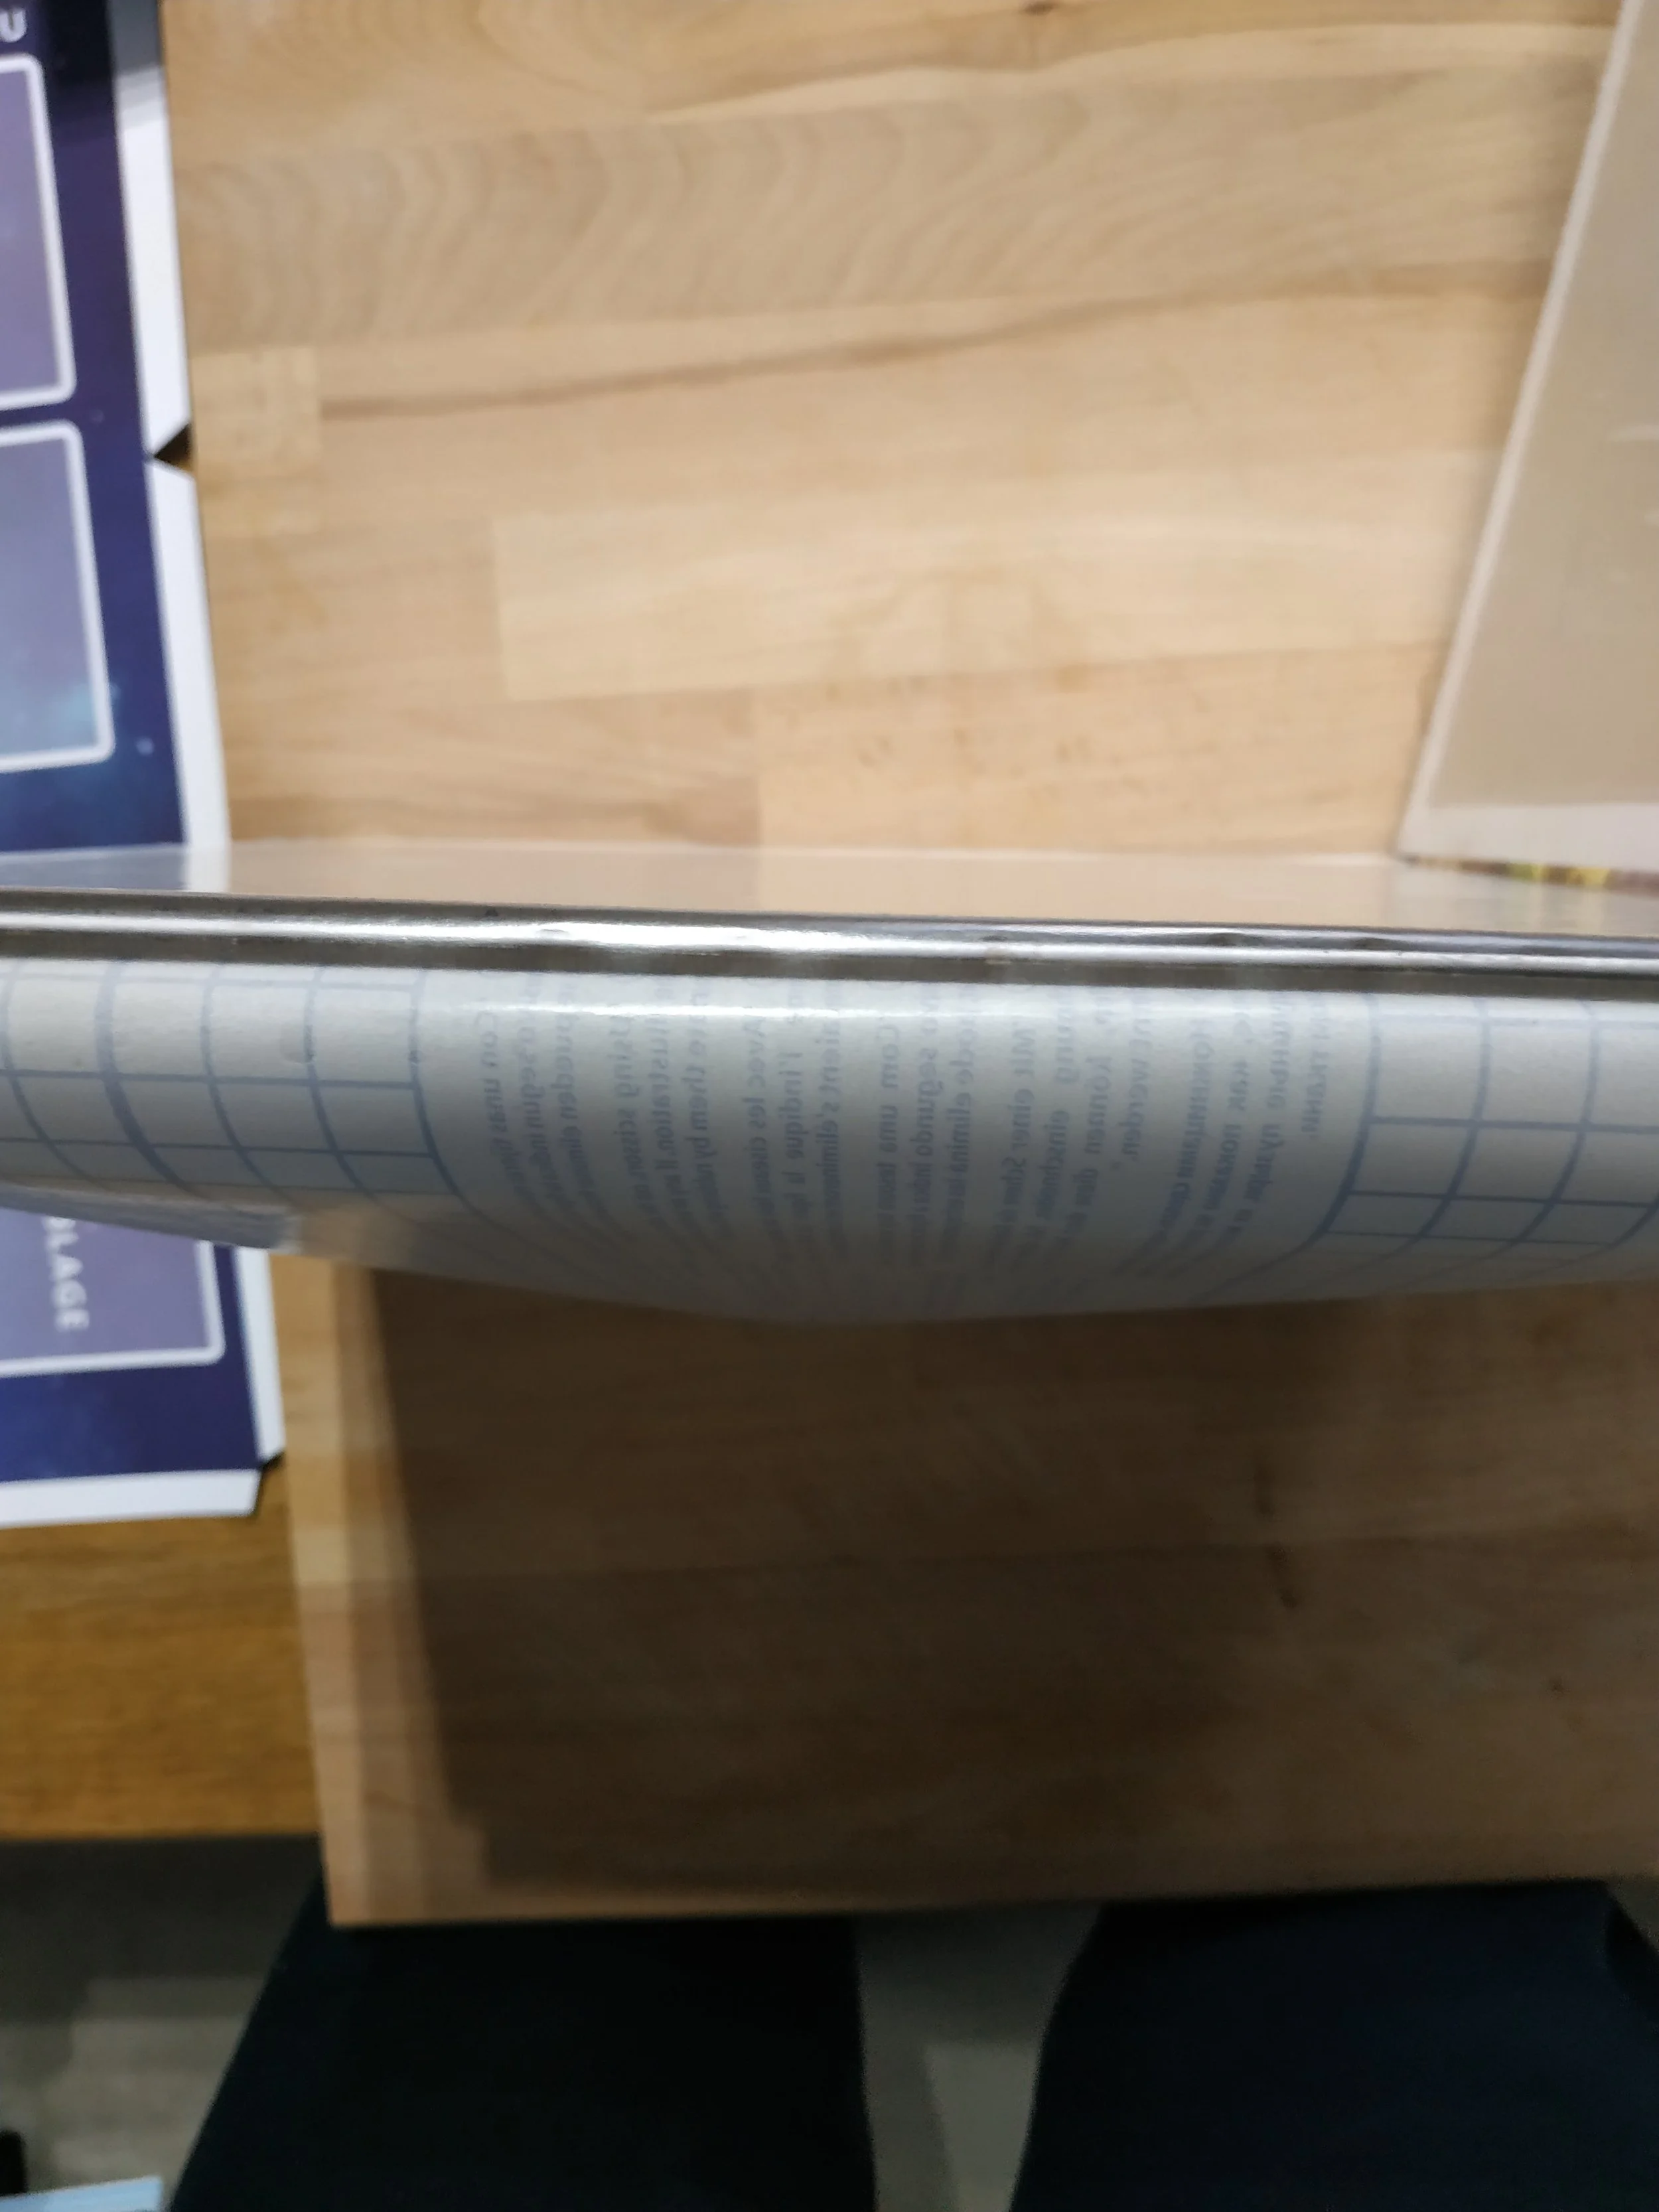
Printing the rulebook is much more complicated than you might think. Ideally, my rulebook would be almost as large as the game box itself. But that wasn’t possible at this copy shop. Rulebooks need to be printed double‑sided, and since each printed sheet equals two pages, you need a fairly large format. If I want the rules to be 280 mm × 280 mm, the printed sheet would need to be 280 mm × 560 mm — larger than A3. Having the rules bound as a booklet is very inexpensive at the copy shop, and it looks quite nice. For the rulebook, I used 140 g paper.
For all the larger prints I needed to glue onto cardboard, I used poster paper with a weight of 160 g. Depending on the size of your game, you might not need poster printing. But many of my graphics are larger than A3, so they had to be printed as posters. The box cover for a 300 mm × 300 mm × 100 mm box requires a print of roughly 550 mm × 550 mm. In a final production version, the box would also be wrapped in 160 g paper. It’s important that this paper isn’t too thin, because the corners of a box aren’t held together by the 2 mm cardboard — they’re held together only by the paper, and that paper shouldn’t tear easily.
Even though many illustrations and details aren’t finished yet, it’s a wonderful feeling to have high‑quality prints in front of you. At this stage, you get an excellent impression of the game and can imagine how the artwork will develop.
In the coming weeks, I’ll write more about what happens next with the prints. I’ll go into more detail about each component. If you have questions about printing, feel free to leave a comment. I’m also very happy about feedback and suggestions for improvement.