24 - When You Want the Prototype to Look Pretty … (Part 1: Copy Shop)
… the best option is usually to have someone else make it for you! However, that becomes difficult when your game has many special components. That’s why I ended up doing everything myself. The amount of work is enormous, and my approach is certainly not ideal. I’ll explain as clearly as I can how I build my review prototype by hand. There are definitely steps that could be done better. Since I still have several prototypes ahead of me, I’m very grateful for creative suggestions on how I could improve or simplify things without losing quality or adding significantly more effort.
The first step takes me to the copy shop.
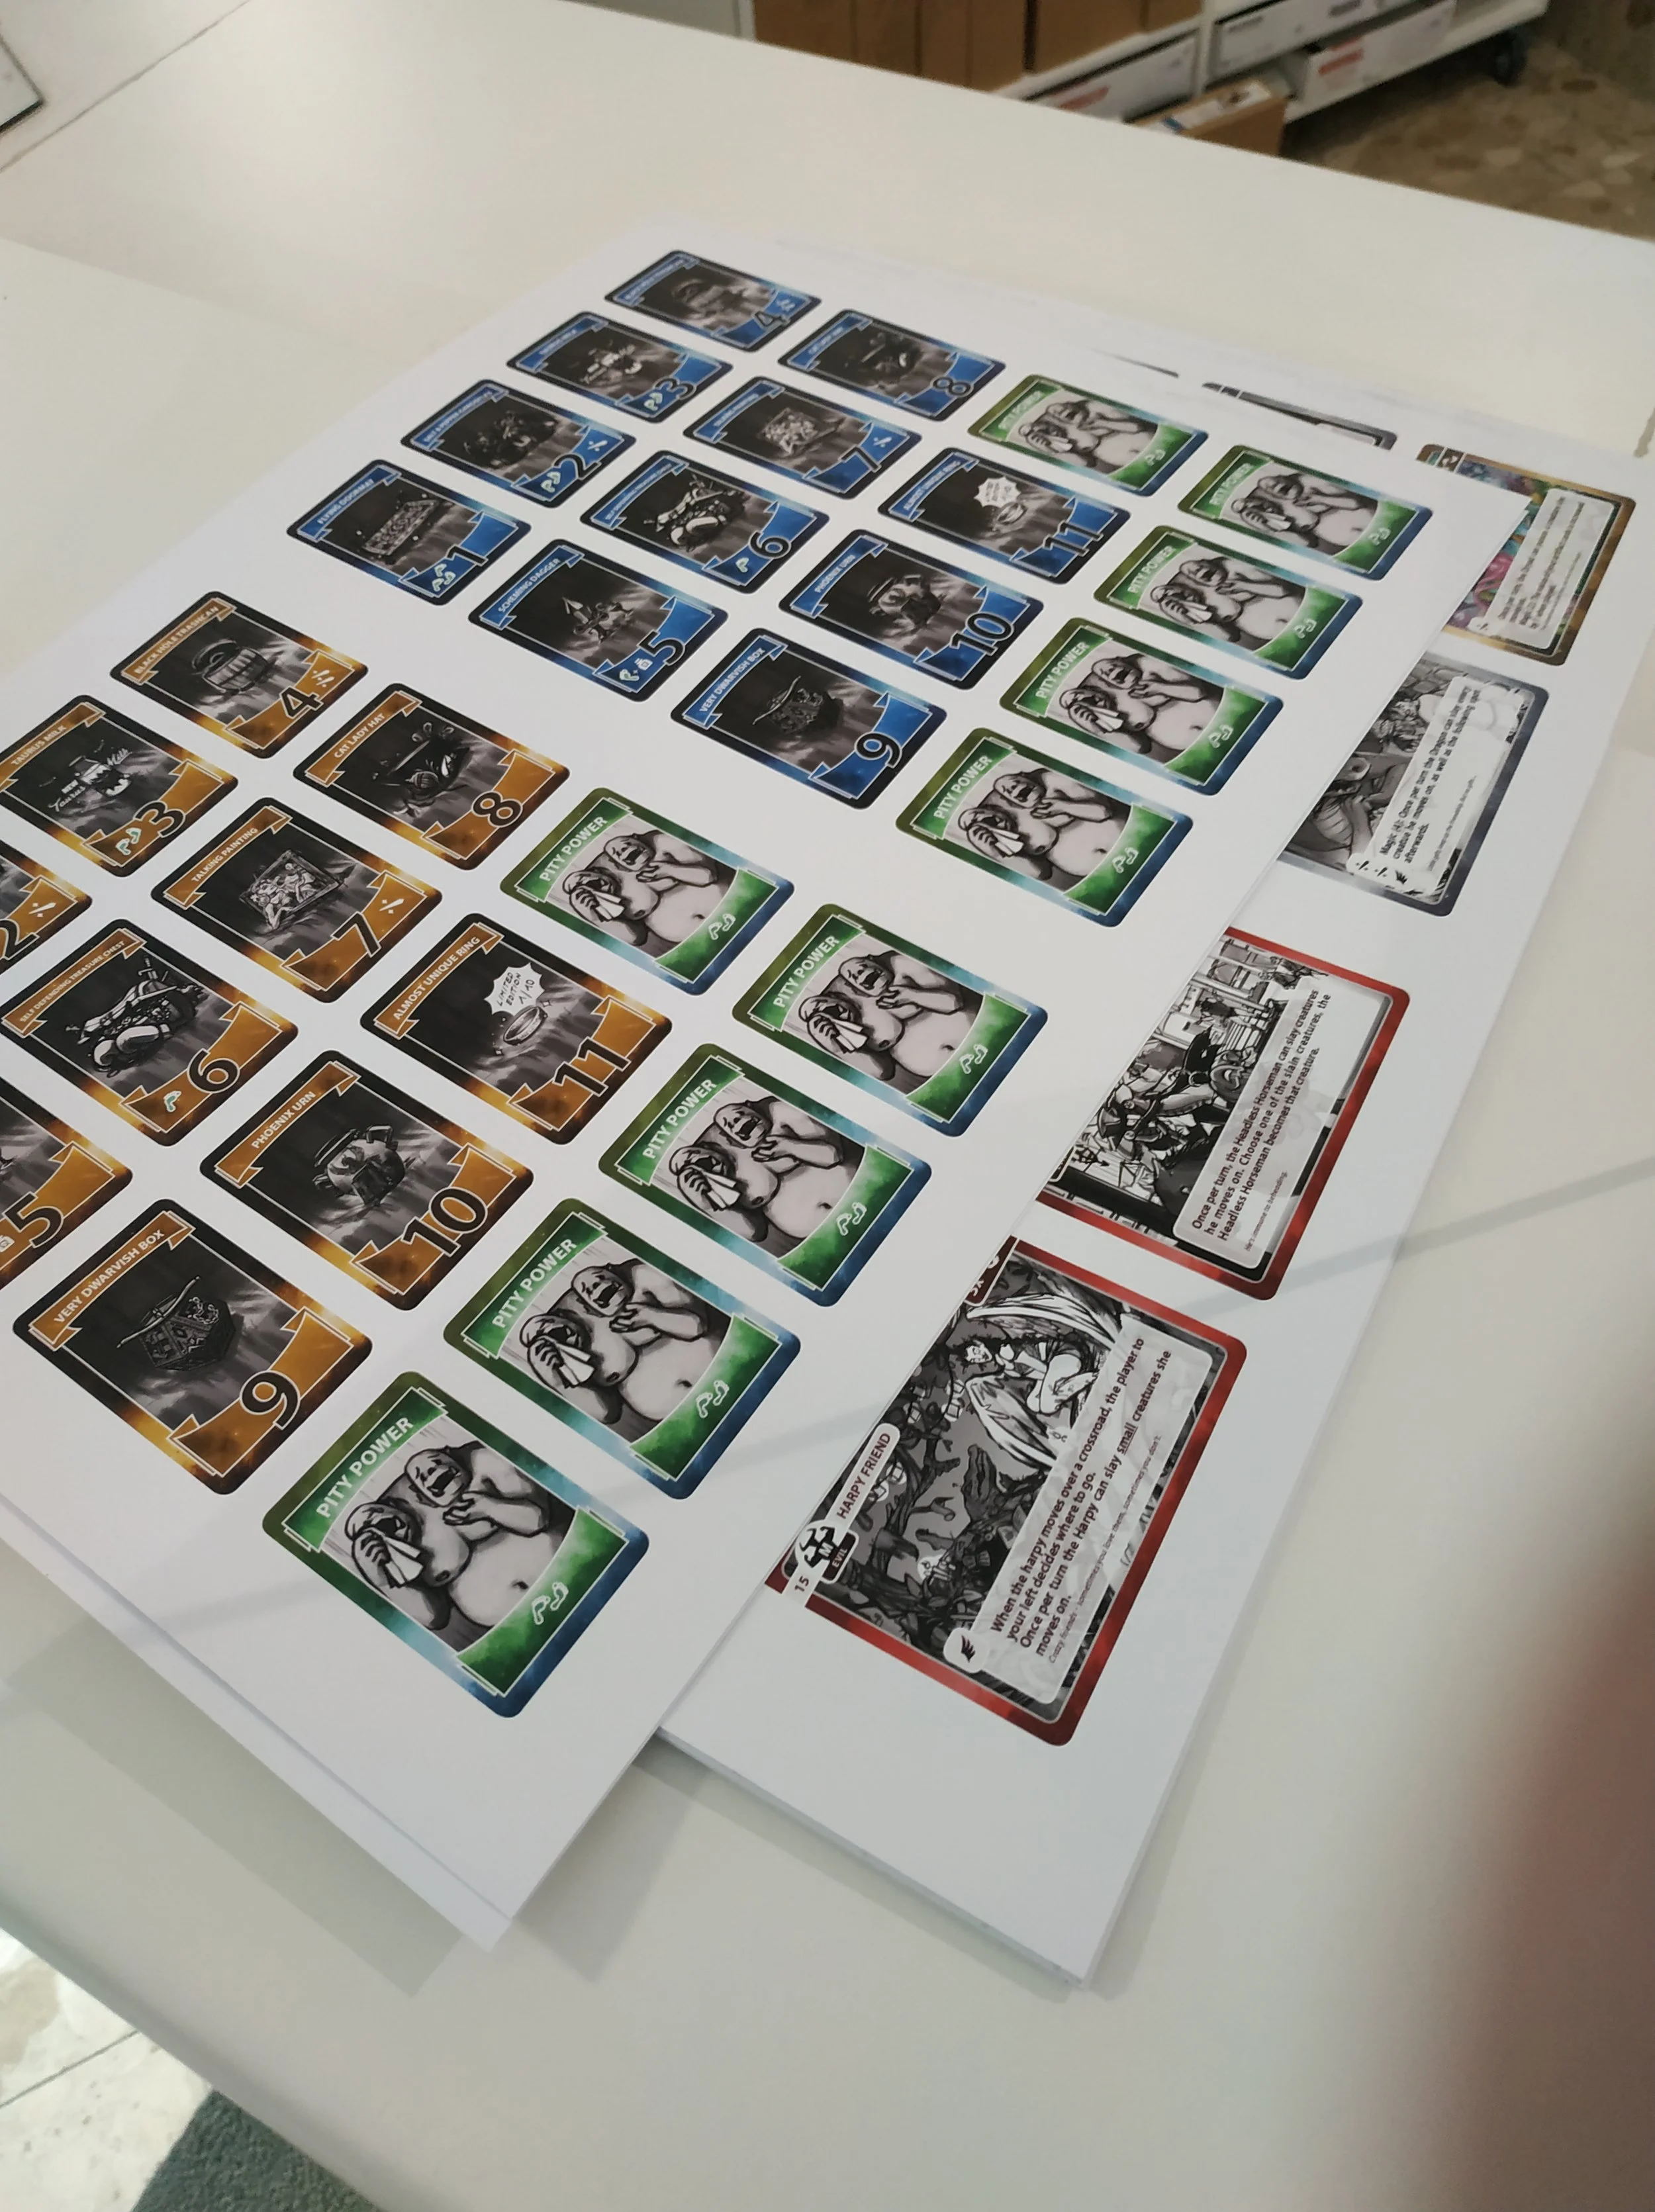
Game cards can still be printed reasonably well on a home printer. But since the color quality of my printer isn’t great, I had them printed at the copy shop. For cards, I recommend using 300 g or 350 g paper, as this roughly matches standard card stock. Thickness isn’t the only factor that matters for cards, but for a nice prototype it’s definitely sufficient.

The player aids were also printed on 350 g paper. Even though they’re just information sheets, they simply feel better that way. For a final version, however, I would still choose a more durable material that doesn’t warp as easily.
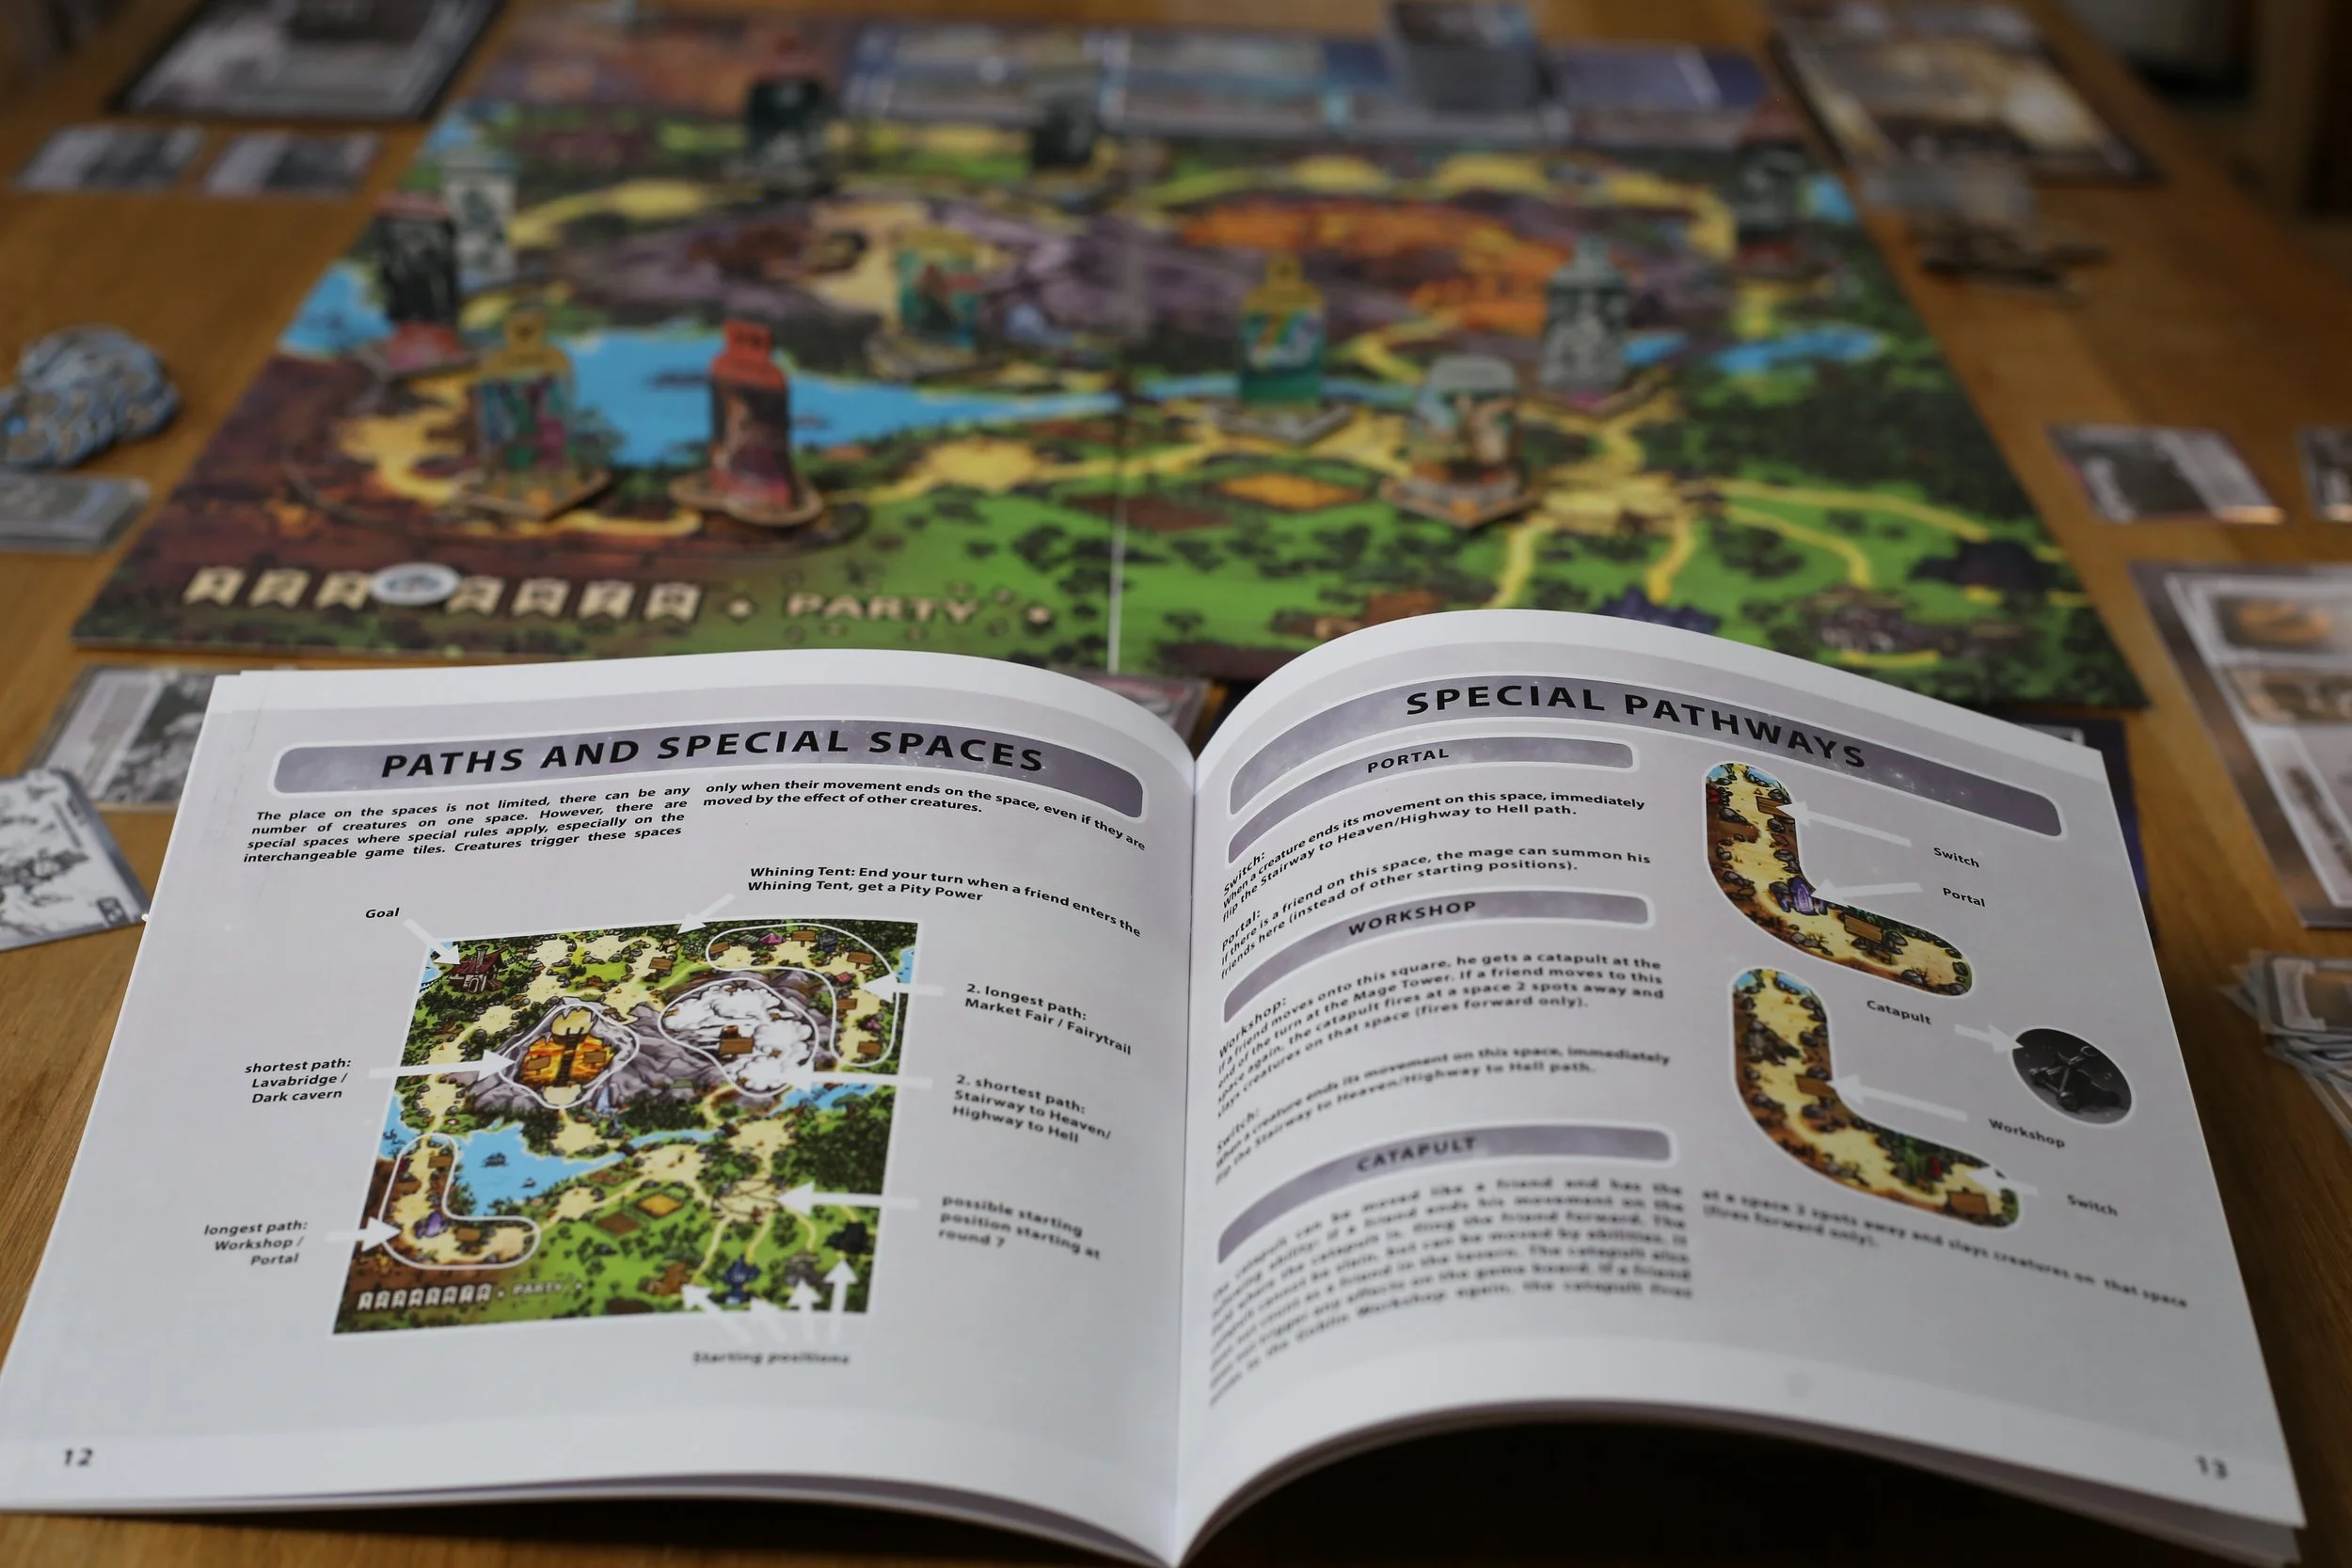
Printing the rulebook is much more complicated than you might think. Ideally, my rulebook would be almost as large as the game box itself. But that wasn’t possible at this copy shop. Rulebooks need to be printed double‑sided, and since each printed sheet equals two pages, you need a fairly large format. If I want the rules to be 280 mm × 280 mm, the printed sheet would need to be 280 mm × 560 mm — larger than A3. Having the rules bound as a booklet is very inexpensive at the copy shop, and it looks quite nice. For the rulebook, I used 140 g paper.
For all the larger prints I needed to glue onto cardboard, I used poster paper with a weight of 160 g. Depending on the size of your game, you might not need poster printing. But many of my graphics are larger than A3, so they had to be printed as posters. The box cover for a 300 mm × 300 mm × 100 mm box requires a print of roughly 550 mm × 550 mm. In a final production version, the box would also be wrapped in 160 g paper. It’s important that this paper isn’t too thin, because the corners of a box aren’t held together by the 2 mm cardboard — they’re held together only by the paper, and that paper shouldn’t tear easily.
Even though many illustrations and details aren’t finished yet, it’s a wonderful feeling to have high‑quality prints in front of you. At this stage, you get an excellent impression of the game and can imagine how the artwork will develop.
In the coming weeks, I’ll write more about what happens next with the prints. I’ll go into more detail about each component. If you have questions about printing, feel free to leave a comment. I’m also very happy about feedback and suggestions for improvement.