25 - When You Want the Prototype to Look Pretty … (Part 2: Cards)
Handmade playing cards can look surprisingly professional very quickly. There’s not much magic behind it. What you’ll notice most are poor print quality and paper that’s too thin — which is why I went to the copy shop.
For my cards, I only added bleed to the back side, since I cut the fronts by hand anyway. That way, the front stays nicely centered. If it’s important in your game that card backs are indistinguishable, I would definitely do it the other way around.
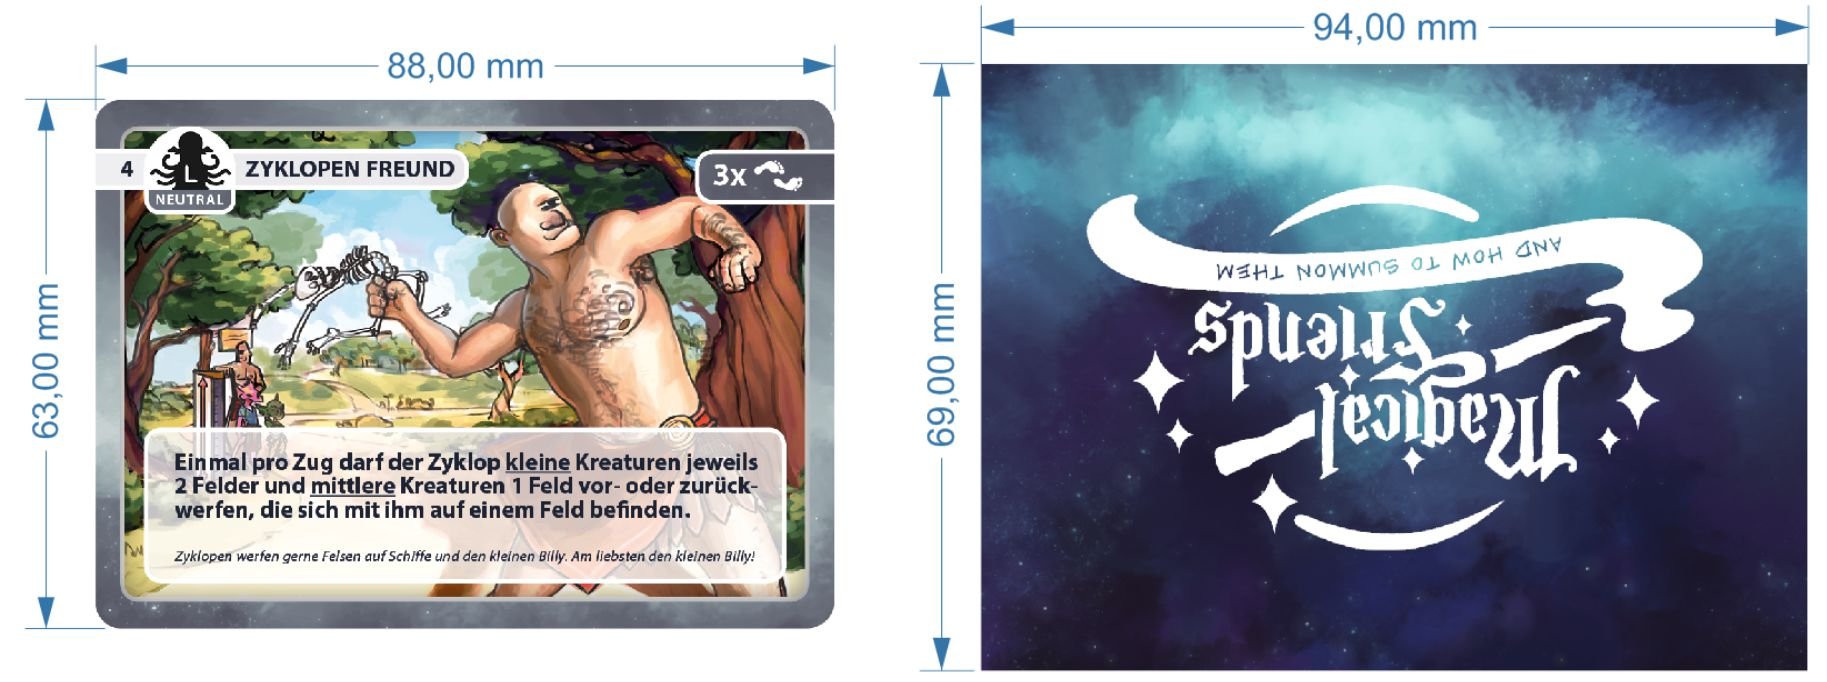
And don’t forget to rotate the card backs correctly!
As mentioned before, I cut the cards by hand. Whether you use scissors or a knife, it needs to be sharp. With my paper and print quality, the color can sometimes crack along the edges if the blade isn’t sharp enough, and that doesn’t look good.
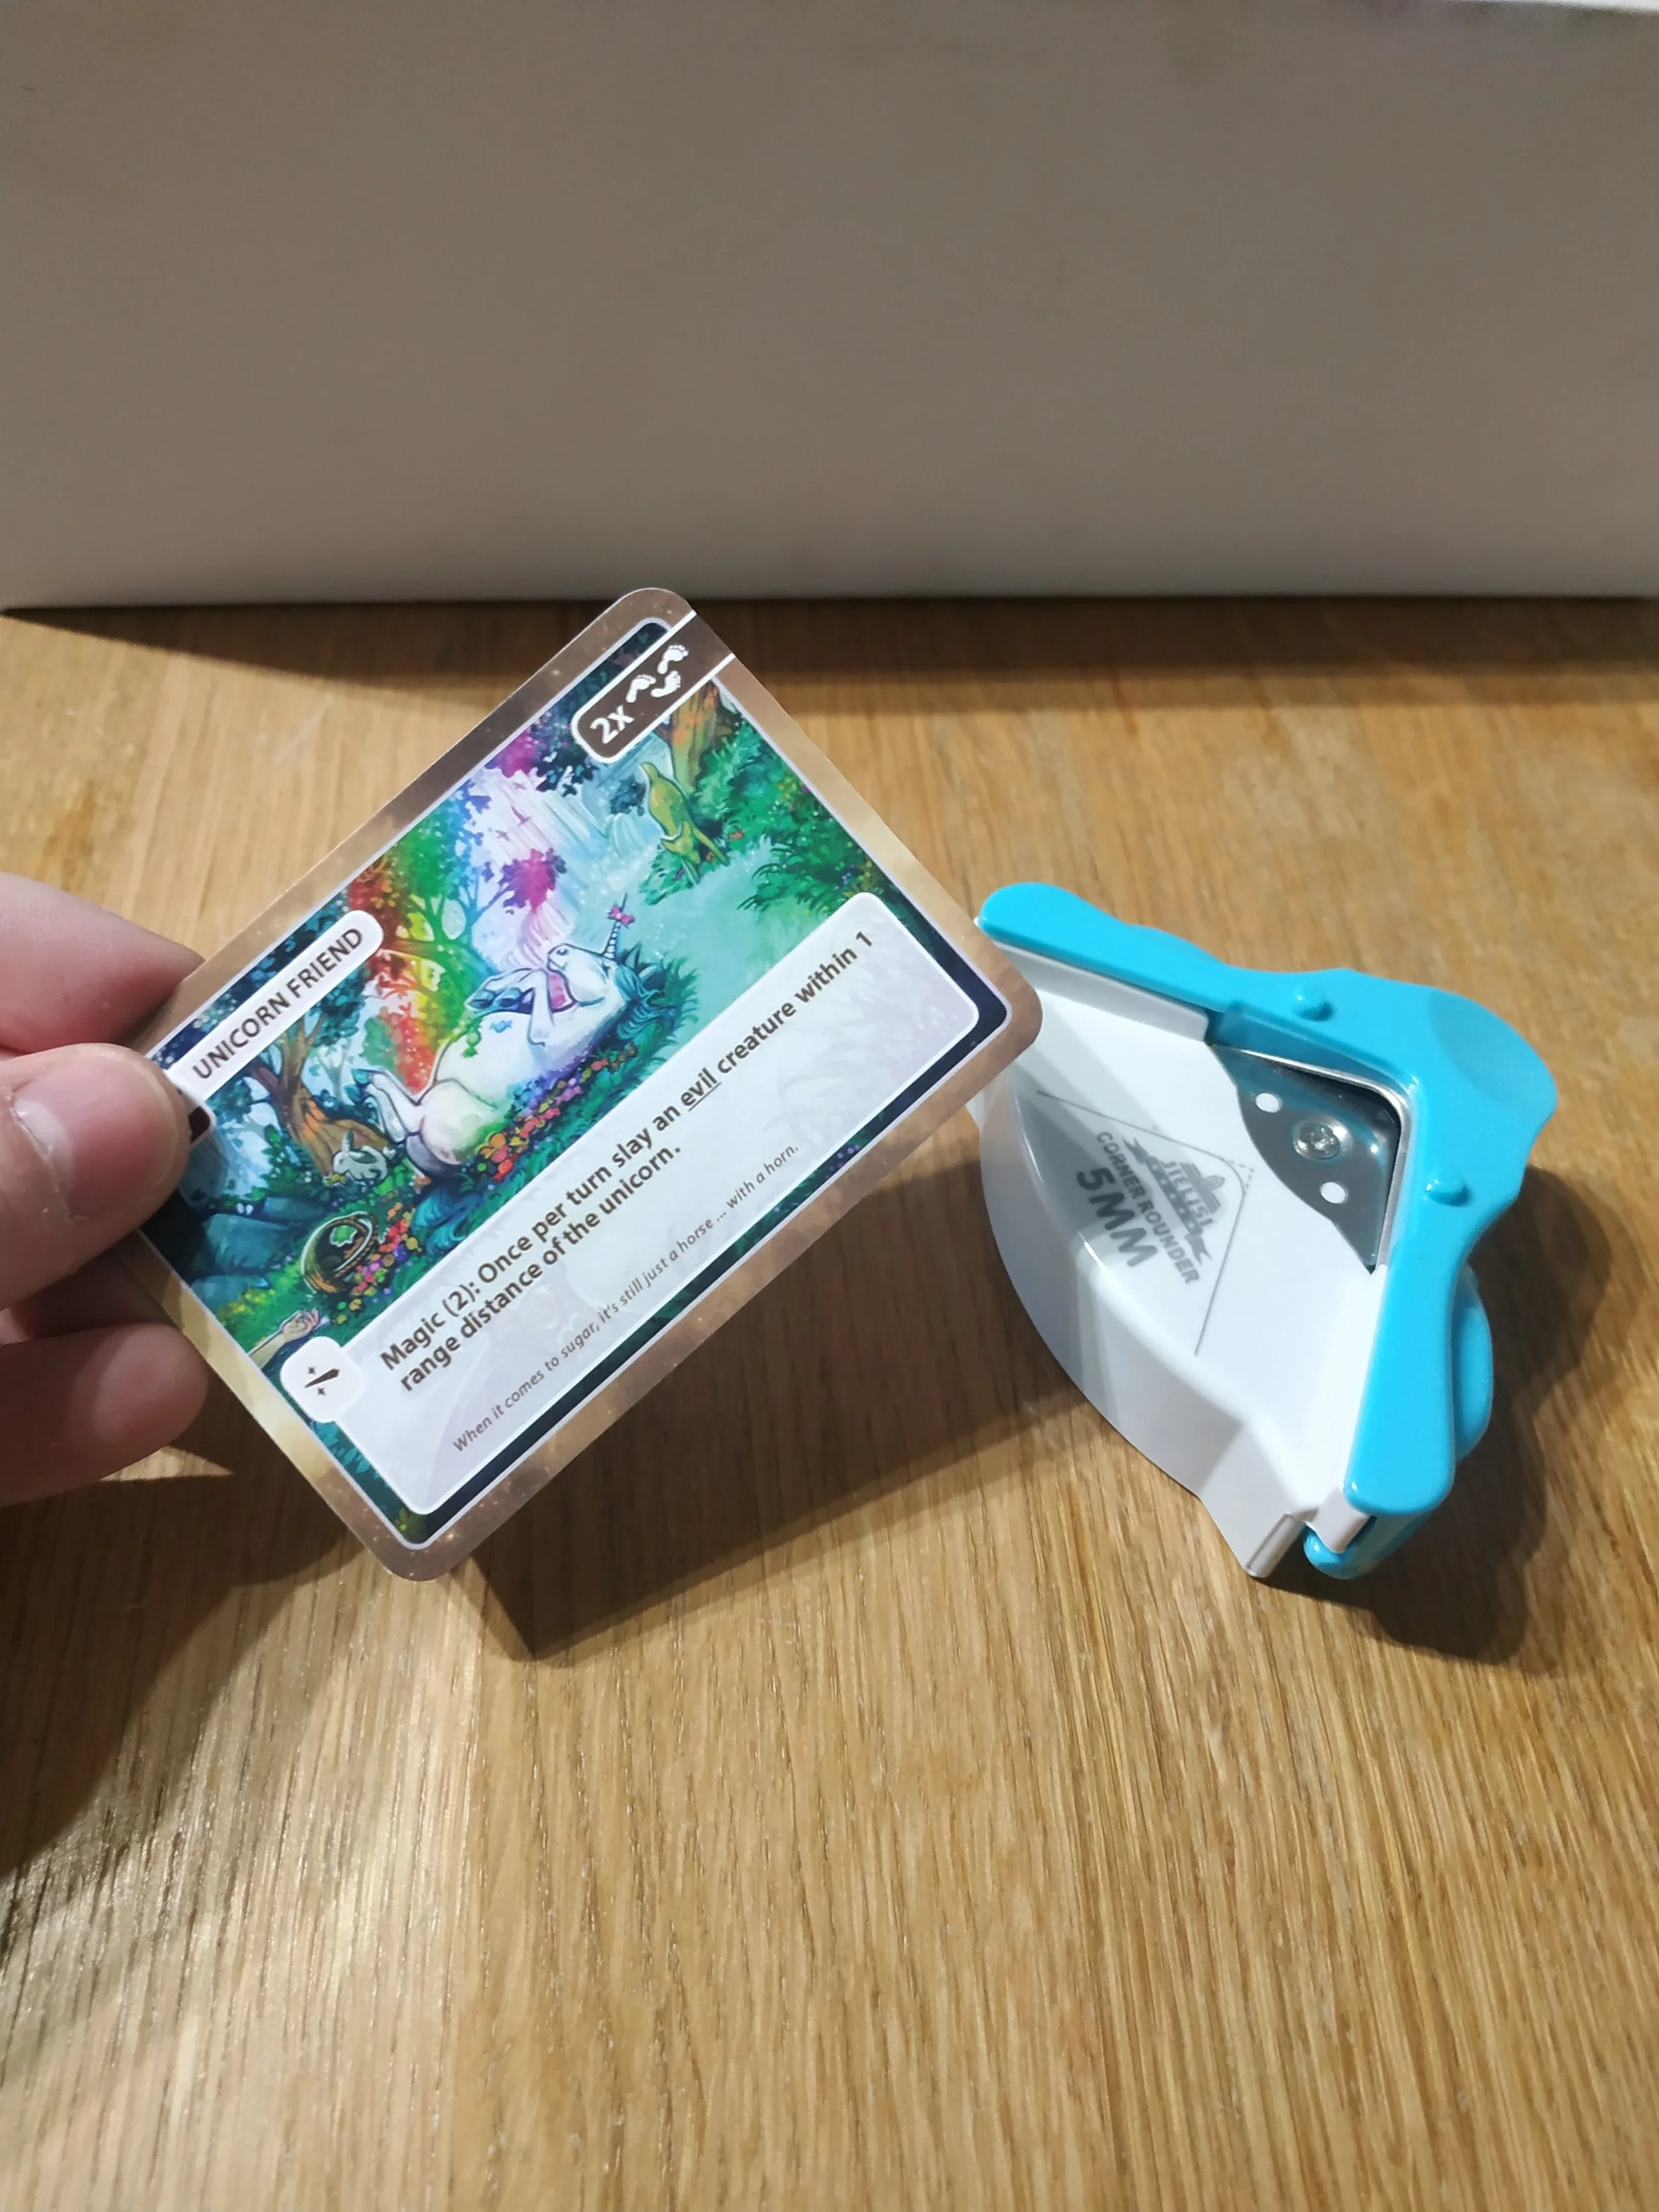
For the corners, I used a corner rounder. It makes the rounded edges look much nicer. These tools aren’t expensive (though I wouldn’t buy the same model again).
Normally, cards would also get a coating — a finish to fix the colors and sometimes add effects. Instead, I simply put my cards into sleeves. That way, the missing finish isn’t noticeable, and the prototype lasts longer.
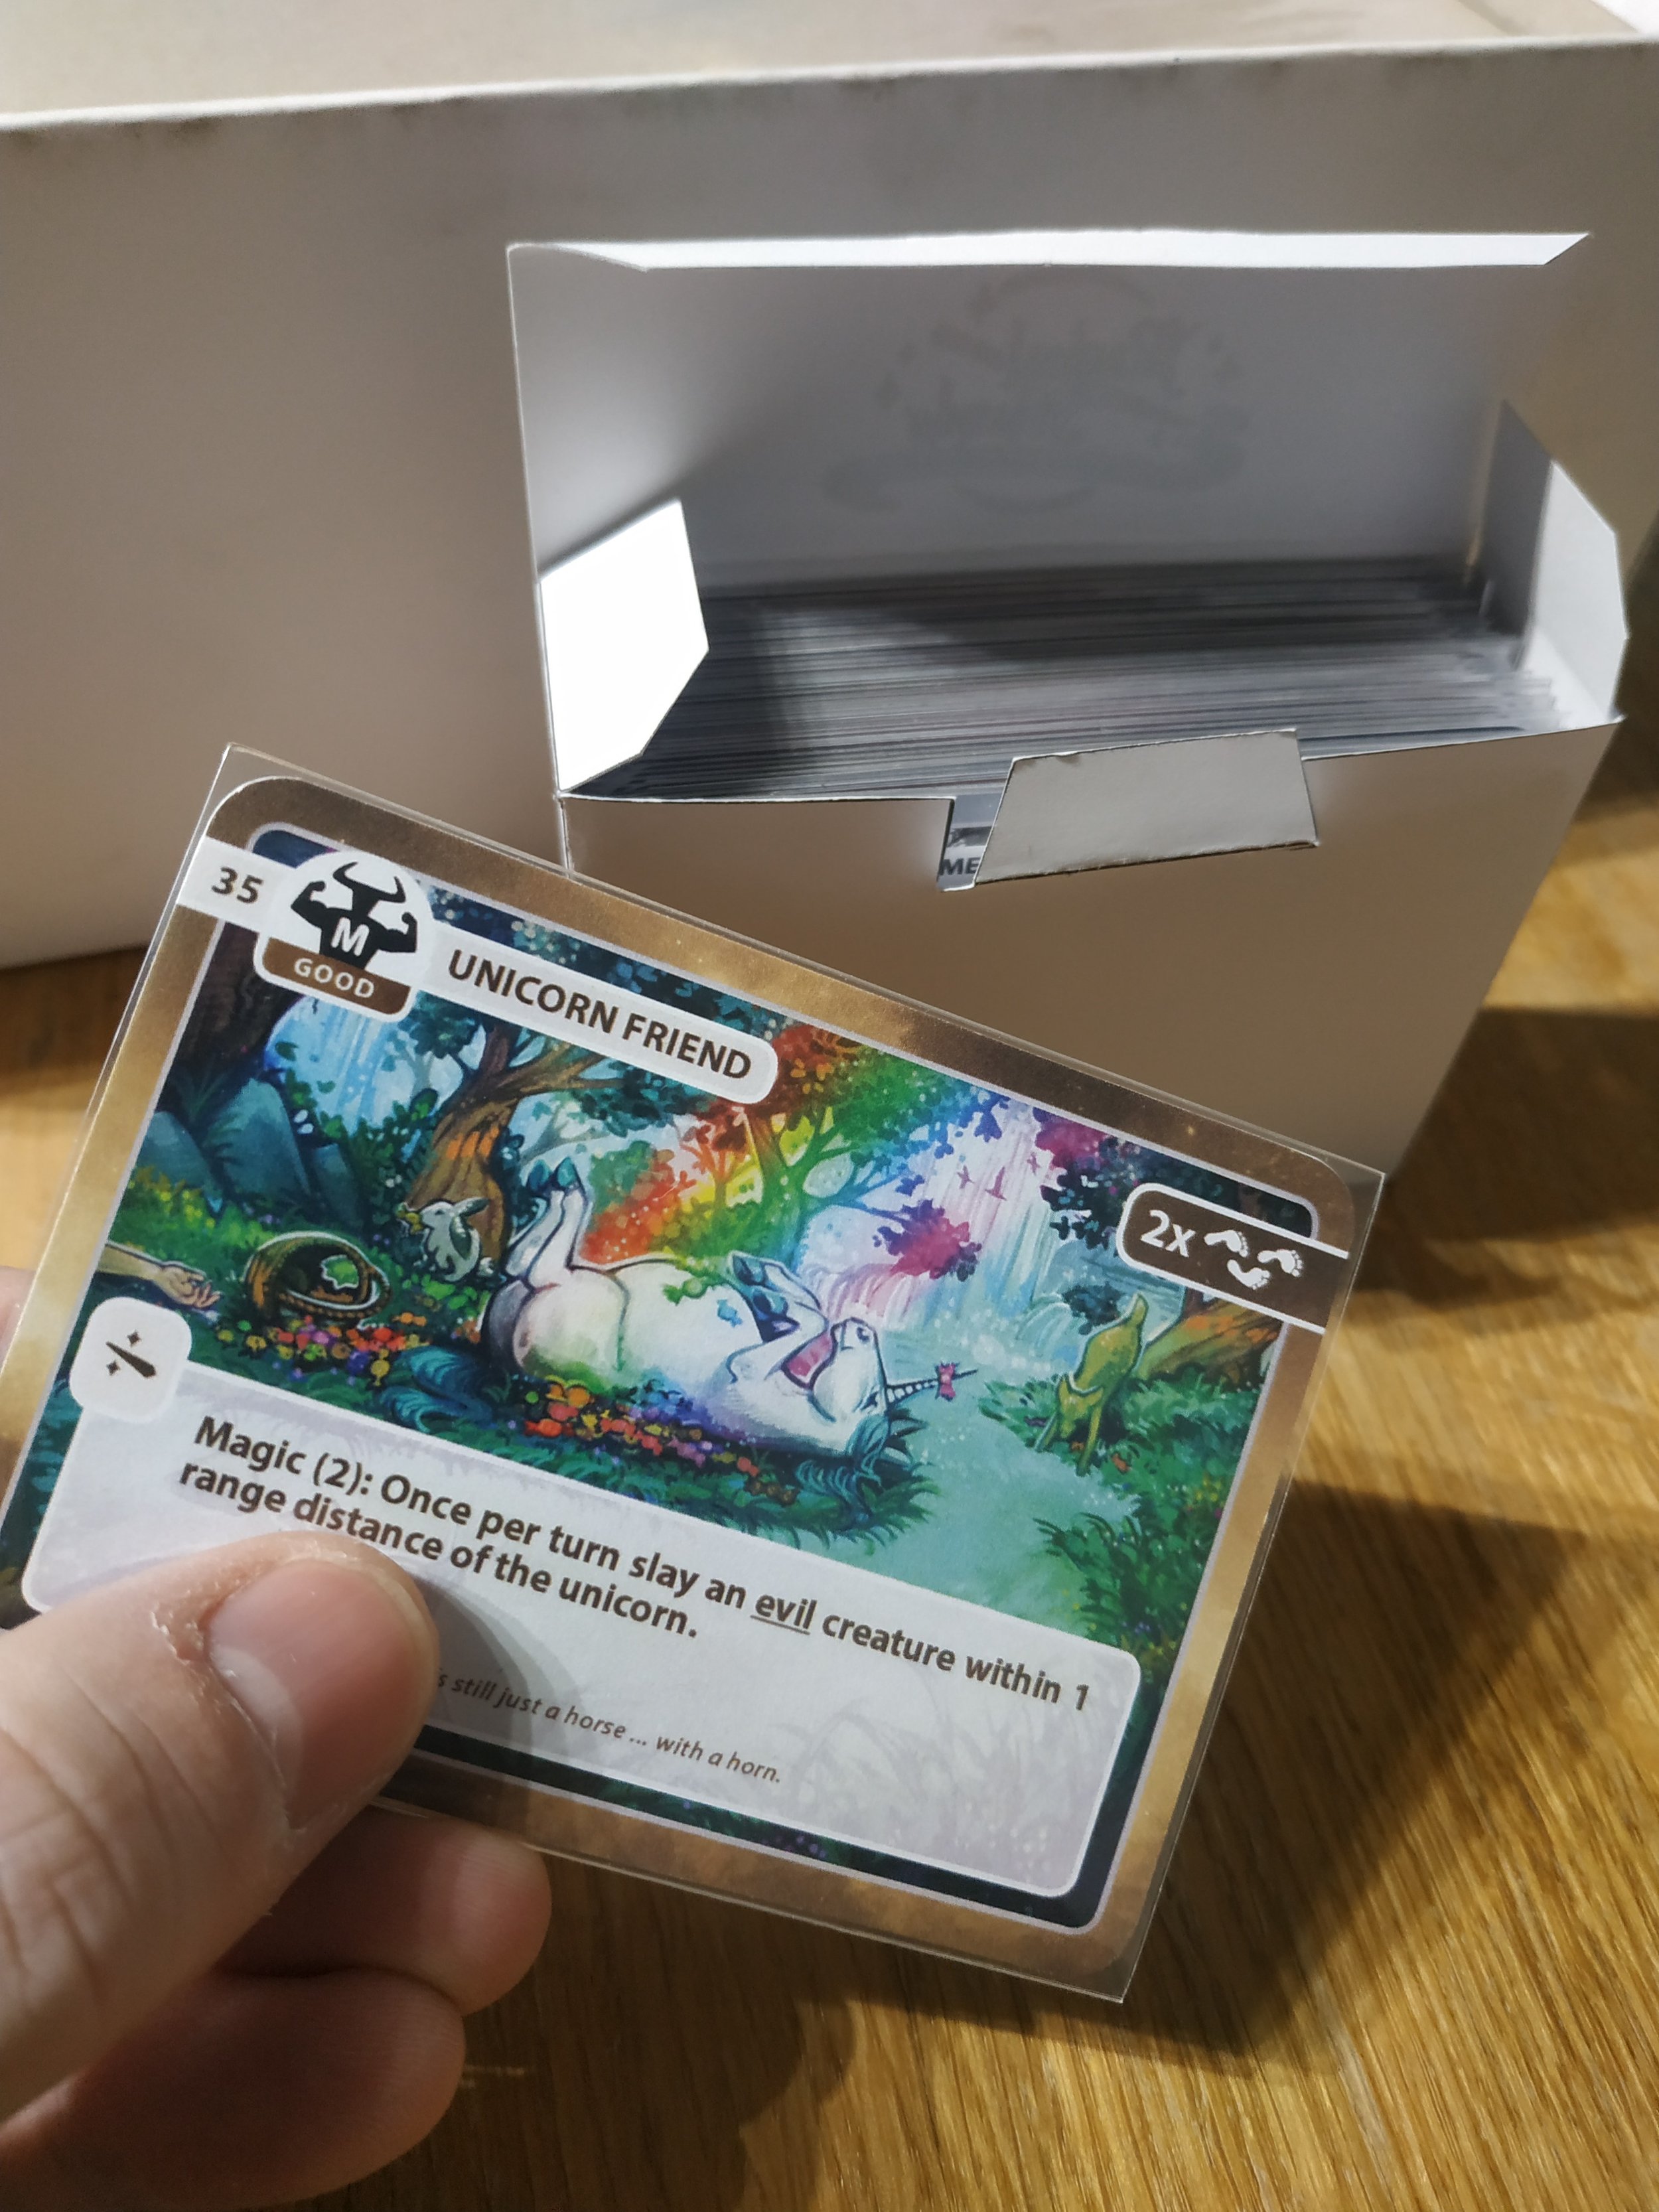
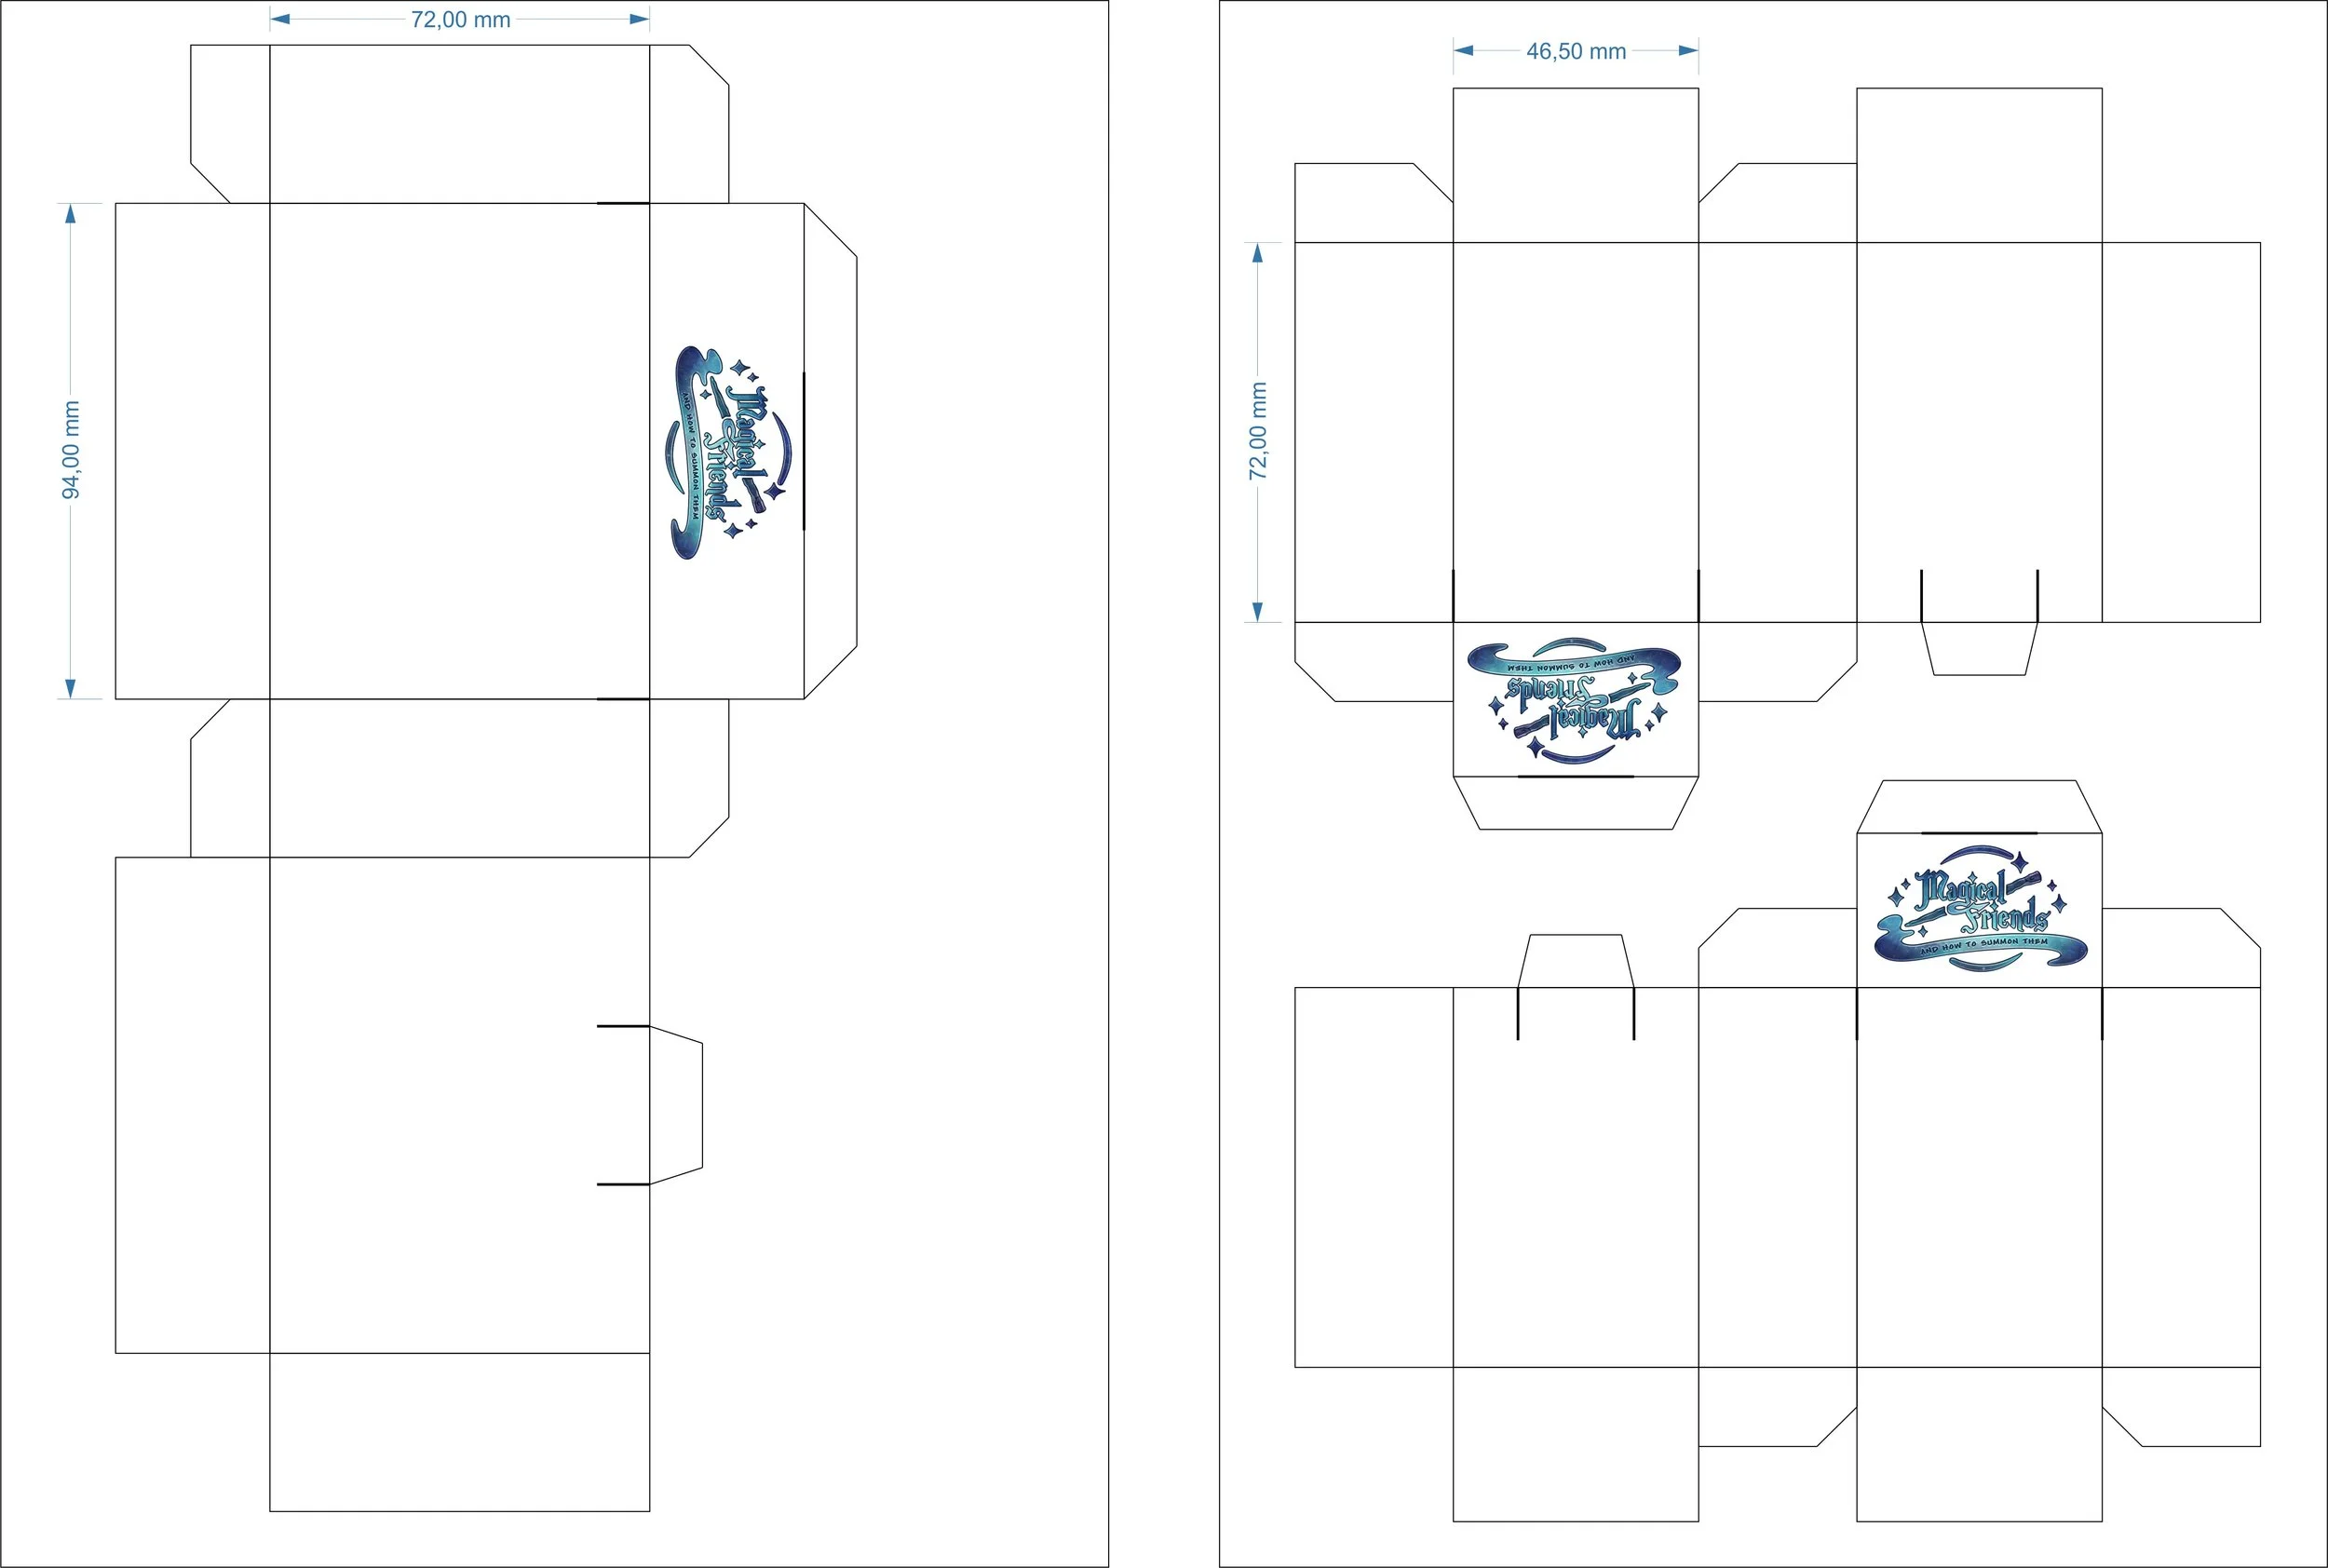
For storing the cards, I made simple boxes. A sheet of A4 paper (200 g) and a home printer for the template are enough. These boxes are very practical because they can hold both sleeved and unsleeved cards. This template worked very well for me.
Have you ever made playing cards yourself and have experiences you’d like to share? I’d love to hear your thoughts in the comments.